
Grand Prix V6-3.8L VIN 2 (2004)
Connecting Rod Bearing: Service and Repair
Removal Procedure
^
Tools Required
-
J 41507 Connecting Rod Assembly Guide
-
J 45059 Electronic Torque Angle Meter
1. Remove the oil pan.
2. Remove the spark plugs from the cylinders that is being serviced.
3. Position the connecting rod to be serviced to Bottom Dead Center (BDC) by rotating the crankshaft.
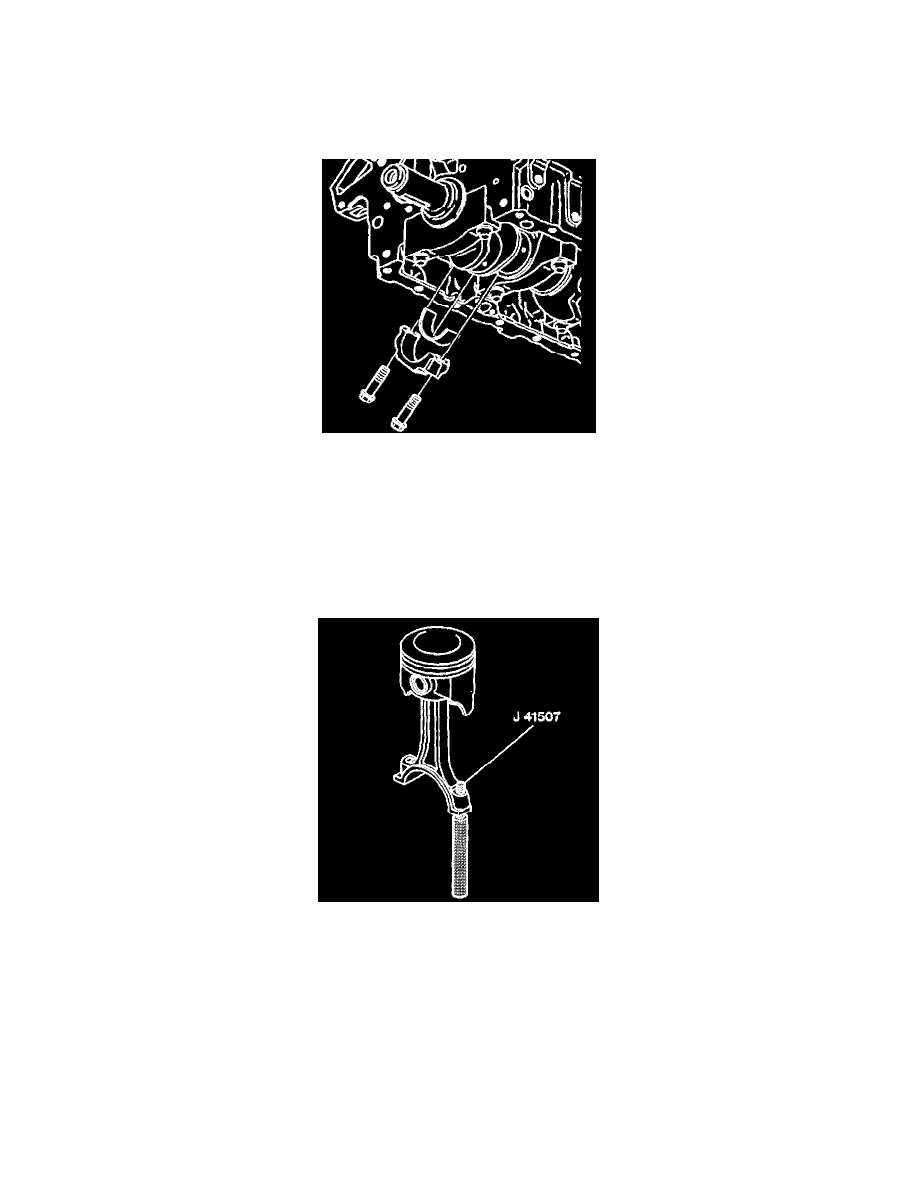
4. Remove the connecting rod cap bolts.
5. Remove the connecting rod cap and lower connecting rod bearing.
Important: Keep the bearings with the original connecting rod and cap. Do this in order to reassemble the connecting rod.
6. Remove the lower connecting rod bearing from the connecting rod cap.
7. Install the J41507 to the connecting rod.
8. Use the J41507, in order to push up the connecting rod and piston and access the upper connecting rod bearing.
9. Remove the upper connecting rod bearing.
10. Wipe the oil from the bearings.
11. Inspect the connecting rod bearings.
12. Measure the bearing clearance.
Installation Procedure
Notice: Do not scrape, shim, or file bearing inserts. If the bearing surface of the insert is touched with bare fingers, the skin oil and acids will etch the
bearing surface.
Important: Make sure that the connecting rod cap bolt holes and the connecting rod cap mating surfaces are clean and dry.