
Grand Prix V6-3.8L VIN 2 (2004)
NOTE: Refer to Fastener Notice in Service Precautions.
8. Install the removed screws that secure the HVAC module assembly upper case to the HVAC module assembly lower case to their original
position.
Tighten
Tighten the screws to 1.5 N.m (13 lb in).
9. Install new screws that will secure the HVAC module assembly upper case to the HVAC module assembly lower case in the predrilled holes
adjacent to the heat stakes.
Tighten
Tighten the screws to 1.5 N.m (13 lb in).
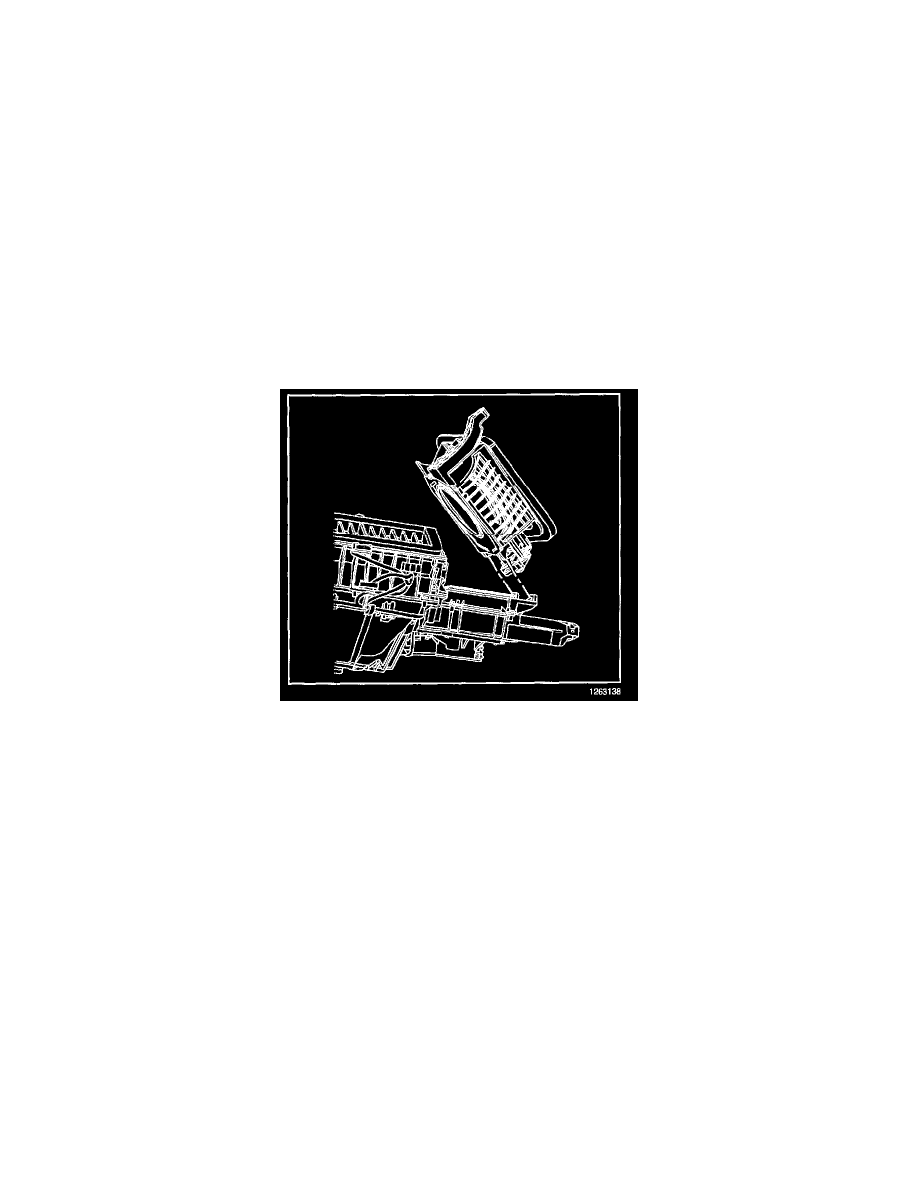
10. Install the mode actuator.
11. Install the screws that secure the mode actuator to the HVAC module assembly.
Tighten
Tighten the screws to 1.5 N.m (13 lb in).
12. Install the recirculation housing to the HVAC module assembly.
13. Install the screws that secure the recirculation housing to the HVAC module assembly
Tighten
Tighten the screws to 1.5 N.m (13 lb in).
14. Install new sealing washers on the evaporator core.
15. Install the TXV to the evaporator core.
16. Install the bolts that secure the TXV to evaporator core.
Tighten
Tighten the bolts to 7 N.m (62 lb in).
17. Install the HVAC module assembly.