
Grand Prix V6-3.8L VIN 2 (2004)
20.
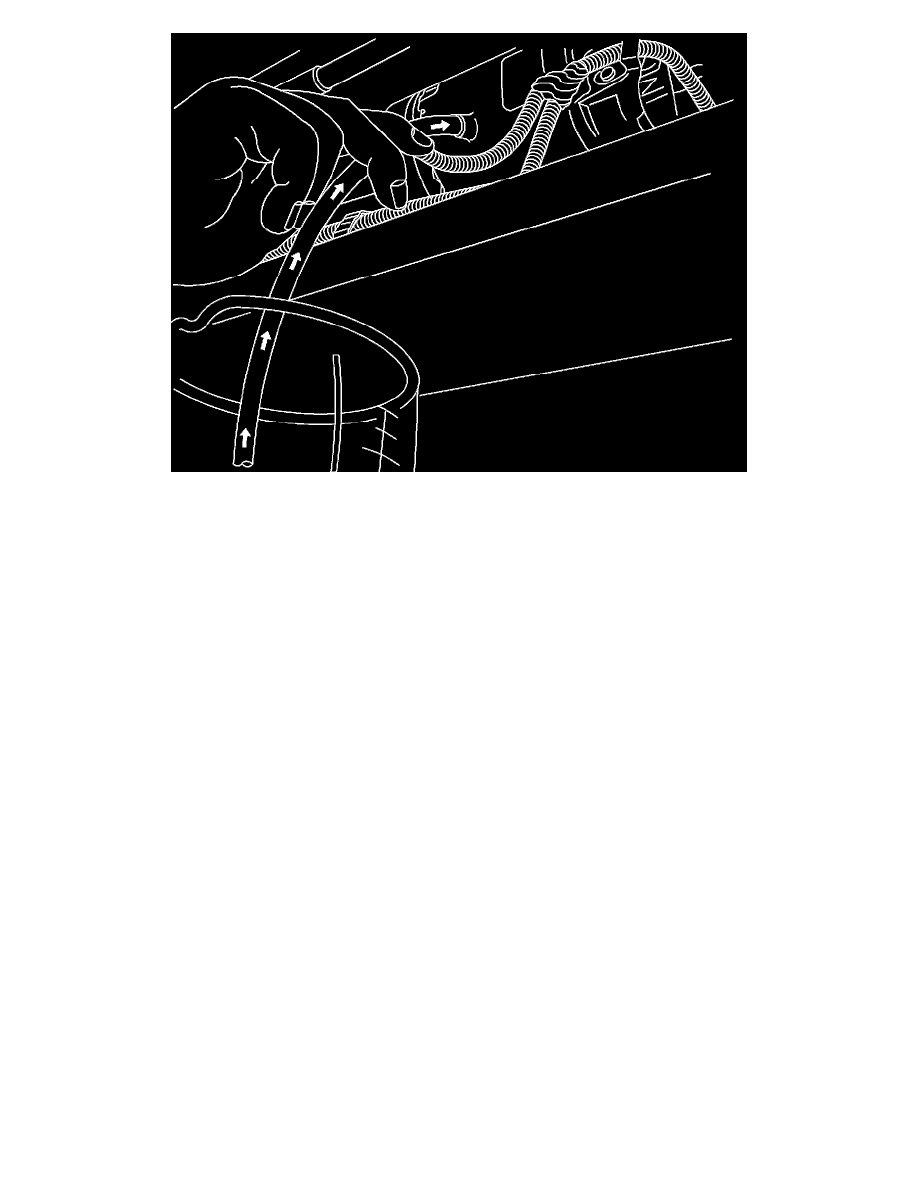
Connect a 228.6 mm-304.8 mm (9 in - 12 in) piece of 9/32 vacuum hose to the oil drain port and put the other end of the vacuum hose in the
previously measured oil and allow the vacuum from the ACR2000 machine to draw the oil into the compressor.
21.
Reinstall the compressor oil drain plug.
Tighten
Tighten the oil drain plug to 16 N.m(12 lb ft).
22.
Turn OFF the ACR2000 vacuum cycle.
23.
Manually turn the A/C compressor clutch ten revolutions with your hand to internally lubricate the compressor.
24.
Reinstall the three bolts retaining the front splash shield.
Tighten
Tighten three splash shield retainers to 20 N.m (15 lb ft).
25.
Lower the vehicle.
26.
Connect the ACR2000 low side service hose and open the valve.
27.
Start the ACR2000 automatic vacuum cycle.
28.
Charge the A/C system with 1.04 kg (2.3 lbs) of R134a refrigerant. Perform a snap shot with the ACR2000 of the A/C system operating data. Print
out the snap shot and attach it to the repair order. Refer to Warranty Administration Corporate Bulletin Number 99-01-38-006A.
29.
Disconnect the ACR2000 machine.
30.
Reinstall and "hand tighten" the A/C service port caps.
31.
Start the vehicle and verify the A/C system performance.
32.
Remove the fender covers and close the hood.