
Grand Prix V8-5.3L (2007)
INSTALLATION PROCEDURE
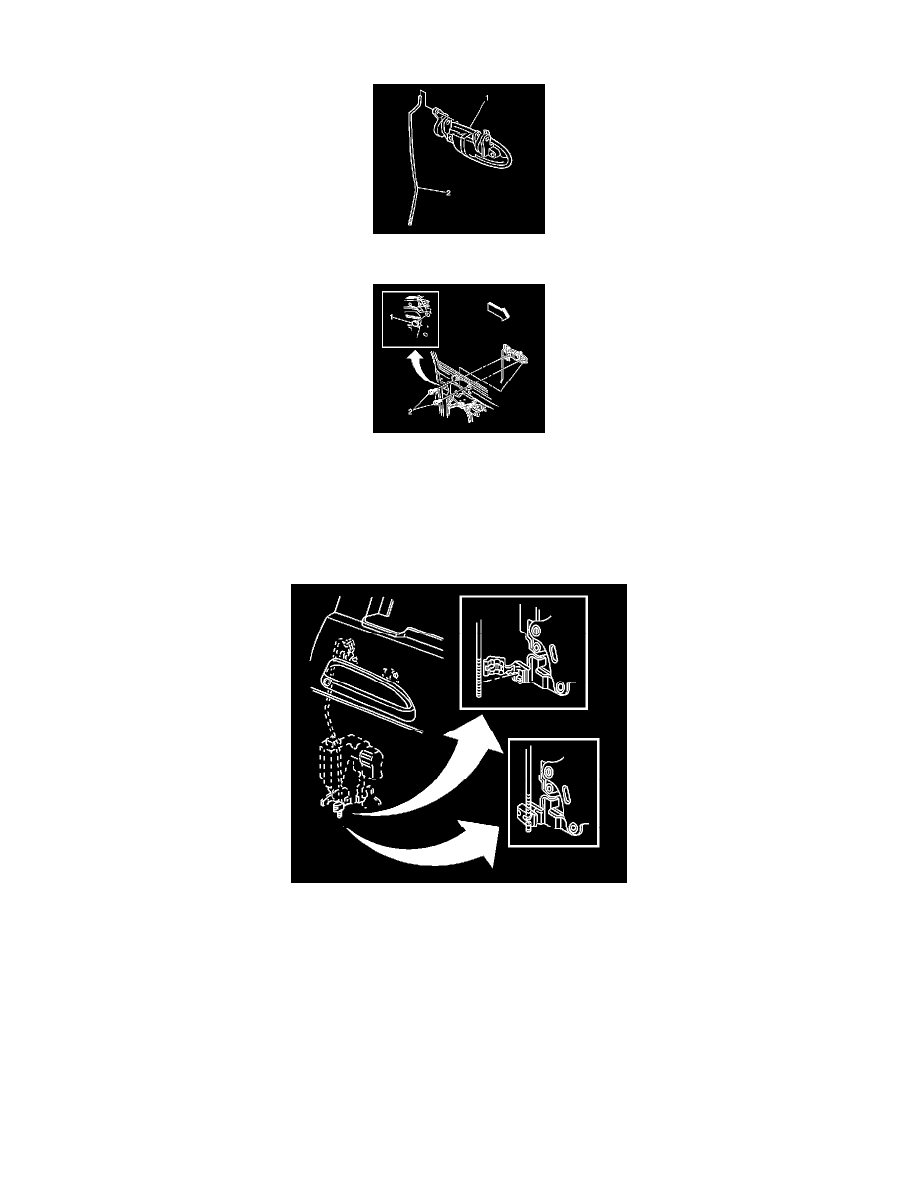
1. Install the outside handle (1) and rod (2) to the door.
2. NOTE: Refer to Fastener Notice.
Install the outside handle bolts (2).
Tighten the bolts to 10 N.m (89 lb in).
3. Install the outside handle bolt access plug (1) to the inner door panel.
4. Install the lock cylinder rod to the outside door handle.
5. IMPORTANT: The outside handles have adjustable outside handle lock rods. This allows for adjustment of the amount of travel needed in order
to operate the outside handle.
When servicing a vehicle with adjustable outside handle lock rods, remove all free play between the outside handle and the lock. Also, do not
operate the outside handle before these connections are made.
Install the outside handle rod into the clip
6. Close the clip cover over the outside handle rod.
7. Inspect the outside handle for proper operation.
8. Remove the masking tape.
9. Install the front door water deflector.
10. Install the front door trim panel.