
Grand Prix V8-5.3L (2007)
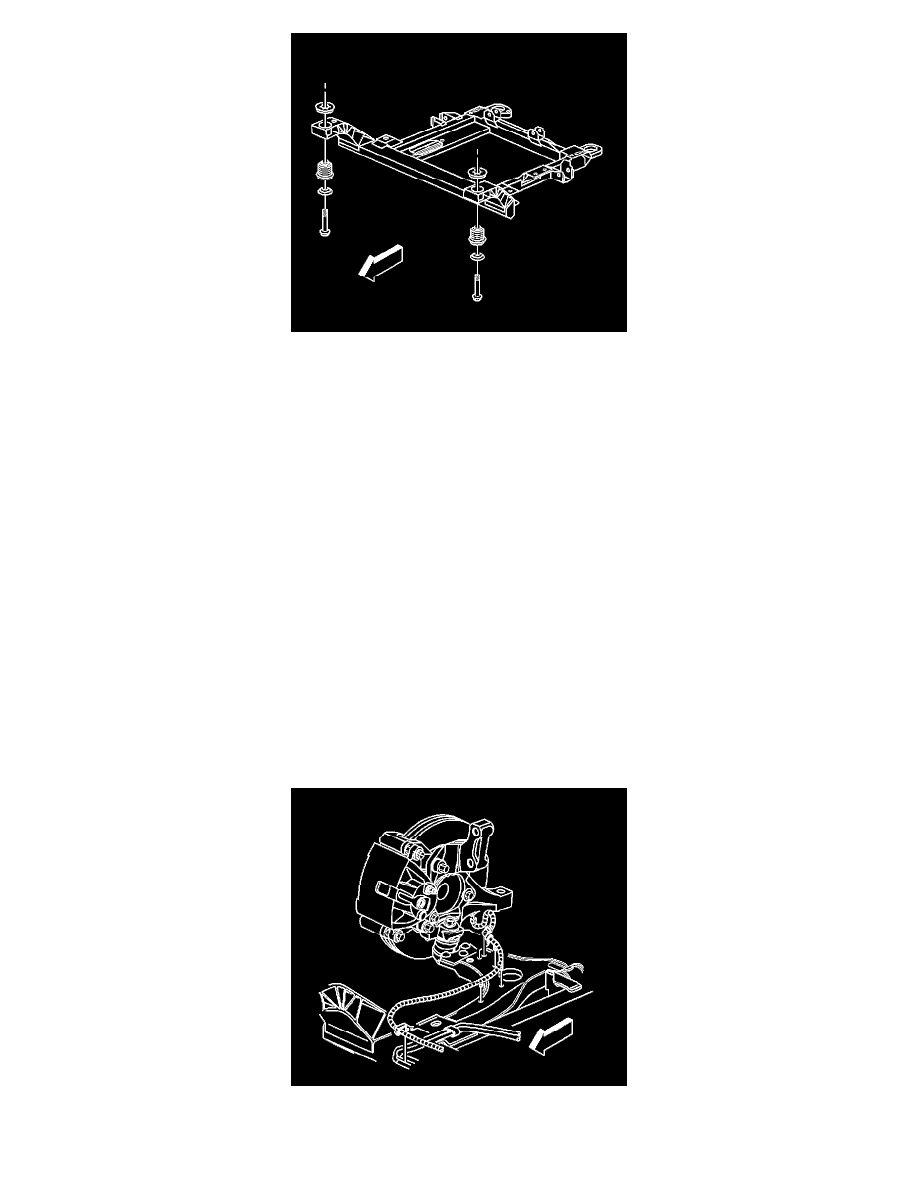
5. Loosely install the bolts to secure the front frame to the body.
6. Align the frame to the body by inserting two 19 X 203 mm (0.74 X 8 in) pins in the alignment holes on the right side of the frame.
Notice: Refer to Fastener Notice in Service Precautions.
7. Install the front and rear frame bolts.
*
Tighten the front bolts to 145 N.m (107 lb ft).
*
Tighten the rear bolts to 160 N.m (118 lb ft).
8. Install the drivetrain reinforcements using the following procedure:
1. Position the drivetrain reinforcements to the front frame mount stud to the support brace.
2. Loosely install the drivetrain reinforcement to support brace bolts.
3. Install the drivetrain reinforcement to cradle mount nut.
*
Tighten the drivetrain reinforcement brace nut to 50 N.m (37 lb ft).
*
Tighten the drivetrain reinforcement brace bolts to 25 N.m (18 lb ft).
9. Install the radiator to front frame brackets.
10. Connect both the lower ball joints to the steering knuckle.
11. Install the nuts that secure the engine mount to the frame.
12. Install the nuts which secure the transaxle mount to the frame.
13. Install the steering gear mounting bolts.
14. Install the stabilizer shaft links.
15. If applicable, connect the wheel speed sensor wiring harness to the frame and lower control arm.
16. If applicable, connect the front wheel speed sensor connectors (1).