
Grand Prix V8-5.3L (2007)
Tighten the screws to 3 N.m (27 lb in).
6. Install the cargo net.
Seat Back Replacement - Rear (Folding)
Seat Back Replacement - Rear (Folding)
Removal Procedure
1. Remove the rear seat cushion.
2. Remove the rear center seat belts.
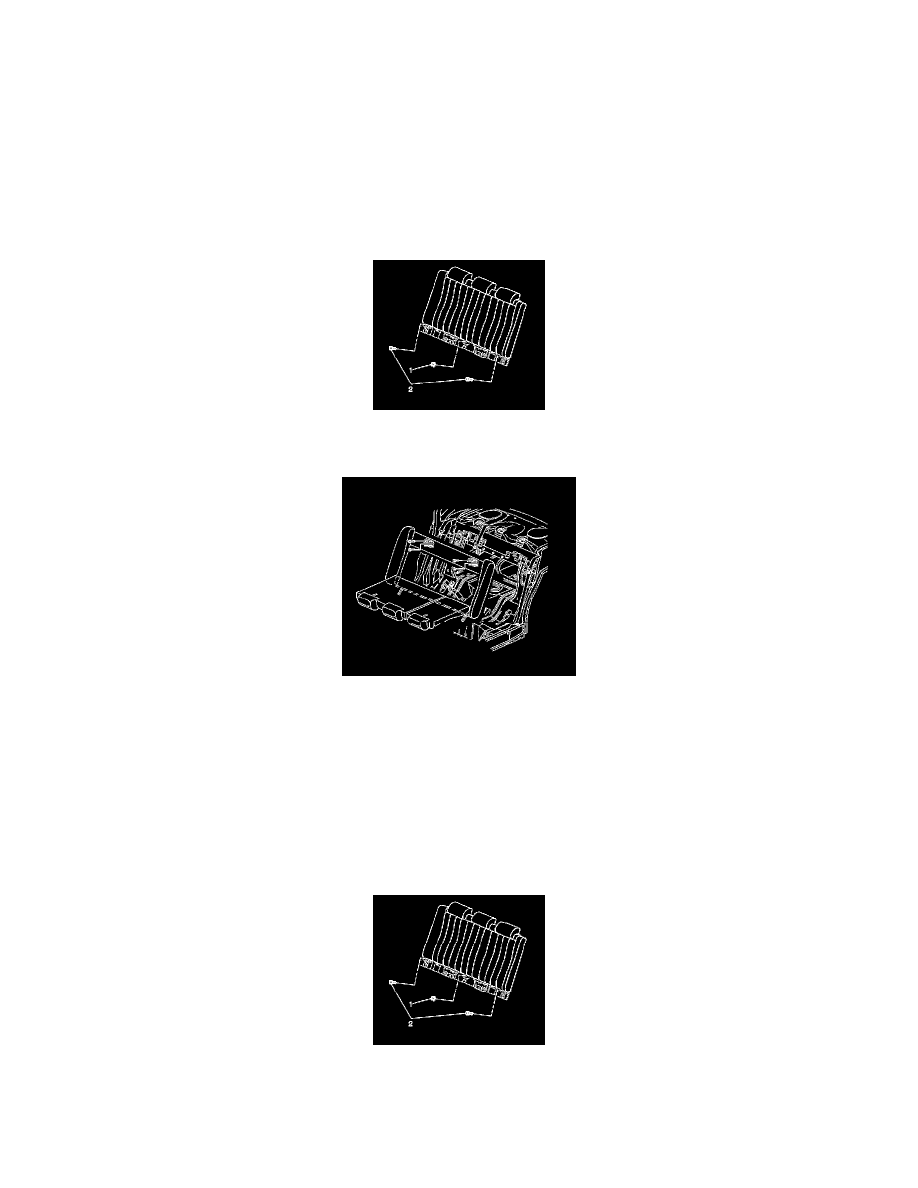
3. Remove the nut (1) from the child rear seat latch bracket.
4. Remove the bolts (2) from each end of the latch bracket.
5. Fold the rear seat back cushions down.
6. Remove the anchor bolts from the rear seat latches.
7. Remove the rear seat latches from the rear seat back.
8. Fold the rear seat back cushions up.
9. Reposition the seat belts from the rear seat back.
10. Remove the rear seat back from the vehicle.
Installation Procedure
1. Position the rear seat back to the vehicle.
2. Reposition the seat belts to the rear seat back.
Notice: Refer to Fastener Notice in Service Precautions.
3. Apply a thread sealant, GM P/N 12345382, (Canadian P/N 10953489), Loctite 242, Permatex 24200 to the threads of the bolts (2) and also the
stud for the bracket nut (1).
4. Install the child seat latch bracket nut (1).