
Grand Prix V8-5.3L (2007)
11. Remove the exhaust manifold bolts.
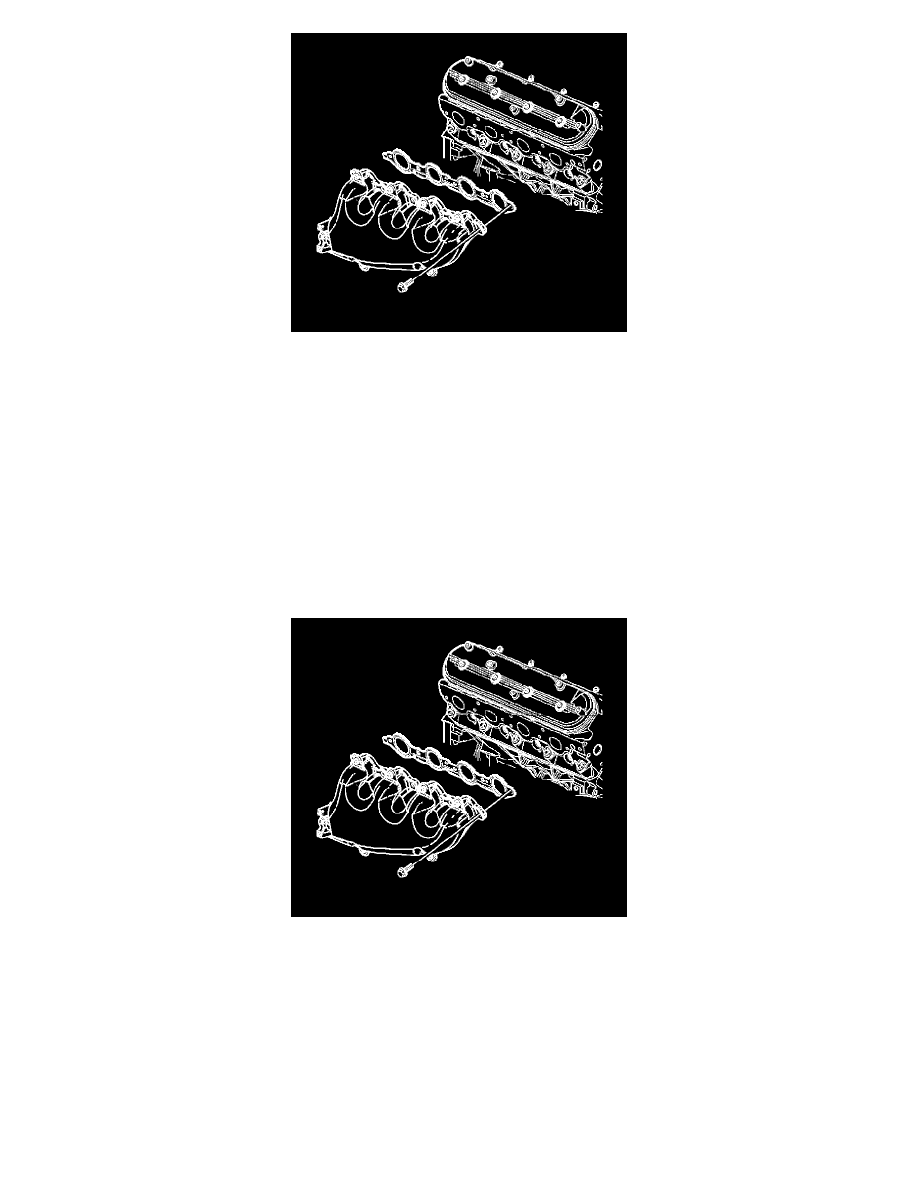
12. Remove the exhaust manifold.
13. Remove and discard the exhaust manifold gasket.
14. Clean and inspect the left exhaust manifold.
Installation Procedure
Important:
*
Tighten the exhaust manifold bolts as specified in the service procedure. Improperly installed and/or leaking exhaust manifold gaskets my
affect vehicle emissions and/or On Board Diagnostic (OBD) II system performance.
*
The cylinder head exhaust manifold bolt hole threads must be clean and free of debris or threadlocking material.
*
DO NOT apply threadlock to the first three thread of the bolts.
1. Apply a 5 mm (0.2 in) wide band of threadlock GM P/N 12345493 (Canadian P/N 10953488) or equivalent to the threads of the exhaust manifold
bolts.
Notice: Refer to Fastener Notice.
2. Install a NEW exhaust manifold gasket, the exhaust manifold and bolts.
^
Tighten the bolts a first pass to 15 N.m (11 lb ft). Tighten the bolts beginning with the center 2 bolts. Alternate from side to side, and work
toward the outside.
^
Tighten the bolts a final pass to 20 N.m (15 lb ft). Tighten the bolts beginning with the center 2 bolts. Alternate from side to side, and work
toward the outside.
3. Using a flat punch, bend over the exposed edge of the exhaust manifold gasket at the rear of the right cylinder head.