
Grand Prix V8-5.3L (2007)
Body Control Module: Service and Repair
BODY CONTROL MODULE REPLACEMENT
REMOVAL PROCEDURE
1. NOTE: Electrostatic discharge (ESD) can damage many solid-state electrical components. ESD susceptible components may or may not be
labeled with the ESD symbol. Handle all electrical components carefully. Use the following precautions in order to avoid ESD damage:
-
Touch a metal ground point in order to remove your body's static charge before servicing any electronic component; especially after sliding
across the vehicle seat.
-
Do not touch exposed terminals. Terminals may connect to circuits susceptible the ESD damage.
-
Do not allow tools to contact exposed terminals when servicing connectors.
-
Do not remove components from their protective packaging until required to do so.
-
Avoid the following actions unless required by the diagnostic procedure:
-
Jumpering or grounding of the components or connectors.
-
Connecting test equipment probes to components or connectors. Connect the ground lead first when using test probes.
-
Ground the protective packaging of any component before opening. Do not rest solid-state components on metal workbenches, or on top of
TVs, radios, or other electrical devices.
IMPORTANT: You must perform the new body control module (BCM) setup when replacing the BCM. Refer to Control Module References. See:
Testing and Inspection/Programming and Relearning
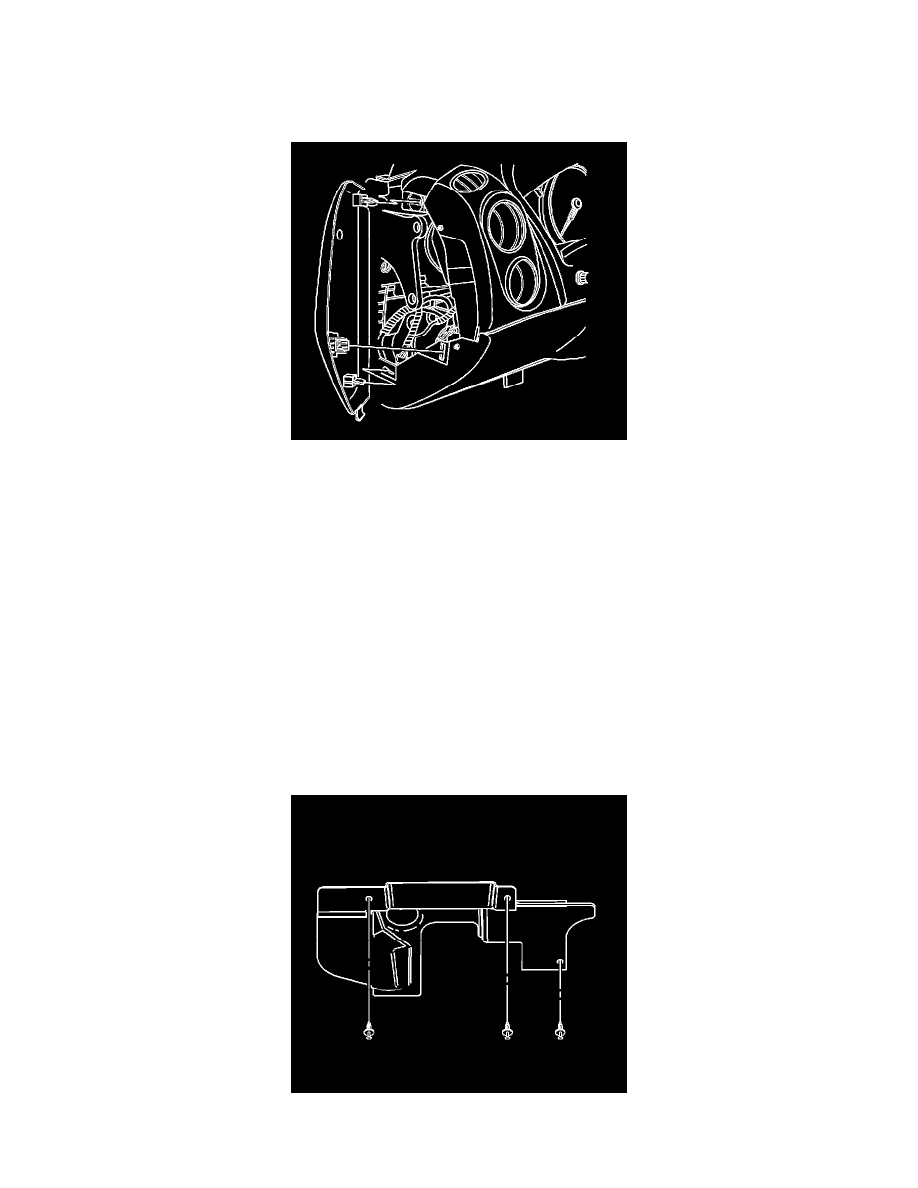
Pull the left instrument panel (I/P) compartment access hole cover from the I/P trim pad.
2. Press to release the cam lock. Disconnect the upper electrical connector from the BCM.
3. Remove the left I/P insulator fasteners.
4. Rotate the lamp. Remove the lamp from the insulator.