
GTO V8-6.0L VIN U (2005)
4. Install adhesive tape to the outside edges of the front bumper fascia extension.
5. Ensure that the body area is at a temperature range of 20-30°C (68-86°F). Heat the area, if necessary.
6. Peel back 25.0 mm of the tape liner from both ends.
7. Align front bumper fascia extension to the front bumper fascia.
8. Carefully remove the tape liner starting from the center of the vehicle and press down working from the center to get good adhesion. Keep a
distance of 6 inches between pressing down on tape area onto vehicle and peeling of tape liner to avoid stretching liner resulting in the liner
breaking.
9. using a roller, apply pressure to the part to press the tape onto the fascia.
Notice: Refer to Fastener Notice in Cautions and Notices.
10. Install the screws to the front lower wheel arch opening.
Tighten the screws to 2 N.m (17 lb in).
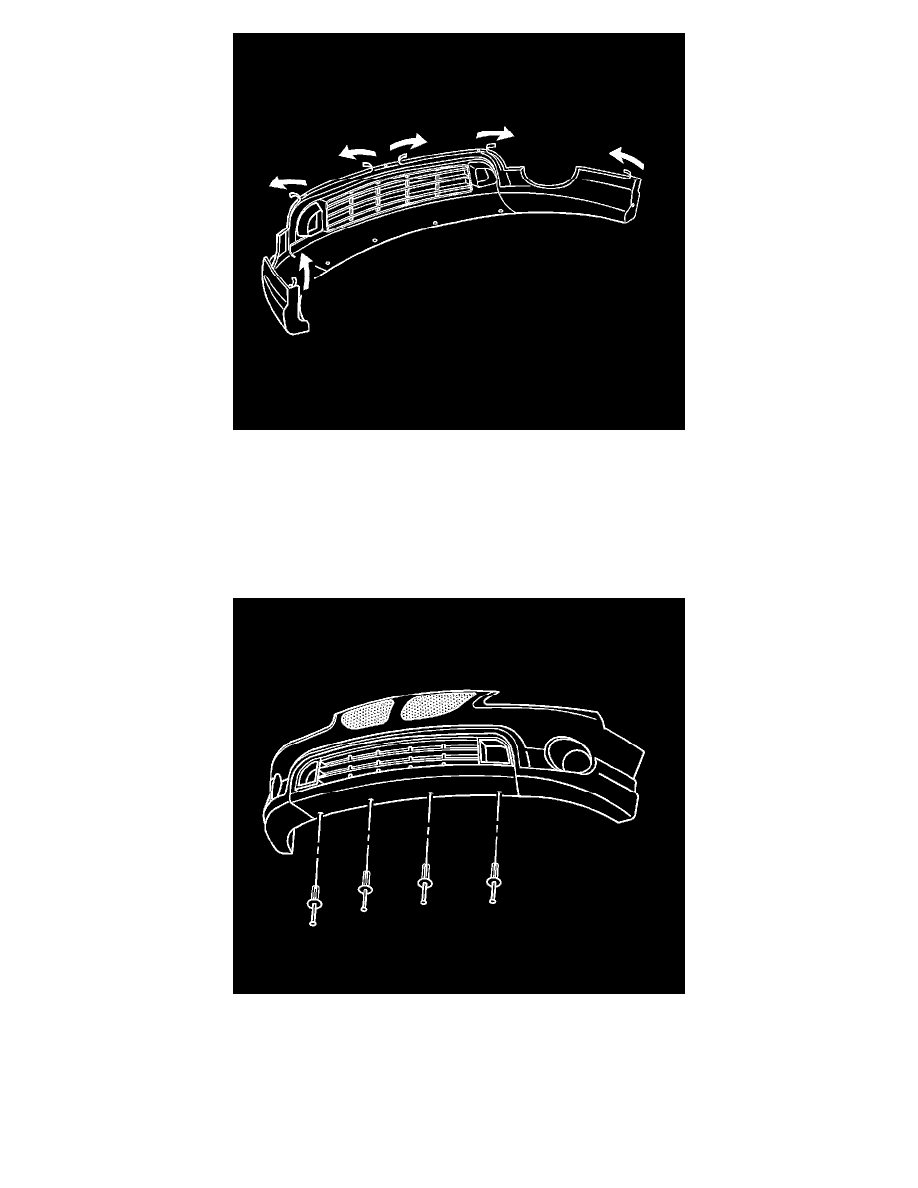
11. Fasten the lower edge of the front fascia extension using the push-in retainers.
12. Install the license bracket. Refer to License Bracket Replacement - Front (See: Exterior Moulding / Trim/License Plate Bracket/Service and