
GTO V8-6.0L VIN U (2005)
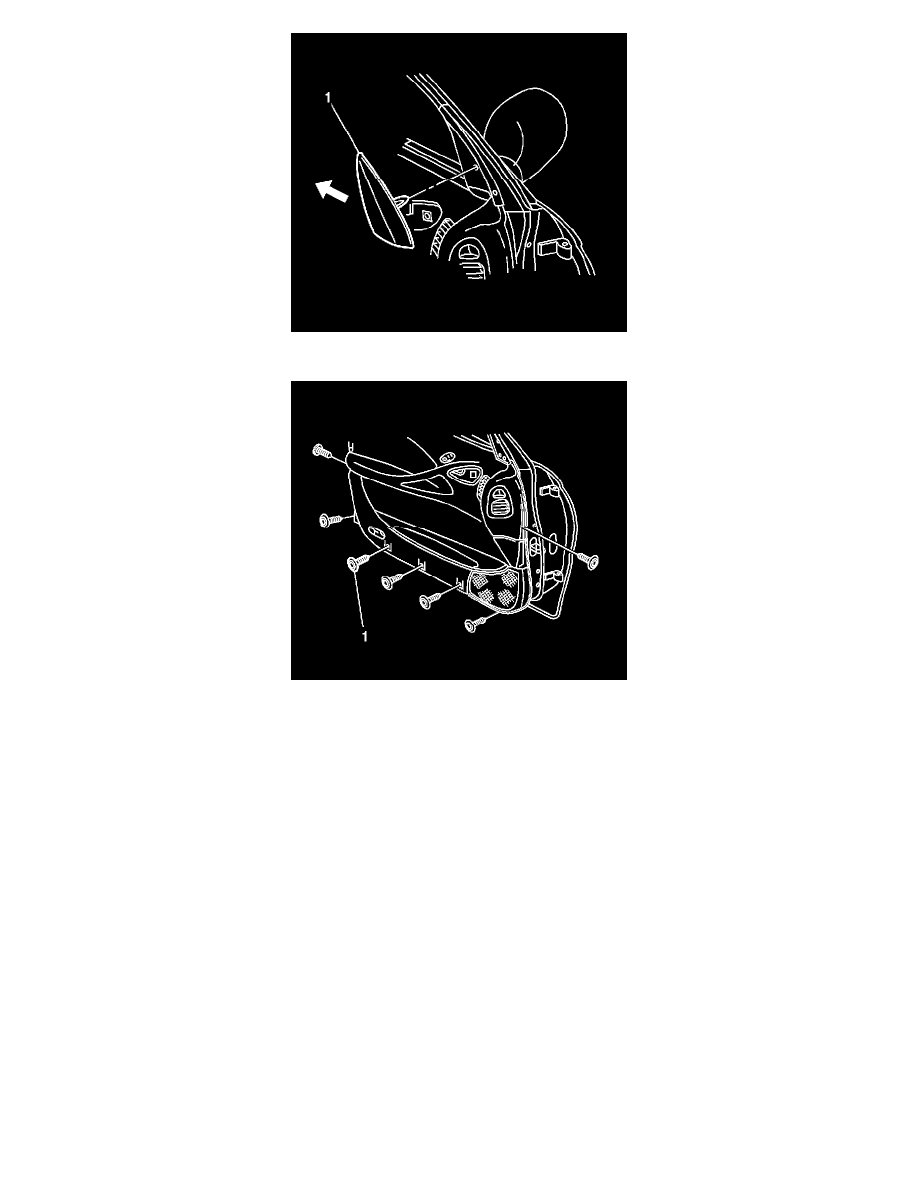
4. Gently pull the front edge of the side window outlet defogger (1) out and remove to the rear.
5. Remove the 7 screws (1) securing the door trim panel assembly to the inner door panel.
6. Lift the top of the panel assembly up and out of the door inner channel.
IMPORTANT: Support the front door trim panel until the wiring harness connectors are disconnected.
7. Remove the door trim panel from the vehicle.
8. Remove the rear view mirror switch, if necessary.
9. Remove the speaker grille, if necessary.
10. Remove the sound insulator, if necessary.
11. Remove the energy absorber pad, if necessary.
12. Remove the door storage bin, if necessary.
13. Remove the door armrest, if necessary.
14. Remove the door inside handle bracket, if necessary.
15. Remove the window air defogger duct, if necessary.
16. Remove the door air outlet assembly, if necessary.
17. Remove the door air duct assembly, if necessary.
18. Remove the inner belt sealing strip, if necessary.
19. Remove the door courtesy lamp, if necessary.
INSTALLATION PROCEDURE
1. Install the door courtesy lamp, if removed.
2. Install the inner belt sealing strip, if removed.
3. Install the door air duct assembly, if removed.
4. Install the door air outlet assembly, if removed.
5. Install the window air defogger duct, if removed.
6. Install the door inside handle bracket, if removed.