
GTO V8-6.0L VIN U (2005)
7. Starting at the lower edge of the trim panel and moving alternately clockwise and counterclockwise, push inward on the trim panel to engage the 8
rear quarter trim panel attaching clips (2).
8. Install the 3 quarter trim panel retaining screws (1).
Tighten the quarter trim panel retaining screws to 2 N.m (18 lb in).
9. Install the rear seat back. Refer to Seat Back Replacement - Rear (See: Seats/Seat Back/Service and Repair/Removal and Replacement/Seat Back
Replacement - Rear) in Seats.
10. Install the rear seat cushion. Refer to Seat Cushion Replacement - Rear (See: Seats/Seat Cushion/Service and Repair/Removal and
Replacement/Seat Cushion Replacement - Rear) in Seats.
11. Install the door sill plate. Refer to Door Sill Plate Replacement (See: Scuff Plate/Service and Repair/Removal and Replacement) .
Trim Panel Replacement - Rear Quarter Upper
Trim Panel Replacement - Rear Quarter Upper
Removal Procedure
1. Remove the upper center trim panel. Refer to Trim Panel Replacement - Upper Center Pillar (See: ) .
2. Remove the rear quarter trim panel. Refer to Trim Panel Replacement - Rear Quarter (See: ) .
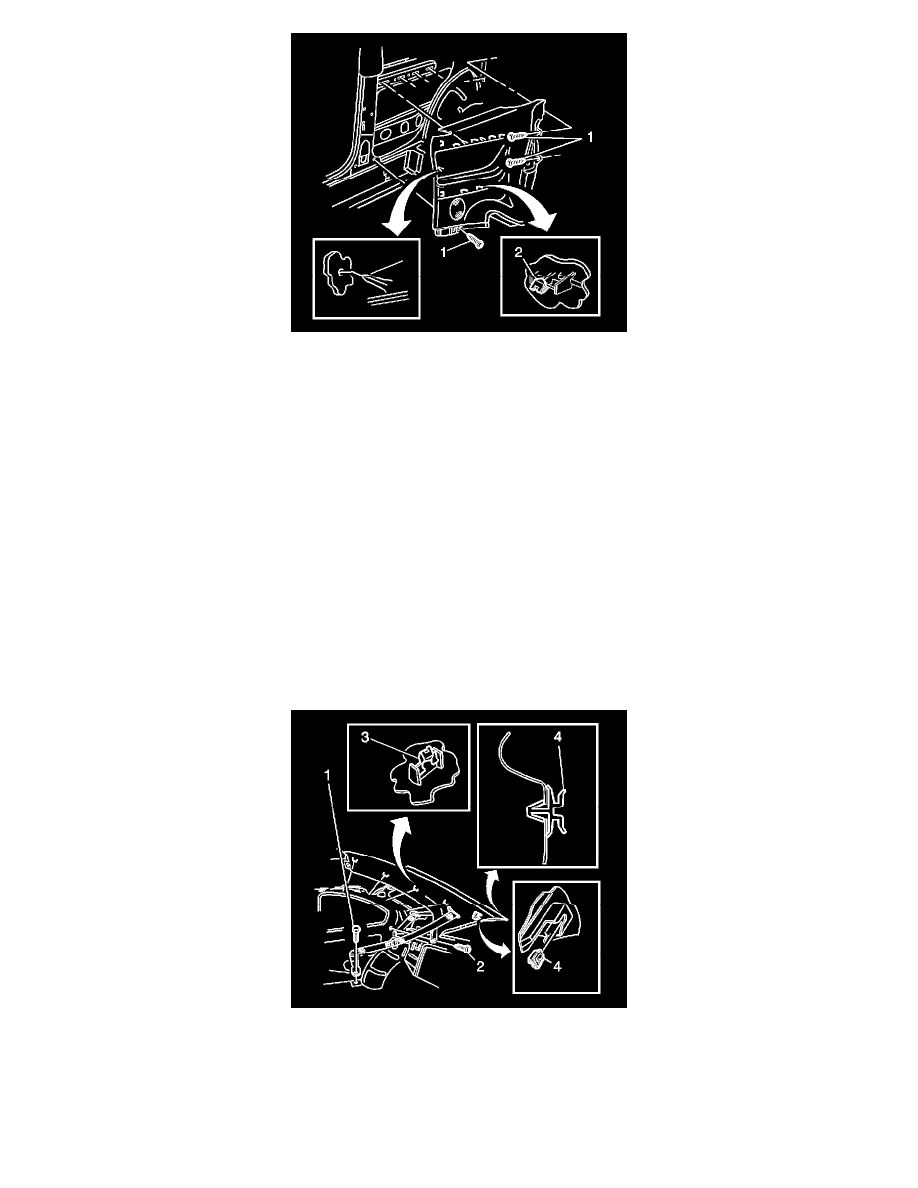
3. Remove the rear lower seat belt bolt (1).
4. Remove the retaining screw (2), from the lower edge of the rear quarter upper trim panel.
5. Pull the front edge of the trim panel away from the body lock pillar, and working rearwards, disengage the trim panel clips (3), in 4 places.
6. Slide the trim panel forward to disengage from the retainer (4), which is attached to the body lock pillar.