
GTO V8-6.0L VIN U (2005)
7. Important: Be sure to align the oil gallery passages in the oil pan and engine block properly with the oil pan gasket.
Preassemble the oil pan gasket to the pan.
1. Install the gasket onto the oil pan.
2. Install the oil pan bolts to the pan and through the gasket.
8. Install the oil pan, gasket and bolts to the engine block.
9. Tighten bolts finger tight. Do not overtighten.
10. Place a straight edge across the rear of the engine block and the rear of the oil pan at the transmission housing mounting surfaces.
11. Align the oil pan until the rear of engine block and rear of oil pan are flush or even.
1. Tighten the oil pan-to-block and oil pan-to-front cover bolts to 25 Nm (18 ft. lbs.).
2. Tighten the oil pan-to-rear cover bolts to 12 Nm (106 inch lbs.).
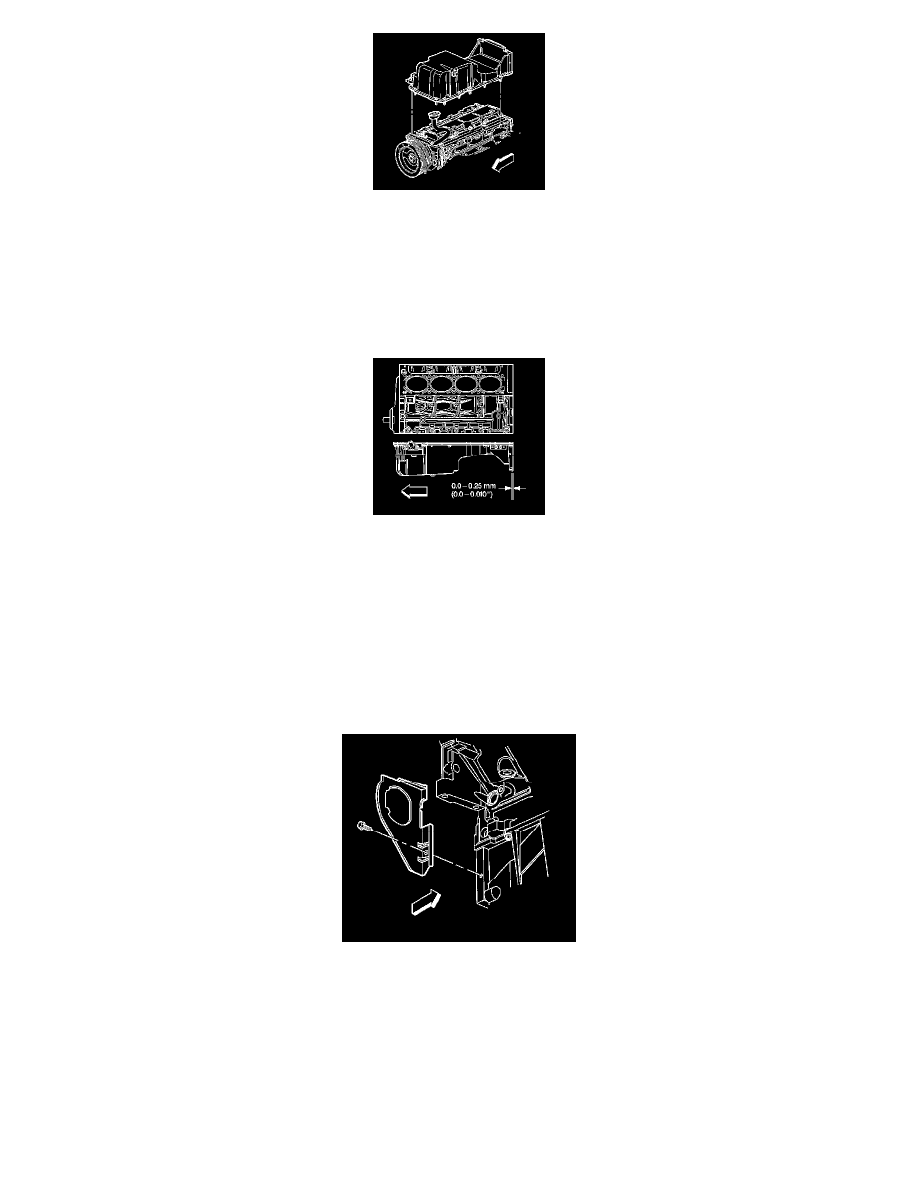
12. Measure the oil pan-to-engine block alignment.
1. Place a straight edge across the rear of the engine block and rear of oil pan at the transmission housing mounting surfaces.
2. Important: The rear of the oil pan must NEVER protrude beyond the engine block and transmission housing mounting surfaces.
Insert a feeler gage between the straight edge and the oil pan transmission housing mounting surface and check to make sure that there is no
more than a 0.25 mm (0.01 in) gap between the pan and straight edge.
3. If the oil pan alignment is not within specifications, remove the oil pan and repeat the above procedure.
13. Install the right closeout cover and bolt.