
GTO V8-6.0L VIN U (2005)
Tail Lamp: Service and Repair
TAIL LAMP ASSEMBLY AND /OR BACKUP, SIDEMARKER, STOP, TURN SIGNAL BULB REPLACEMENT
REMOVAL PROCEDURE
1. Raise the rear compartment lid.
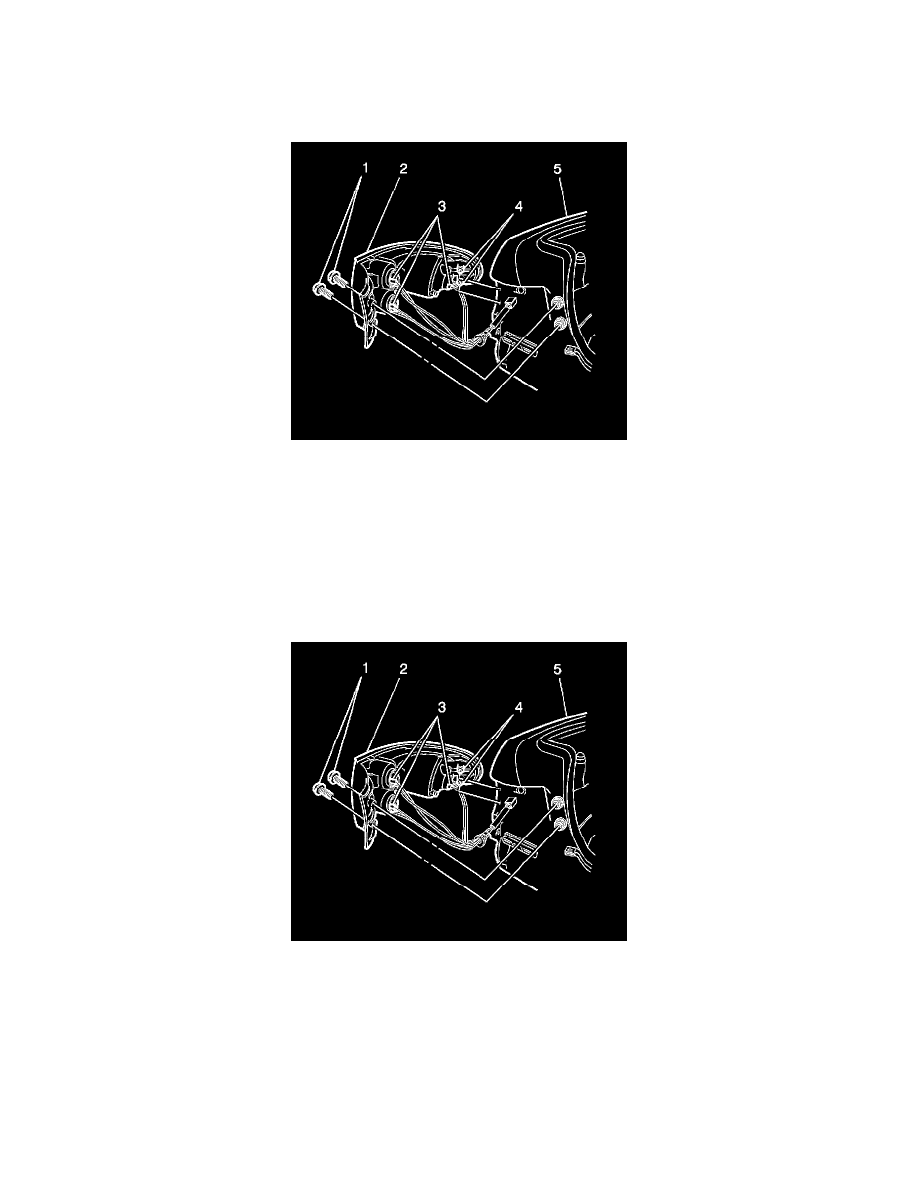
2. Remove the two lamp assembly to body attaching screws (1).
3. Pull the tail lamp assembly (2) sideways and out from the panel (5) so that the locating pegs (4) on the side of the lamp assembly snap free from
the retainers.
4. Remove the sockets (3) by turning counterclockwise and pulling them away from the reflector.
5. Remove the tail lamp assembly (2) from the vehicle.
6. Remove the necessary bulbs from the sockets (3), by depressing the bulbs and then rotating counterclockwise.
7. Pull the necessary bulbs from the sockets (3), if replacing the bulbs.
INSTALLATION PROCEDURE
1. Press the necessary bulbs into the sockets (3), if replacing the bulbs.
2. Install the bulb/sockets (3) to the tail lamp housing assembly (2). Rotate each socket (3) clockwise to secure.
3. Position the tail lamp assembly (2) to the rear body panel (5) and align the locating pegs (4) with the retainers.
NOTE: Refer to Fastener Notice in Service Precautions.
4. Install the two tail lamp assembly to body attaching screws (1).
Tighten the screws to 2 N.m (18 lb in).
5. Close the rear compartment lid.