
GTO V8-6.0L VIN U (2005)
Stabilizer Link: Service and Repair
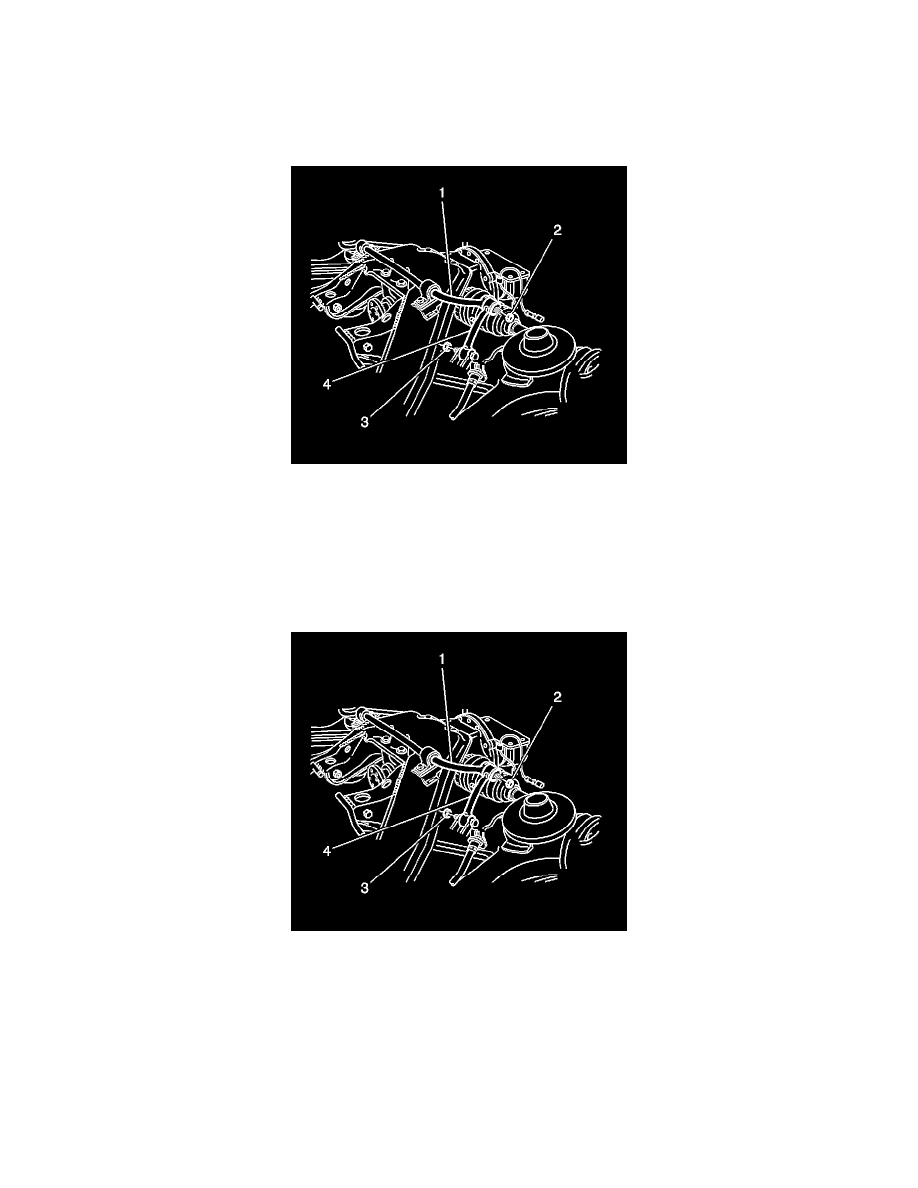
Rear
Stabilizer Shaft Link Replacement
Removal Procedure
1. Raise and support the vehicle. Refer to Vehicle Lifting.
2. Remove the nut (3) that retains the stabilizer shaft link (4) to the rear suspension lower control arm.
3. Remove bolt that retains the link to the control arm.
4. Remove the link from the control arm.
5. Remove the nut (2) that retains the link to the stabilizer shaft (1).
6. Remove the bolt that retains the link to the stabilizer shaft.
7. Remove the link from the stabilizer shaft.
Installation Procedure
1. Clean the stabilizer shaft (1) and the link (4) mating surfaces in order to protect the bushings from damage.
2. Install the link to the stabilizer shaft.
3. Important: Do not tighten the nuts or the bolts yet. The weight of the vehicle must be on the tire and wheel assemblies before tightening the
suspension fasteners.
Install the nut (2) and the bolt in order to retain the link to the stabilizer shaft.
4. Install the link to the rear suspension lower control arm.
5. Install the nut (3) and the bolt in order to retain the link to the control arm.
6. Lower the vehicle.
7. With the weight of the vehicle on the tire and wheel assemblies, bounce the rear of the vehicle several times in order to stabilize the rear
suspension.