
Lemans FWD L4-121 2.0L (1989)
Control Arm Bushing: Service and Repair
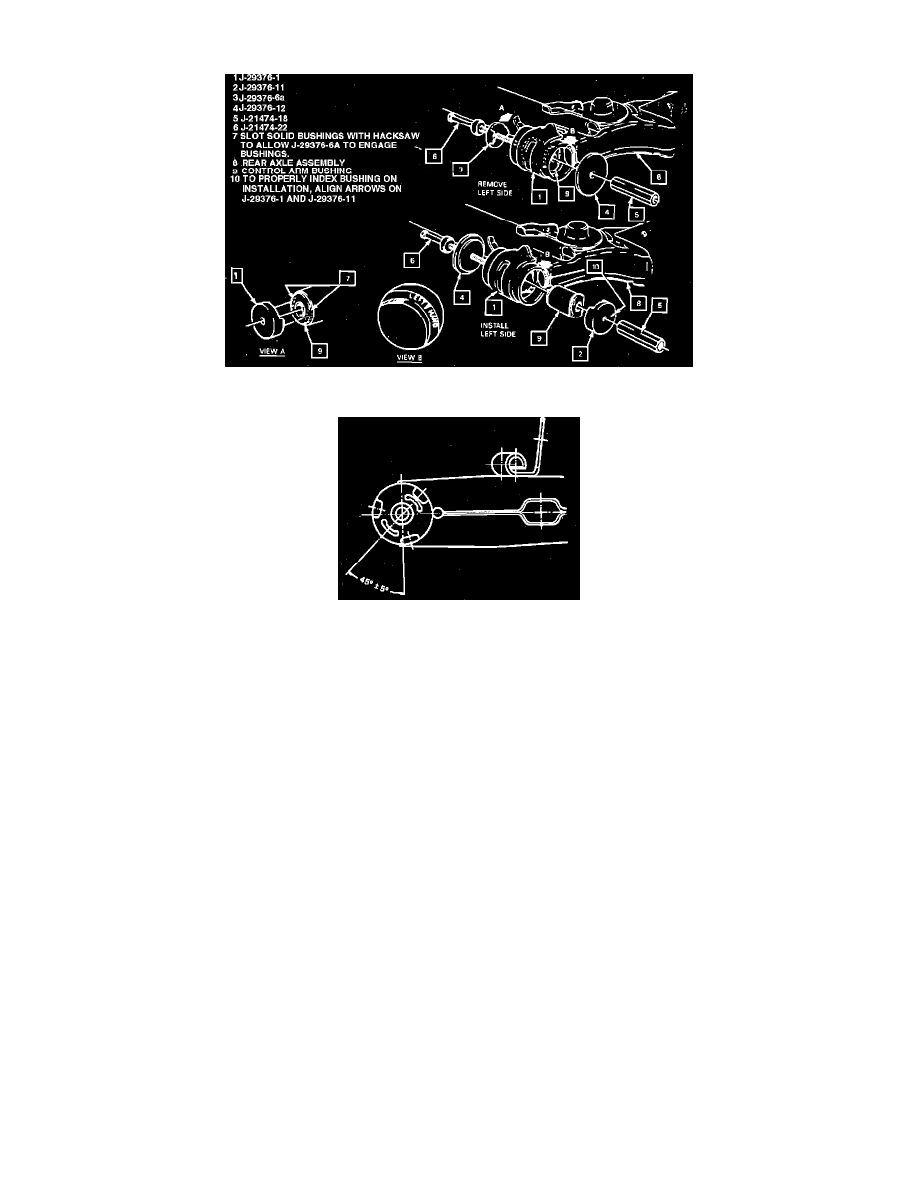
Fig. 3 Control Arm Bushing Removal & Installation
Fig. 4 Control Arm Bushing Alignment
1.
Raise and support rear of vehicle.
2.
Raise one rear axle arm using a suitable jack and remove shock absorber lower attaching bolt.
3.
Raise opposite rear axle arm and remove shock absorber lower attaching bolt.
4.
Lower axle arm slightly and remove coil spring with rubber damper, then raise axle and install shock absorber lower attaching bolt.
5.
Repeat step 4 on opposite side of axle.
6.
Support center of rear axle assembly using a suitable jack.
7.
Remove brake line retaining clips from vehicle underbody and position brake lines in underbody recess.
8.
Remove rear axle attaching bolts, then lower axle slightly and support with tool hangar No. J-29376-13 or equivalent.
9.
Heat control arm bushings to 122-158°F , then remove the bushings using tools shown in Fig. 3.
10.
Install new bushings as shown in Fig. 3.
11.
Reverse remainder of removal procedure to complete installation. Ensure bushings are properly aligned, Fig. 4.