
Montana AWD V6-3.4L VIN E (2004)
Front Door Weatherstrip: Service and Repair
Weatherstrip Replacement - Front Door Opening
Weatherstrip Replacement - Front Door Opening
Removal Procedure
1. Remove the front door opening sill plates. Refer toDoor Sill Plate Replacement (Door) (See: Interior Moulding / Trim/Scuff Plate/Service and
Repair/Door Sill Plate Replacement (Door))Door Sill Plate Replacement (Sliding Door) (See: Interior Moulding / Trim/Scuff Plate/Service and
Repair/Door Sill Plate Replacement (Sliding Door)) .
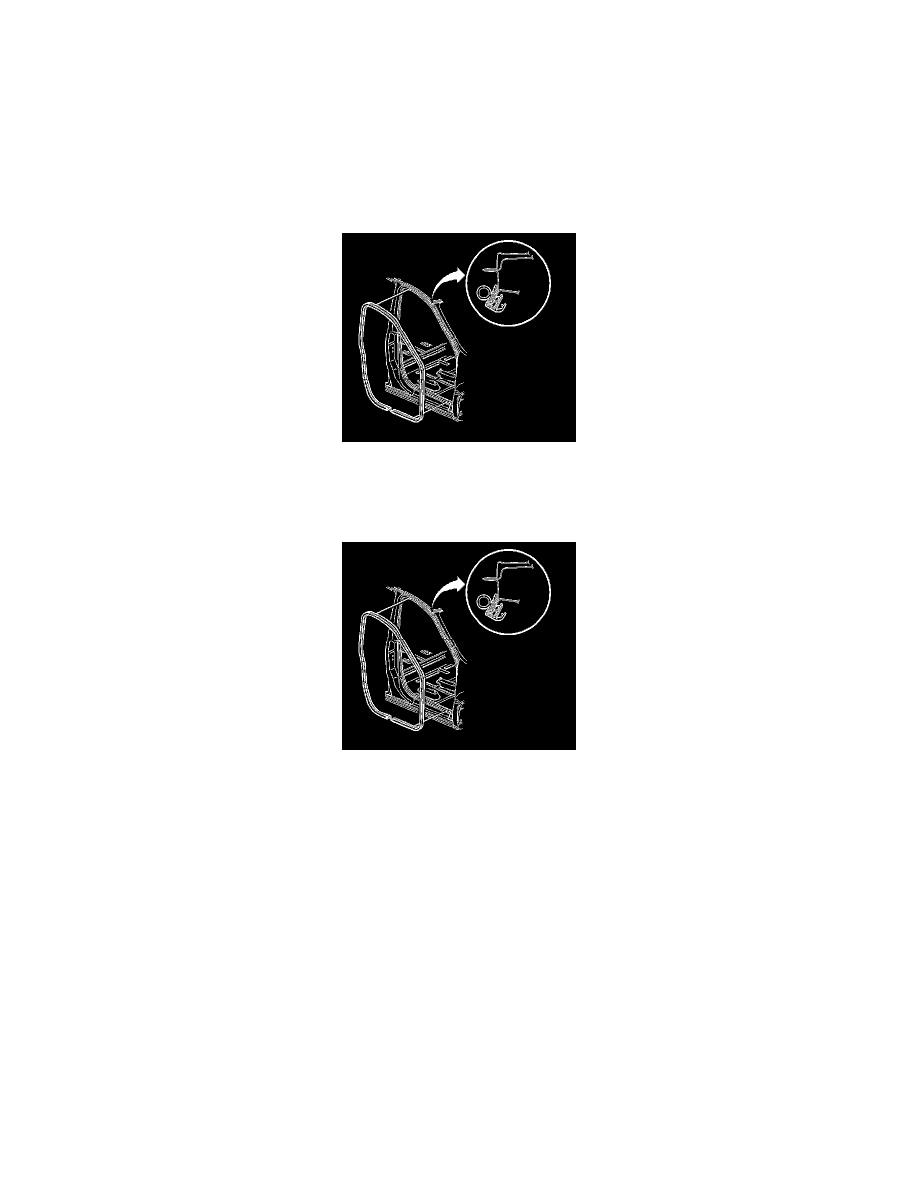
2. Pull the front door opening weatherstrip from the front door pinch-weld flange.
3. Clean all adhesive from the pinch-weld flange.
Installation Procedure
Important: A mastic/sealer/glue is inside the new front door opening weatherstrip. If you are using a new front door opening
weatherstrip, DO NOT use any weatherstrip adhesive.
1. Install the front door opening weatherstrip to the front door pinch-weld flange.
2. Align the appropriate dot to the starting point of the front door opening weatherstrip at the upper rear corner of the front door pinch-weld flange.
*
Use the weatherstrip with a green dot for the right side.
*
Use the weatherstrip with a red dot for the left side.
3. Roll the remainder of the of the front door opening weatherstrip onto the flange.
*
Fully seat the weatherstrip into the corners of the front door opening.
*
DO NOT stretch the front door opening weatherstrip during installation.