
Montana AWD V6-3.4L VIN E (2004)
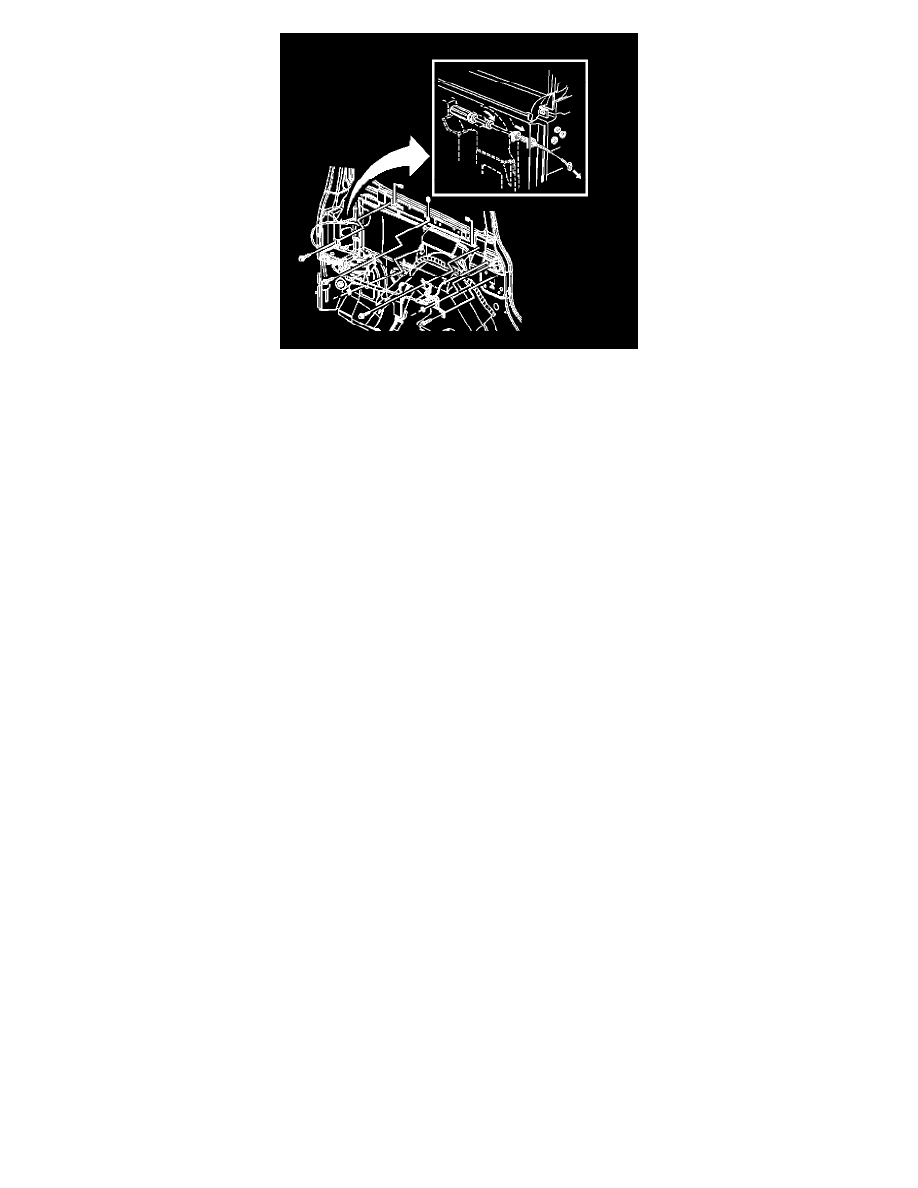
1. Position the motor clutch assembly to the vehicle.
2. Install the motor clutch assembly bolts.
NOTE: Refer to Fastener Notice in Service Precautions.
Tighten
Tighten the bolts to 10 N.m (89 lb in).
3. Install the motor clutch assembly nuts.
Tighten
Tighten the nuts to 10 N.m (89 lb in).
4. Route the front cable through the body.
NOTE: Use care when feeding cables to and from the center track and body to avoid damage to the coated cables and the vehicle's painted surface.
5. Position the front pulley to the front inner quarter panel.
6. Install the front pulley bolts.
Tighten
Tighten the bolts to 10 N.m (89 lb in).
7. Install the rear cable through the opening in the rear pillar.
8. Rotate the end of the rear cable housing 90 degrees in order to lock the housing into place. Start with the flat edges outward against the quarter
panel.
Observe the forward locking tab in order to judge the position of the rearward locking tab. This ensures that the flat side of the locking clips are
properly positioned.
9. Connect the electrical harness to the power sliding door actuator control module.
10. Install the rear air distribution ducts if equipped.