
Montana AWD V6-3.4L VIN E (2004)
6. Connect the electrical connectors to the interior lamp/multifunction switch.
7. Align the retaining tabs on the interior lamp/multifunction switch/reading lamp housing with the overhead console.
8. Press up on the interior lamp/multifunction switch/reading lamp housing in order to install the housing into the overhead console.
Console Replacement - Overhead (Single)
Console Replacement - Overhead (Single)
Removal Procedure
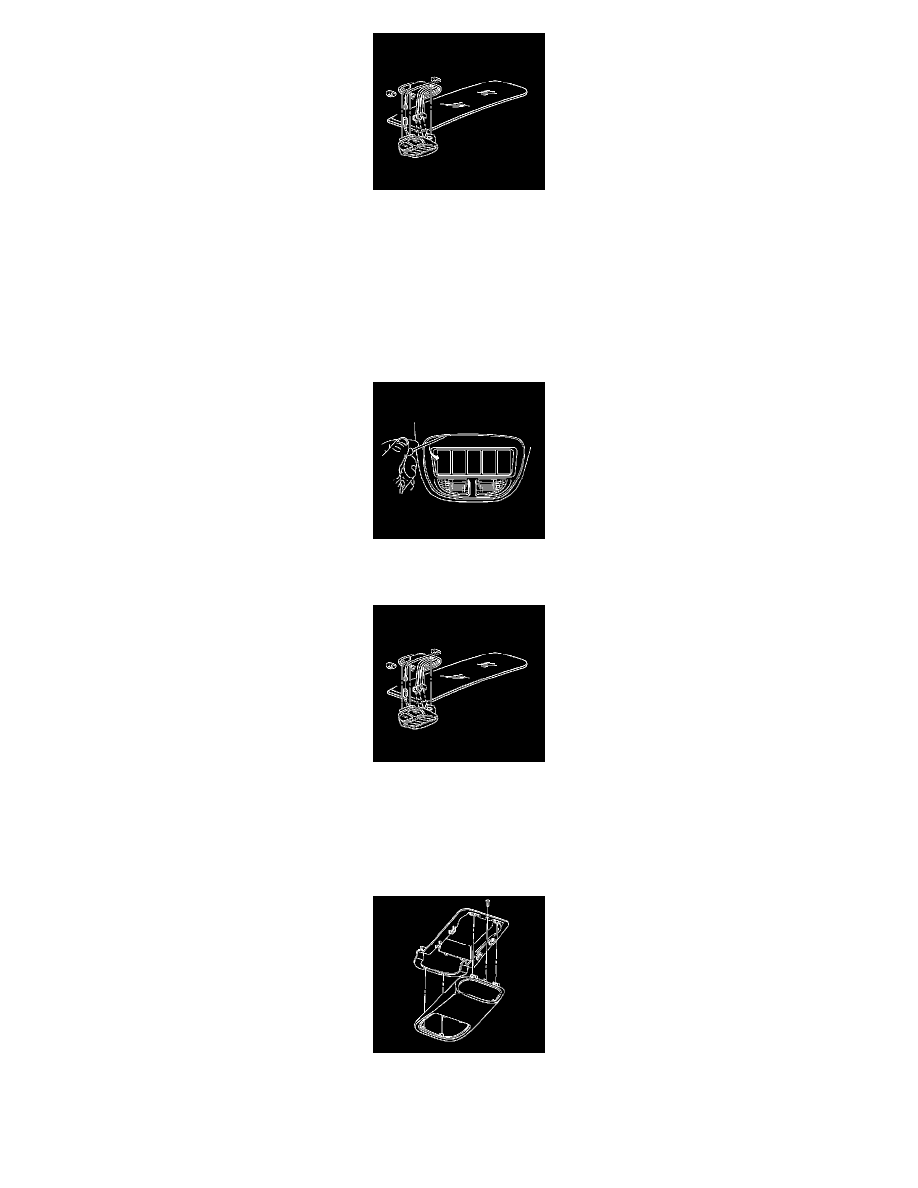
1. Insert a small, flat-bladed tool between the interior lamp/multifunction switch/reading lamp housing and the overhead console.
2. Press inward and down in order to release the interior lamp/multifunction switch/reading lamp housing from the overhead console.
3. Remove the interior lamp/multifunction switch/reading lamp housing from the overhead console.
4. Disconnect the electrical connectors from the interior lamp/multifunction switch.
5. Remove the headliner. Refer to Headliner Replacement (See: Headliner/Service and Repair/Headliner Replacement) .
6. Remove the screw from the rear of the overhead console.
7. Remove the locking nuts from the locating posts.
8. Remove the overhead console from the headliner.
9. Remove the push-nut retainer from the overhead console post in order to separate the 2 halves of the overhead console (single storage).
Installation Procedure