
Montana AWD V6-3.4L VIN E (2004)
Parking Brake Shoe: Adjustments
Park Brake Adjustment (Disc Brake)
Park Brake Adjustment (Disc Brake)
^
Tools Required
-
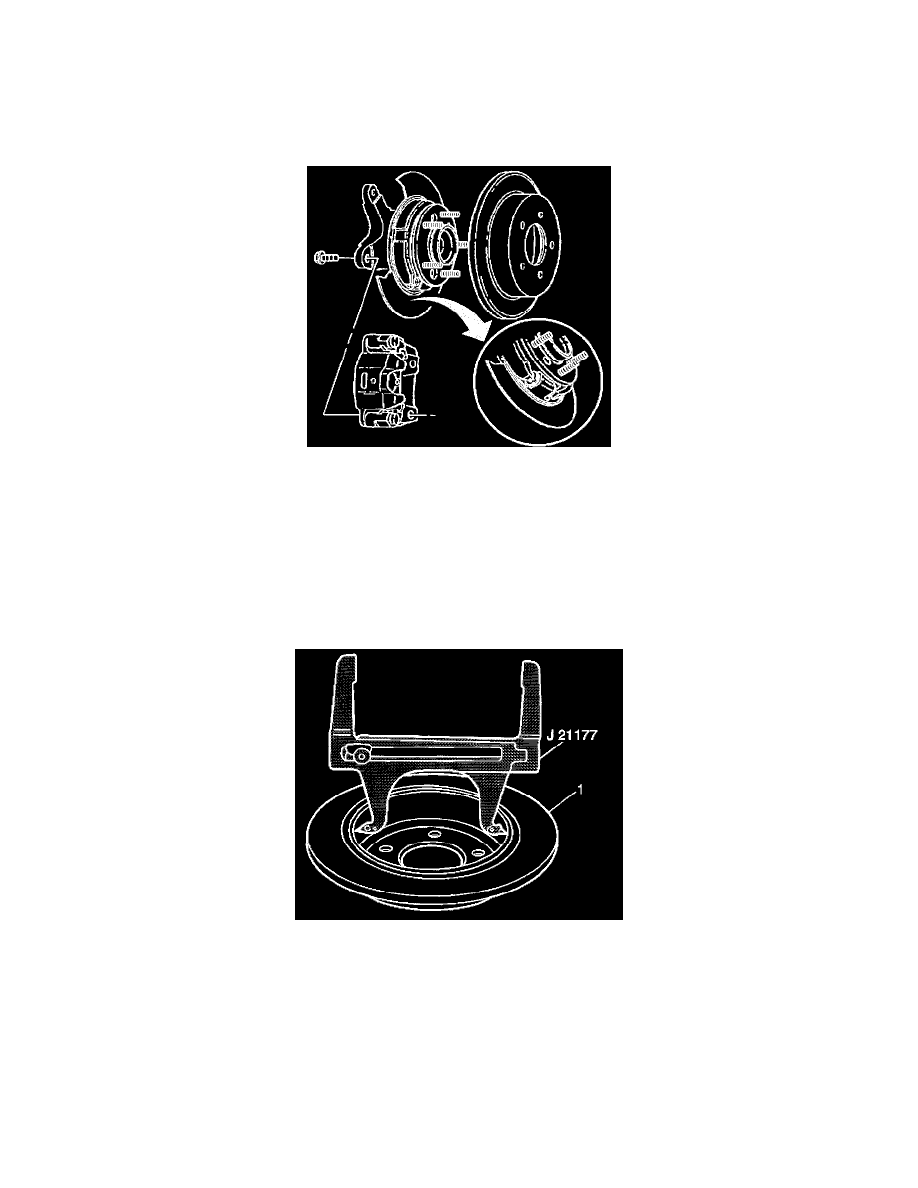
J 21177-A Drum-to-Brake Shoe Clearance Gage
1. Apply and fully release the parking brake six times.
2. Verify that the parking brake pedal releases completely.
^
Turn ON the ignition. Verify that the BRAKE indicator lamp is off.
^
If the BRAKE indicator lamp is on, ensure that the parking brake pedal is in release mode and fully returned to stop. Remove the slack in the
front parking brake cable by pulling downward on the cable.
3. Raise and suitably support the vehicle. Refer to Vehicle Lifting.
4. Remove the rear wheels and tires.
5. Remove both rear caliper brackets.
6. Relieve tension on the park brake system at the park brake equalizer.
7. Remove both rear brake rotors.
8. Set the J21177-A inside of the park brake drum (1) at the widest point.
^
Place the contacts on the tool to the widest point of the drum (1).
^
Tighten the set screw on the tool to ensure the proper measurement when removing the tool from the drum (1).