
Montana SV6 V6-3.9L (2007)
Trim Panel: Service and Repair
Center Pillar Lower Trim Panel Replacement
Center Pillar Lower Trim Panel Replacement
Tools Required
J 38778 Door Trim Pad Clip Remover
Removal Procedure
1. Remove the front door sill plate.
2. Remove the side door sill plate.
3. Remove the body pillar upper trim panel.
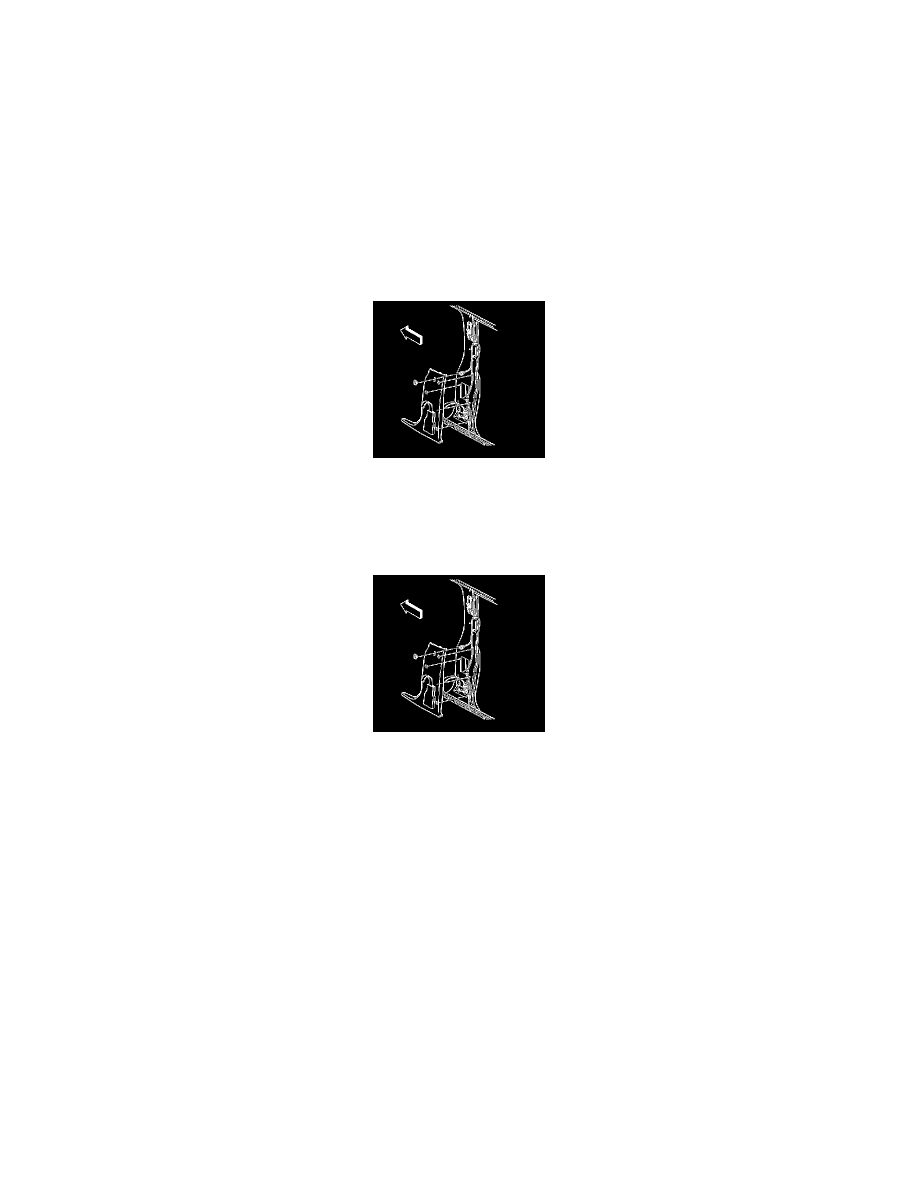
4. Remove the body pillar lower trim panel retainers using the J 38778.
5. Unhook the seat belt from the lower trim panel.
6. Remove the body pillar lower trim panel from the vehicle.
Installation Procedure
1. Install the body pillar lower trim panel to the vehicle.
2. Install the seat belt to the lower trim panel.
3. Install the body pillar lower trim panel retainers by aligning the retainers with the holes and pushing in on the retainers to secure.
4. Install the body pillar upper trim panel.
5. Install the side door sill plate.
6. Install the front door sill plate.
7. Install door opening seals to edges of body pillar lower trim panel.