Parisienne V8-307 5.0L (1986)

Brass Combination Valve
25509419
Pressure Switch (Includes 2 O-Rings -
one loose, one on Pressure Switch
18018141
Service Procedure
1.
Inspect pressure switch. If the current pressure switch terminal body is
GRAY, move on to Step 2. If the current switch terminal body is BLACK, place a fender cover on the left fender, remove and replace pressure
switch according to the procedure below and then move on to Step 2.
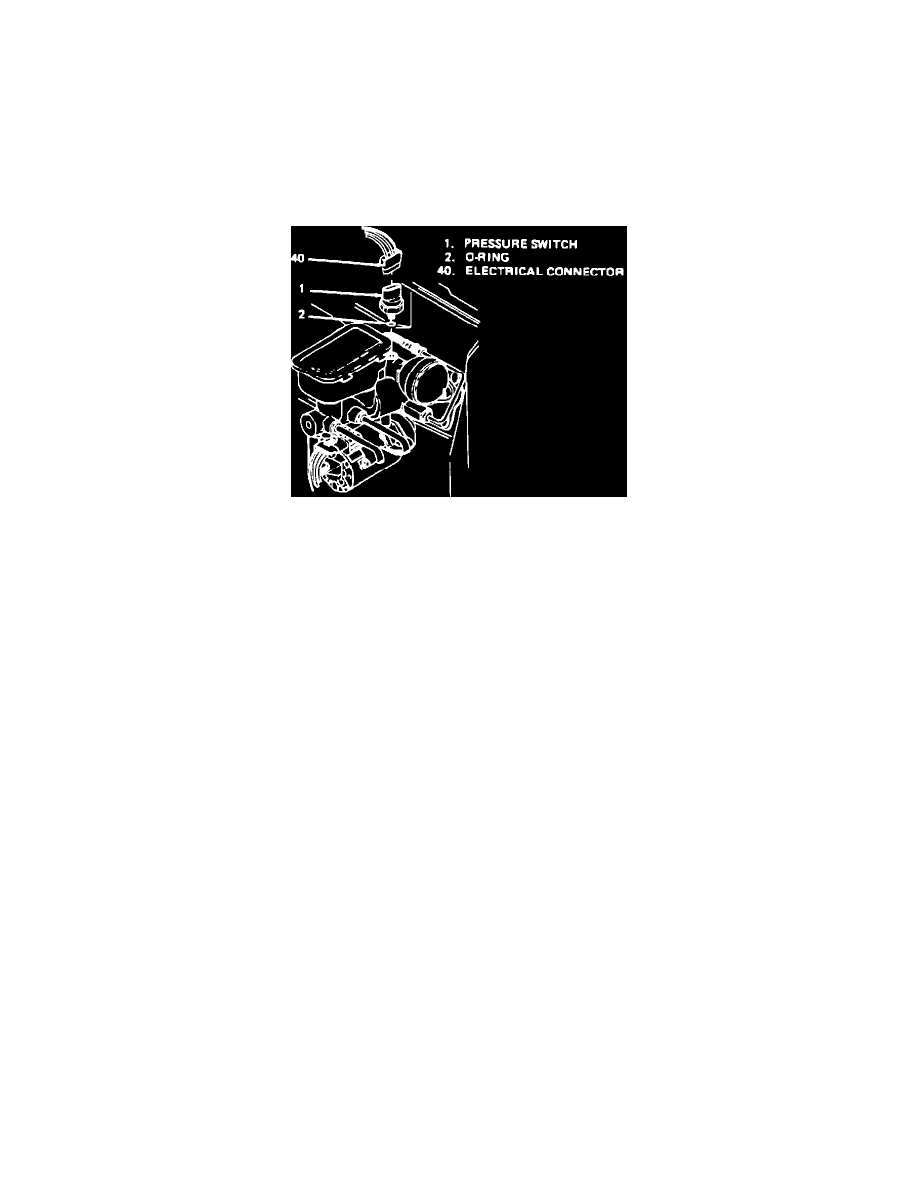
FIGURE 1
a.
Depressurize the Powermaster unit by turning ignition "OFF," then apply and release brake pedal a minimum of ten (10) times using
approximately fifty (50) pounds of force on pedal to fully deplete the power assist.
CAUTION:
Failure to fully depressurize the Powermaster unit could result in brake fluid being sprayed on service personnel and could
cause damage to painted surfaces.
b.
Disconnect the 3-wire electrical connector (Figure 1, 40) from pressure switch (Figure 1, 1).
c.
Remove the old pressure switch (Figure 1, 1). The original O-ring should be on old pressure switch. If not, check Powermaster unit for the
loose O-ring and remove it. Take care not to drip brake fluid on painted surfaces.
d.
Obtain new pressure switch (P/N 18018141). The new pressure switch has on O-ring already installed in a groove on it. A second O-ring
should be found loose in the box with the switch. Lubricate the second O-ring (Figure 1, 2) with clean, fresh brake fluid (DOT # 3) and install
in a groove between the threads and existing O-ring on the new pressure switch.
The old pressure switch has only one O-ring. DO NOT reuse the old O-ring.
e.
Install new pressure switch (Figure 1, 1) and torque to 24 N-m (18 lb.ft.).
NOTICE:
Torque values specified are for dry, unlubricated fasteners.
f.
Reconnect 3-wire electrical connector (Figure 1, 40) to pressure switch (Figure 1, 1). Be sure electrical connector is securely seated.
