
Safari Wagon V8-305 5.0L (1987)
Ball Joint: Service and Repair
EXC. FIREBIRD
On all models the upper ball joint is riveted to the control arm. All service ball joints, however, are provided with bolt, nut and washer assemblies for
replacement purposes. The lower ball joint is pressed into the control arm. They may be pressed out and new joints pressed in.
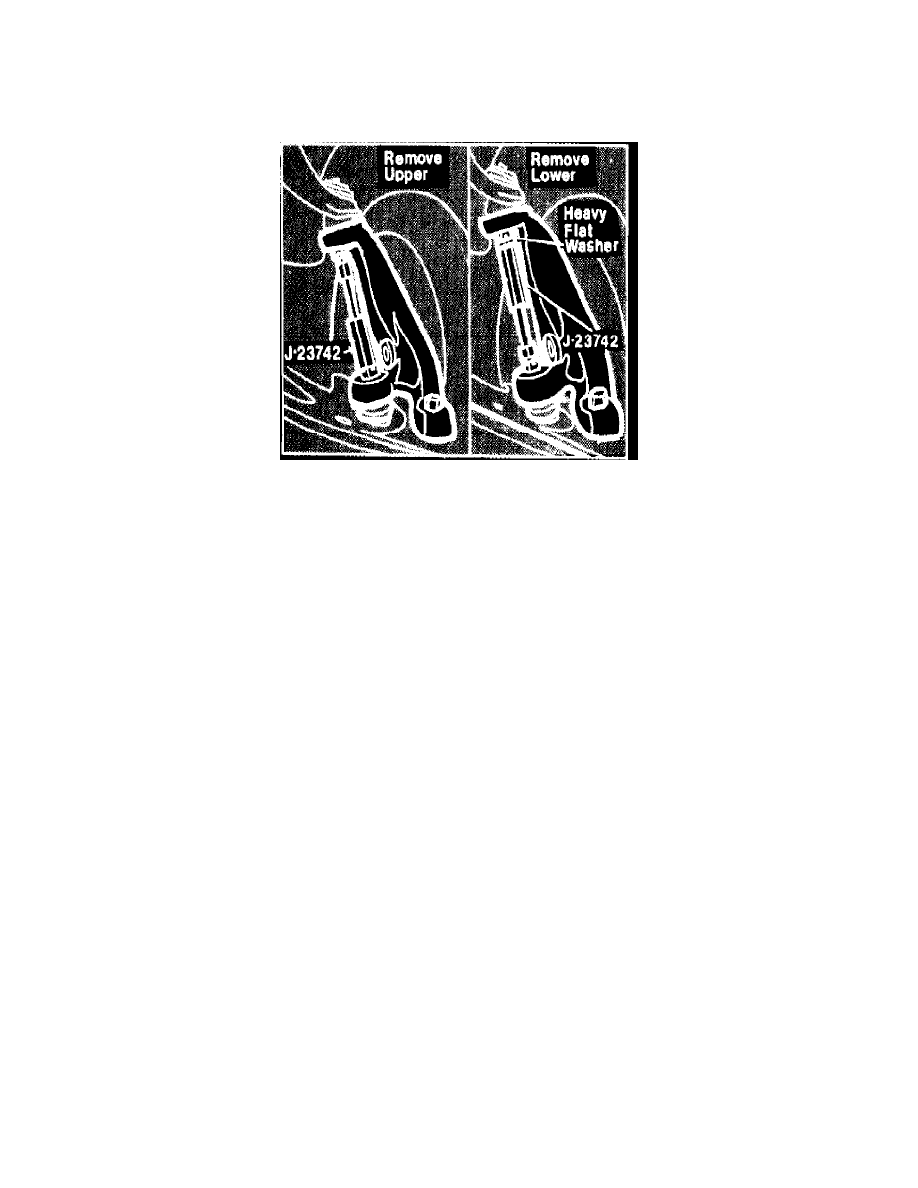
Fig. 5 Removing ball joint studs from steering knuckle.
1.
Raise vehicle and support lower control arm.
2.
Remove wheel assembly.
3.
Remove upper ball joint stud from steering knuckle, Fig. 5.
4.
Drill or chisel rivet heads from ball joint rivets. Then, drive rivets from control arm with a suitable punch.
5.
Install new ball joint and torque retaining bolts to 9 ft. lbs. except on Parisienne and Safari, 13 ft. lbs. on Parisienne, or 8 ft. lbs. on Safari.
6.
Install ball joint stud into steering knuckle and torque to 65 ft. lbs.
7.
Install cotter pin.
8.
Install wheel assembly and lower vehicle.Lower Ball Joint
1.
Raise vehicle and support lower control arm under spring seats.
2.
Remove brake drum and backing plate or caliper.
3.
Remove lower ball joint stud from steering knuckle, Fig. 5.
4.
With a screwdriver, pry ball joint seal and retainer from ball joint.
5.
Press lower ball joint from control arm.
6.
Press new ball joint into lower control arm.
7.
Install ball joint stud into steering knuckle and torque nut to 90 ft. lbs.
8.
Install cotter pin.
9.
Install brake backing plate and drum or caliper, then the wheel assembly.