
Solstice L4-2.0L Turbo (2008)
8. Remove the cable from the release handle.
9. Pull the cable the rest of the way through the cowl panel and out from behind the sound insulation.
10. Detach the mechanic's wire from the cable, leaving the wire in position for aid in installation of the cable.
11. Remove the cable from the vehicle.
Installation Procedure
1. Install the heat shield to the hood latch cable.
2. Attach the mechanic's wire to the exterior end of the cable.
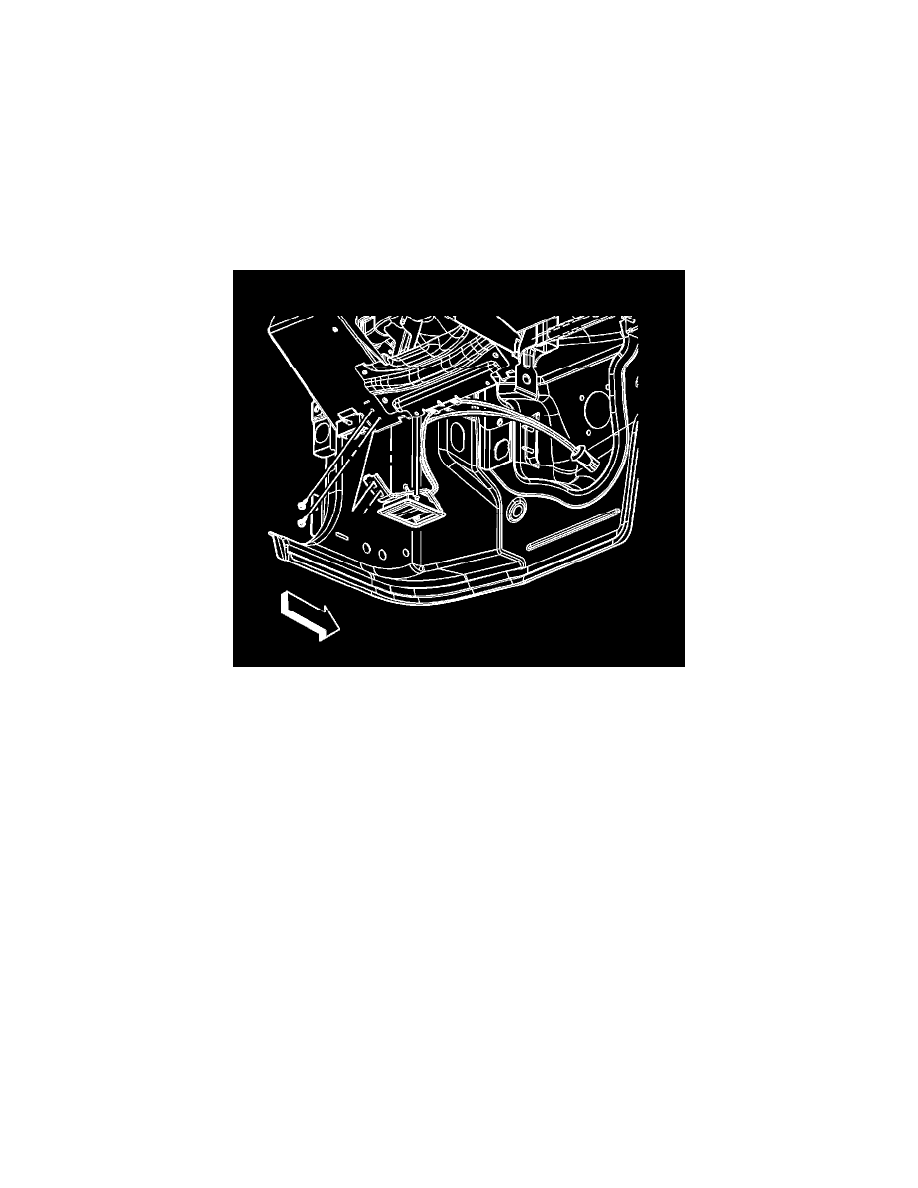
3. Using the mechanic's wire as an aid, guide the cable underneath the sound insulation and pass the exterior portion of the cable through the cowl
panel.
4. Install the cable to the release handle.
5. Seat the cable grommet to the cowl panel.
6. Install the release handle to the knee bolster.
Notice: Refer to Fastener Notice (See: Service Precautions/Vehicle Damage Warnings/Fastener Notice) .
7. Install the screws that retain the release handle to the knee bolster.
Tighten the bolts to 2 N.m (18 lb in).