
Solstice L4-2.0L Turbo (2008)
5.
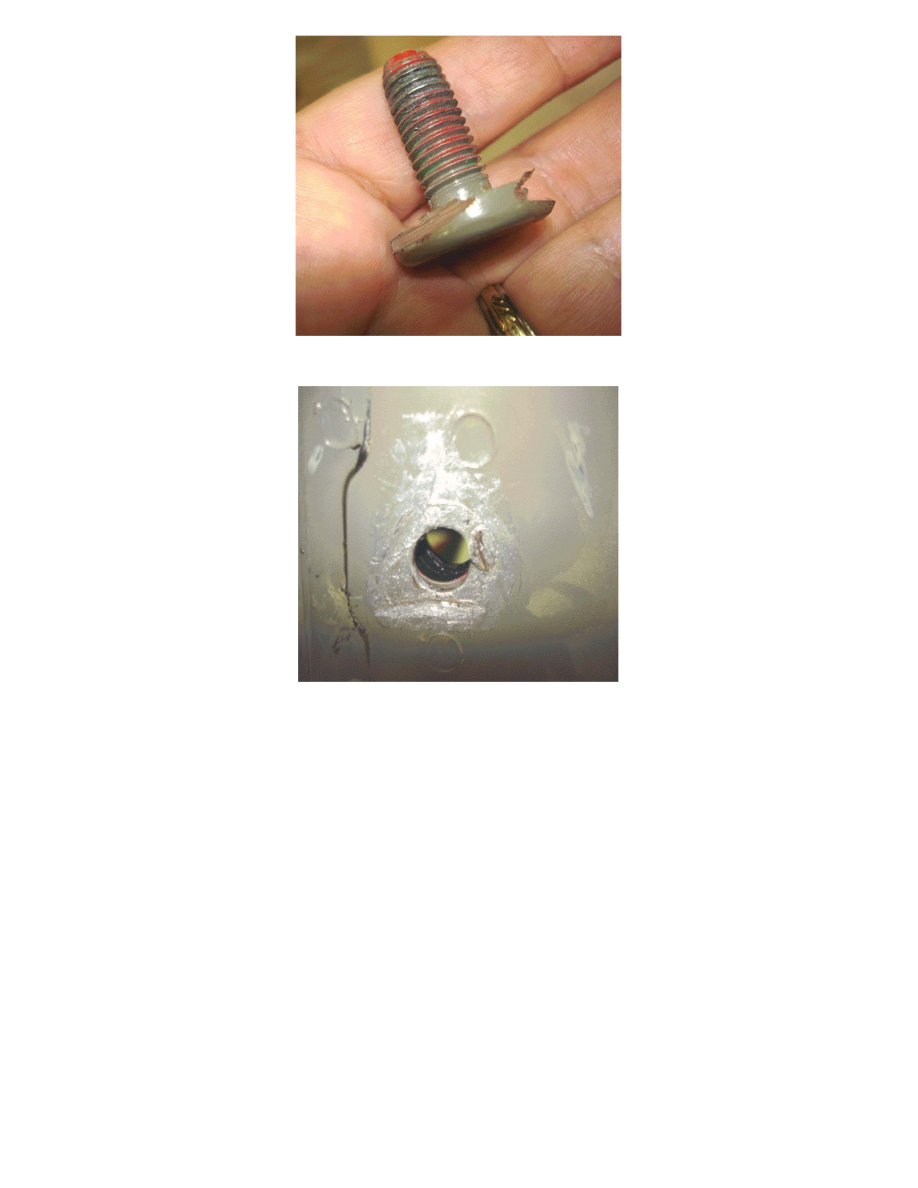
Using a pry bar, remove the seat adjuster studs.
Caution:
carefully read and perform Steps 6.0 through 10.0 as instructed in this bulletin. failure to perform Steps 6.0 through 10.0 as written may
increase the chance of corrosion damage or limit the operation of moving parts, resulting in personal injury.
Important:
Bare metal surfaces, must be treated with a metal conditioner and re-primed prior to assembly. Refer to the GM Approved Refinish Materials
Book GMP/NGM4901 M-D (GMW 15406 Global Approved Refinished Booklet - October 2007) that identifies the paint Systems you may
use. Refer to Anti-Corrosion Treatment and Repair in SI for more information.
6.
Clean and prepare a small area around the seat adjuster stud holes to ensure that the metal surface around the holes is smooth. Do not remove a
large area of paint around the seat adjuster stud holes.
^
Clean the weld areas with an abrasive wheel.
^
Treat the bare metal. Refer to the recommendation of the Paint Manufacturer. Refer to Anti-Corrosion Treatment and Repair in SI for more
information.
^
Apply a grey expoxy primer to the repair area. Select a product from the GM Approved Refinish Materials Book GMP/NGM4901 M-D
(GMW 15406 Global Approved Refinished Booklet - October 2007).
^
Scuff-sand and wipe the residue off of the repair area with a cleaning solvent.
^
Spray 3M 8374 Ultrapro MSP Sprayable Seam Sealer (or equivalent) on the repaired areas.
^
Re-apply grey expoxy as a sealer coat. If the underbody has a colored exterior overspray, duplicate it by lightly spraying the appropriate
exterior body color.