
Solstice L4-2.0L Turbo (2008)
1. Relieve the fuel system pressure. Refer to Fuel Pressure Relief (Low Pressure Side with CH 48207) (See: Fuel Pressure Relief (Low Pressure Side
with CH 48207))Fuel Pressure Relief (Low Pressure Side with CH 48027-100) (See: Fuel Pressure Relief (Low Pressure Side with CH
48027-100))Fuel Pressure Relief (Low Pressure Side w/o CH 48207) (See: Fuel Pressure Relief (Low Pressure Side w/o CH 48207))Fuel
Pressure Relief (Low Pressure Side w/o CH 48027-100) (See: Fuel Pressure Relief (Low Pressure Side w/o CH 48027-100))Fuel Pressure Relief
(High Pressure Side) (See: Fuel Pressure Relief (High Pressure Side)) .
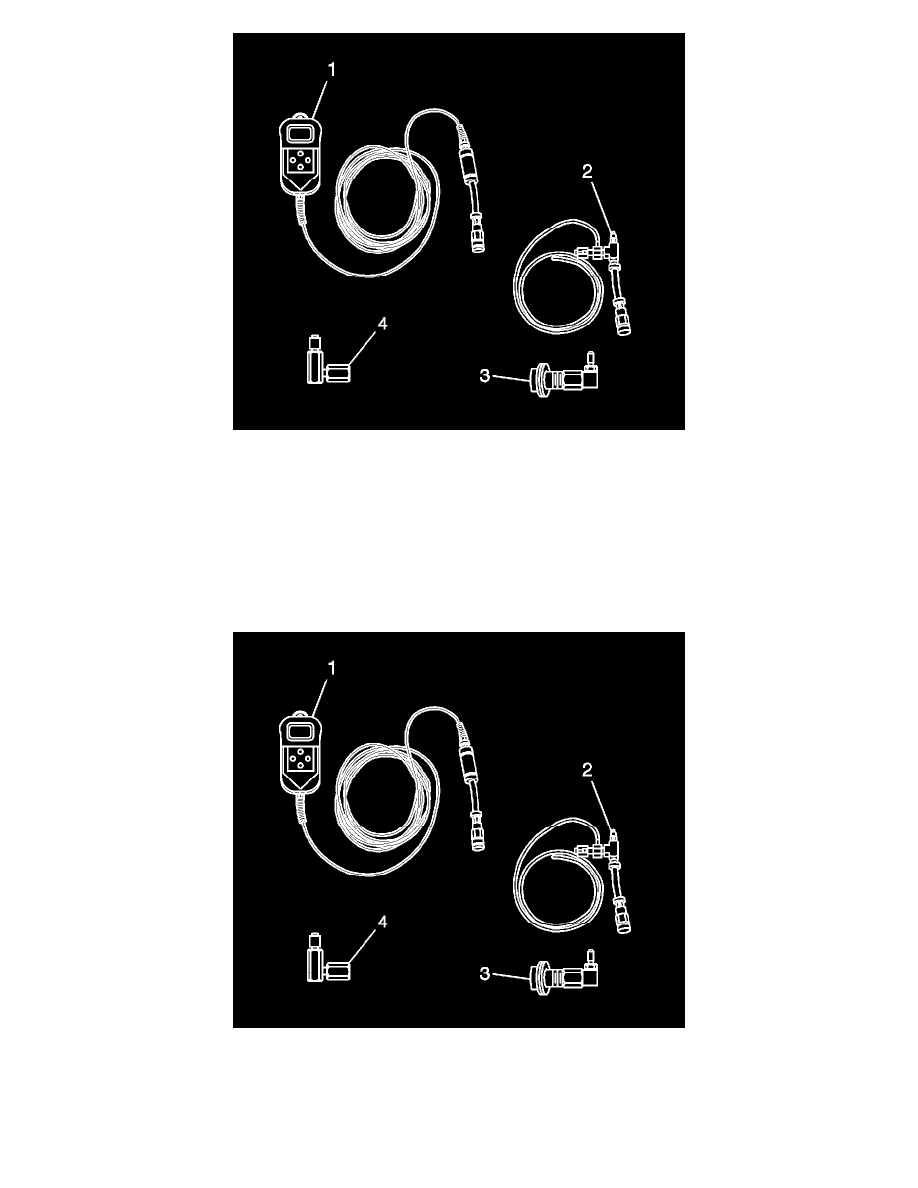
2. Connect the CH-48027-1 (1) to the CH-48027-2 (2).
3. Remove the shop towel from around the fuel rail service port, and place in an approved gasoline container.
4. Perform any tests and/or diagnostics as needed. For the proper usage of the CH-48027 , refer to the manufacture's directions.
Removal Procedure
1. Relieve the fuel system pressure, if required. Perform the following steps:
Caution: Wrap a shop towel around the fuel pressure connection in order to reduce the risk of fire and personal injury. The towel will absorb
any fuel leakage that occurs during the connection of the fuel pressure gage. Place the towel in an approved container when the connection of
the fuel pressure gage is complete.