
Solstice L4-2.0L Turbo (2008)
Seals and Gaskets: Service and Repair
Drive Pinion Flange/Yoke and/or Oil Seal Replacement
Drive Pinion Flange/Yoke and/or Oil Seal Replacement
Special Tools
*
J 34826 Hub Nut Socket (36 mm)
*
J 45005 Seal Installer
*
J 45012 Holding Fixture
*
J 45019 Flange and Pinion Cage Remover
Removal Procedure
1. Raise and support the vehicle. Refer to Lifting and Jacking the Vehicle (See: Maintenance/Vehicle Lifting/Service and Repair) .
2. Remove the floor panel tunnel rear panel. Refer to Floor Panel Tunnel Panel Replacement - Rear (See: Body and Frame/Exterior Moulding /
Trim/Underbody Cover/Service and Repair/Floor Panel Tunnel Panel Replacement - Rear) .
Important: The following service procedure is for those vehicles equipped with a manual transmission and drive line support. For
vehicles equipped with a automatic transmission, proceed to Step 4.
3. Remove the propeller shaft, differential and driveline support. Refer to Propeller Shaft, Differential, and Driveline Support Replacement (See:
Drive/Propeller Shafts, Bearings and Joints/Drive/Propeller Shaft/Service and Repair/Propeller Shaft, Differential, and Driveline Support
Replacement) .
Important: Remove only the propeller shaft coupler to differential flange bolts. DO NOT remove the coupler from the propeller shaft.
4. Remove the propeller shaft from the rear differential. Refer to Propeller Shaft Replacement (Automatic) (See: Drive/Propeller Shafts, Bearings
and Joints/Drive/Propeller Shaft/Service and Repair/Propeller Shaft Replacement (Automatic))Propeller Shaft Replacement (RPO ZOK) (See:
Drive/Propeller Shafts, Bearings and Joints/Drive/Propeller Shaft/Service and Repair/Propeller Shaft Replacement (RPO ZOK)) .
5. Carefully position the propeller shaft to the side and support using a suitable jack stand.
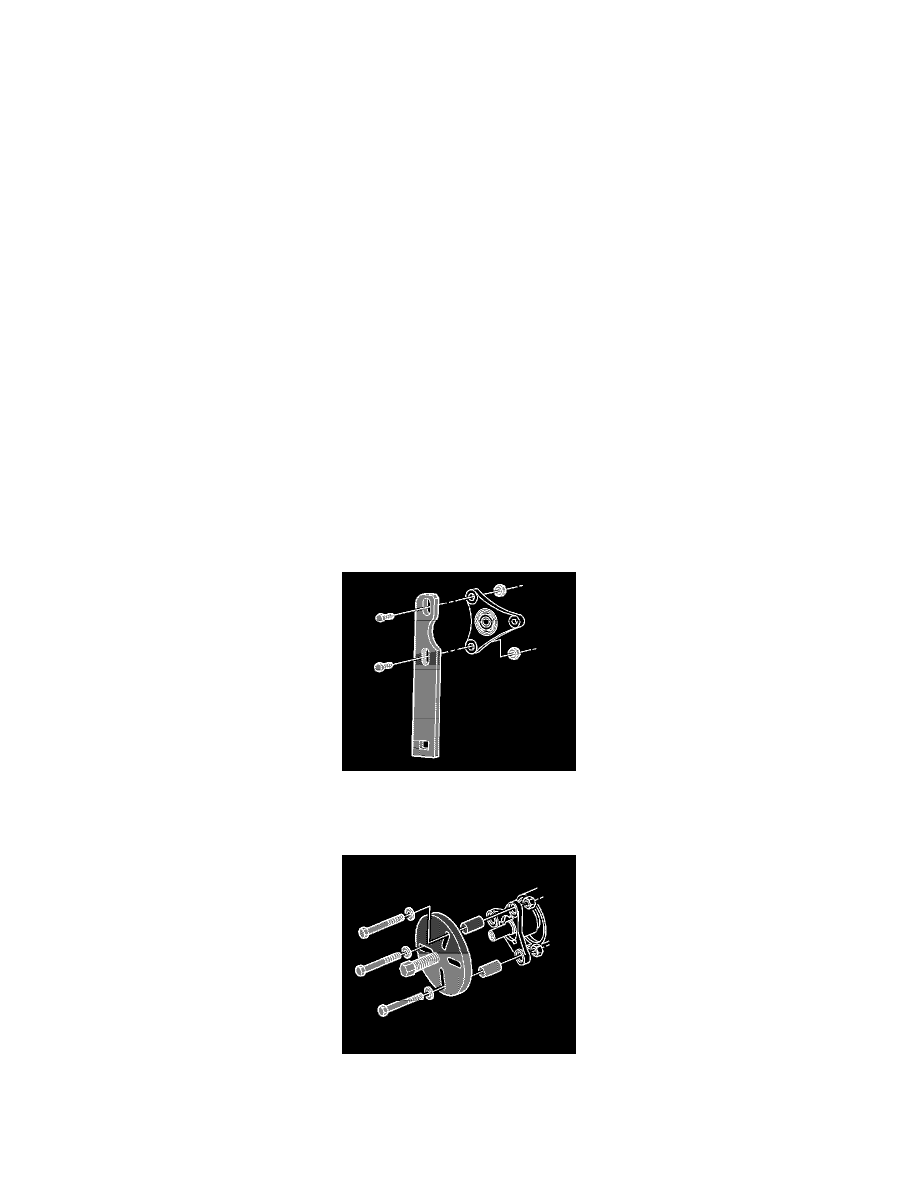
6. Install the J 45012 to the flange.
7. While holding the J 45012 , remove the drive pinion nut using the J 34826 .
8. Remove the J 45012 from the flange.
9. Install the J 45019 to the flange.
10. Using the J 45019 , remove the flange.
11. Using a flat-bladed tool, remove the drive pinion seal. care not to damage any of the sealing surfaces.