
Sunfire L4-138 2.3L DOHC VIN D MFI (1995)
1.
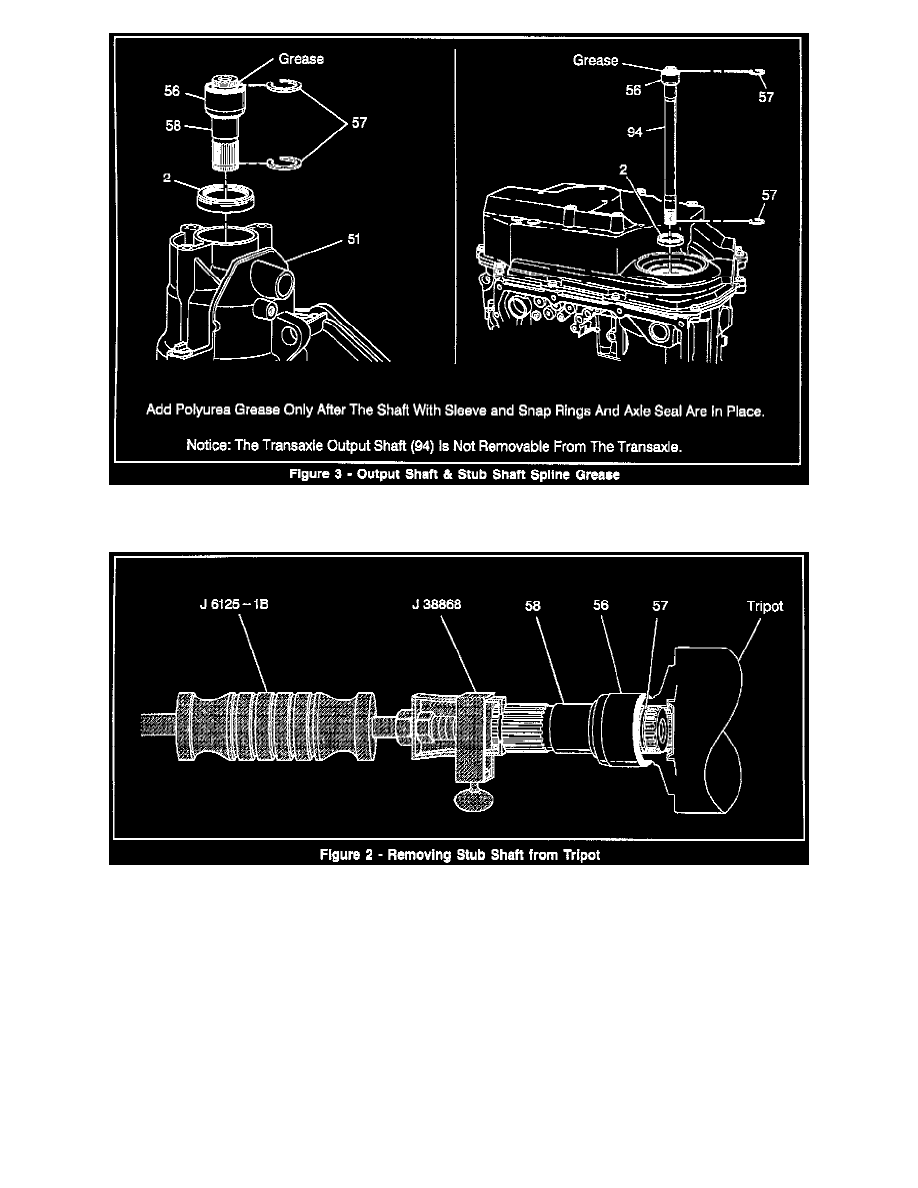
Remove the snap ring (57) from the stub shaft (58). Discard the snap ring after removal from the stub shaft. The snap ring is not reusable once it is
removed from the shaft. (See Figure 3)
2.
Connect the stub shaft removal tool (J 38868) to the snap ring groove on the stub shaft and remove the shaft from the tripot with a slide hammer (J
6125-1 B) impact. Support the tripot during stub shaft removal to prevent damage to the tripot. (See Figure 2)
3.
Remove and install a new right hand axle seal onto the transaxle (See Figure 3). Refer to the On Vehicle Service Manual for the proper procedure.
4.
Inspect the stub shaft sleeve (56) for excessive wear, nicks or scratches, and for damage to the seal portion. If these occur, replace the sleeve (56)
following the service procedure found in the Unit Repair Section of the Service Manual.
Important:
The sleeve should be square to the stub shaft (58).
5.
Install a new snap ring (57) onto the stub shaft (58) and install the stub shaft into the transaxle. (See Figure 3)
6.
Grease the splines on the outer end of the stub shaft with Polyurea grease (Part Number 7847638) prior to installing the tripot (see Figure 3). Use
approximately 3 grams of grease and be sure to cover the entire spline area. This grease must be added to prevent corrosion to the shaft splines. Do