
Sunfire L4-144 2.4L DOHC VIN T SFI (2001)
Headliner: Service and Repair
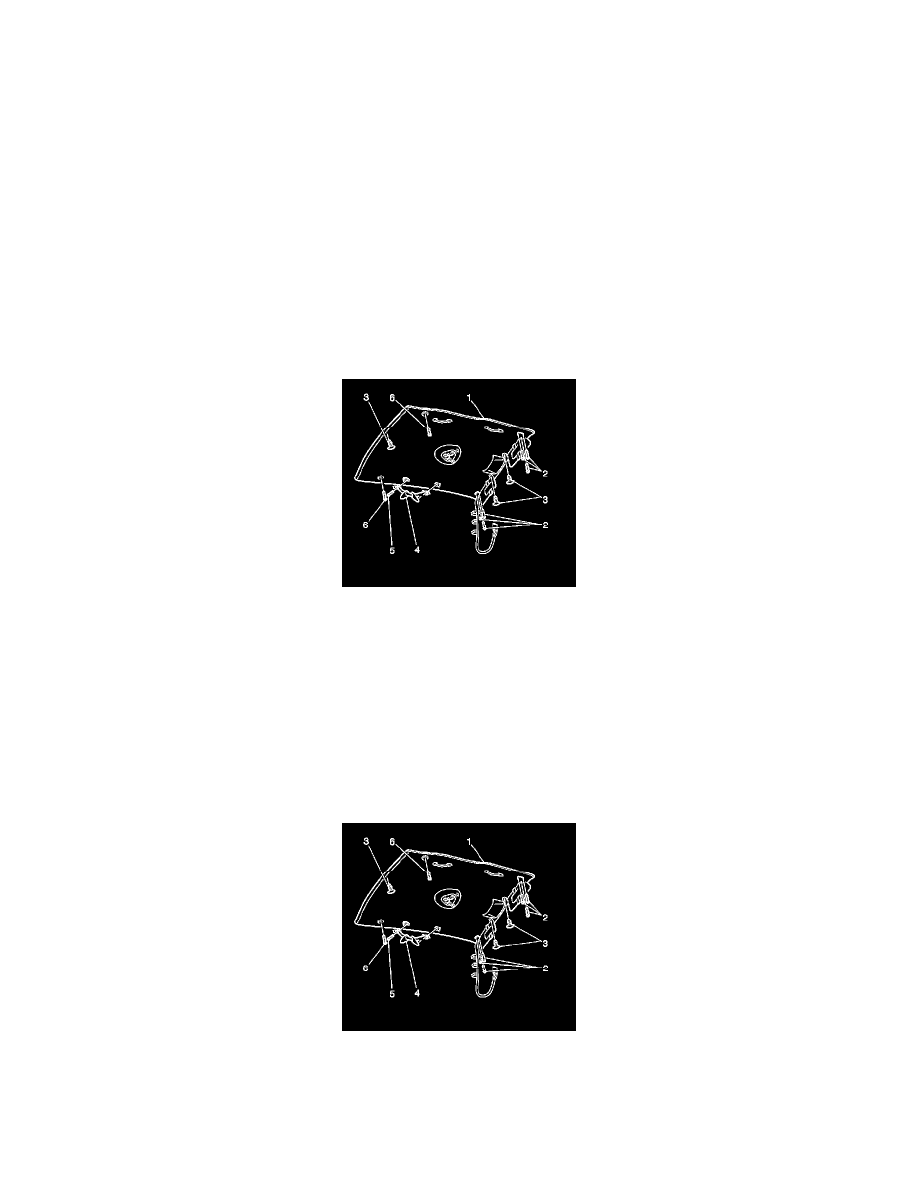
Headlining Trim Panel Replacement
Removal Procedure
1. Remove the assist strap, if equipped.
2. Remove the sunshades.
3. Remove the coat hooks.
4. Remove the windshield upper garnish moldings.
5. On the sedan remove the following:
1. Remove the center pillar upper trim panel.
2. Remove the upper rear quarter trim panel.
6. On the coupe remove the rear quarter trim panel. Refer to Rear Quarter Trim Panel Replacement.
7. Remove the dome lamp.
8. Remove the finish lace from the sunroof opening trim, if equipped.
9. Remove the sunroof power switch, if equipped.
10. Remove the push-in retainers from the headlining trim finish panel (3).
11. Disconnect the connector to the rear view mirror and the body electrical harness.
12. Disconnect the connector to the sunroof electrical harness.
13. Lower the headliner (1).
14. Remove the electrical harness from the headliner.
15. Remove the headliner from the vehicle.
Installation Procedure
Notice: Use care when removing or installing the headliner. Excessive bending will damage the headliner.
1. Position the headliner in the vehicle.
2. Use adhesive tape GM P/N 9986080 in order to connect the electrical harness to the headliner.
3. Connect the connector to the rear view mirror and the body electrical harness.
4. Connect the connector to the sunroof electrical harness.
5. Install the push-in retainers (3) to the headliner.
6. Install the dome lamp.
7. Install the sunroof power switch, if equipped.