
Sunfire L4-144 2.4L DOHC VIN T SFI (2001)
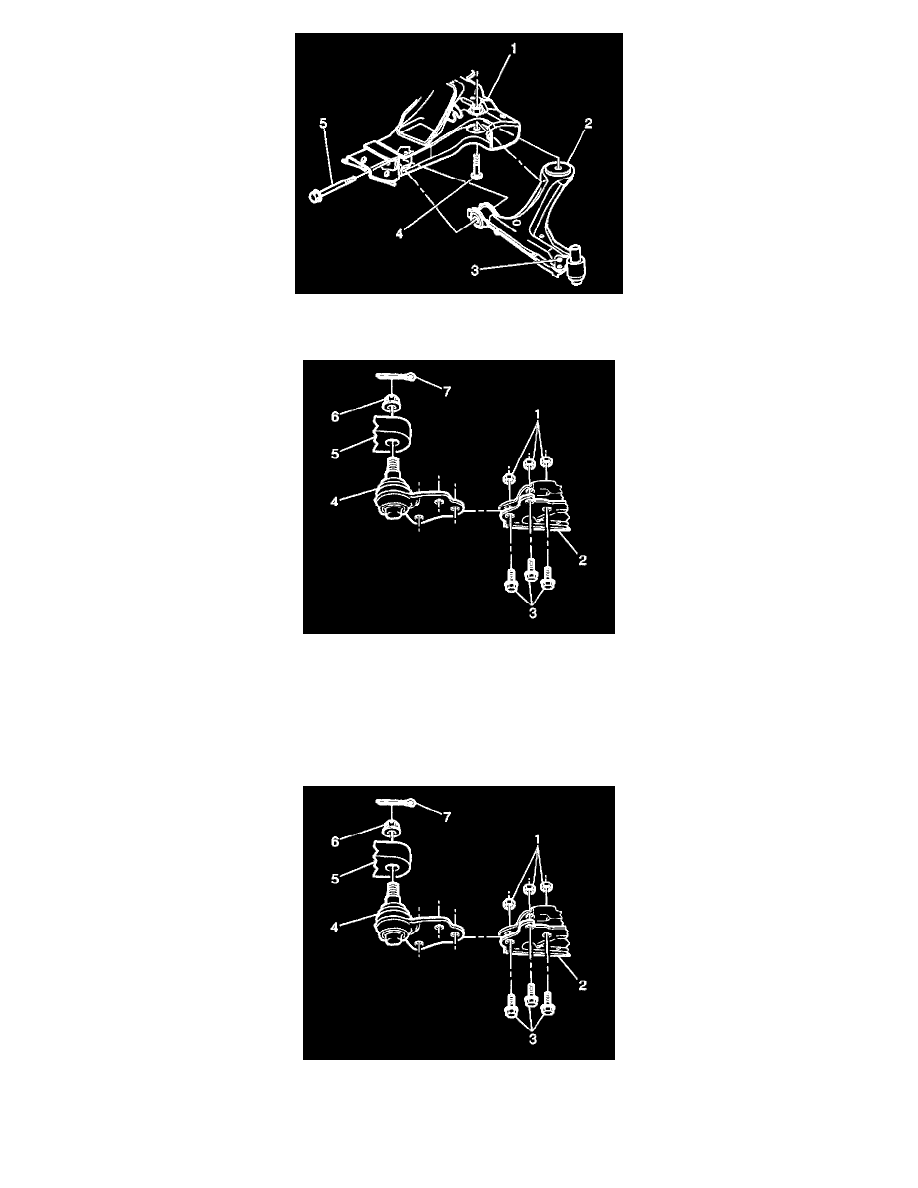
8. Remove the lower control arm front (5) and rear (4) mounting bolts.
9. Remove the lower control arm (2) from the vehicle and place in a vice.
10. Drill out the 3 rivets (3) retaining the ball joint to the lower control arm (2).
Use a 3 mm (1/8 inch) drill bit in order to make a pilot hole through the rivets.
Finish drilling the rivets with a 13 mm (1/2 inch) drill bit.
11. Remove the ball joint (4) from the control arm (2).
Installation Procedure
1. Install the ball joint (4) into the control arm (2).
2. Install the 3 ball joint bolts (3) and the nuts (1).
Follow the instructions in the ball joint kit.
-
Tighten the ball joint bolts (3) according to the specifications in the instructions.