Sunfire L4-2.2L VIN 4 (1996)

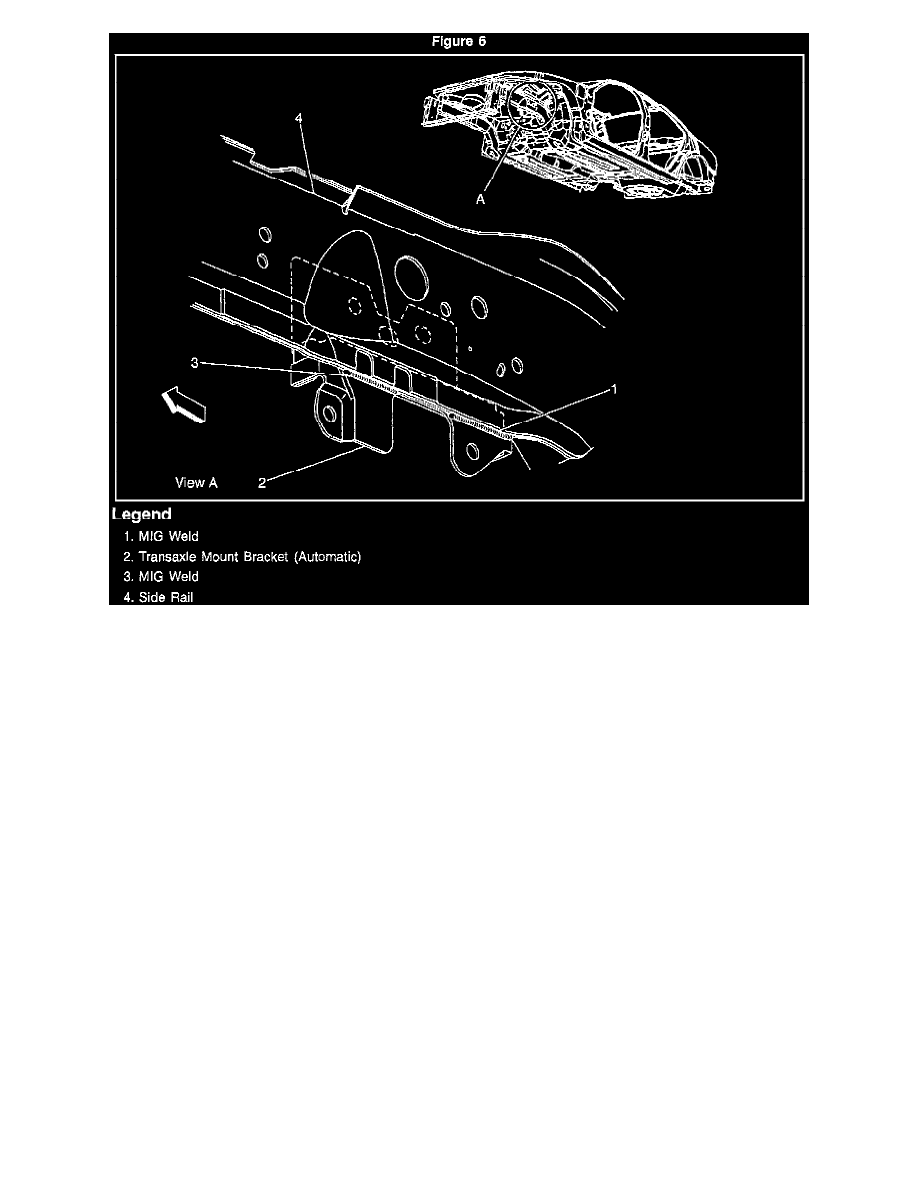
Figures 5 and 6
1.
Protect any adjacent components: fuel lines, windshield, wiring harness.
2.
CV boots and brake lines with weld resistant blanket.
3.
Locate and grind out existing welds that secure mounting bracket to left frame rail. See Figure 5.
4.
From top, MIG weld top and leading edge of bracket to rail in three locations indicated in Figure 5.
5.
Clean and prepare welded surfaces.
Important:
Move to outer surface of rail to perform additional welding in wheelhouse area, see Figure 6.
6.
Add two additional MIG stitch welds to the automatic transmission bracket in the area depicted in Figure 6.
Important:
Use a clamp to ensure that bracket is positioned flush with the rail.
7.
From the wheelhouse area, prepare joint for welding.
8.
From the wheelhouse area, apply the additional welds to bracket as shown in Figure 6.
9.
Clean and prepare welded surfaces.
10.
Primer and topcoat welded surfaces.
Install or Connect
1.
Remove blocks and shift motor to correct position.
