
Sunfire L4-2.2L VIN F (2002)
Compressor Clutch Coil: Service and Repair
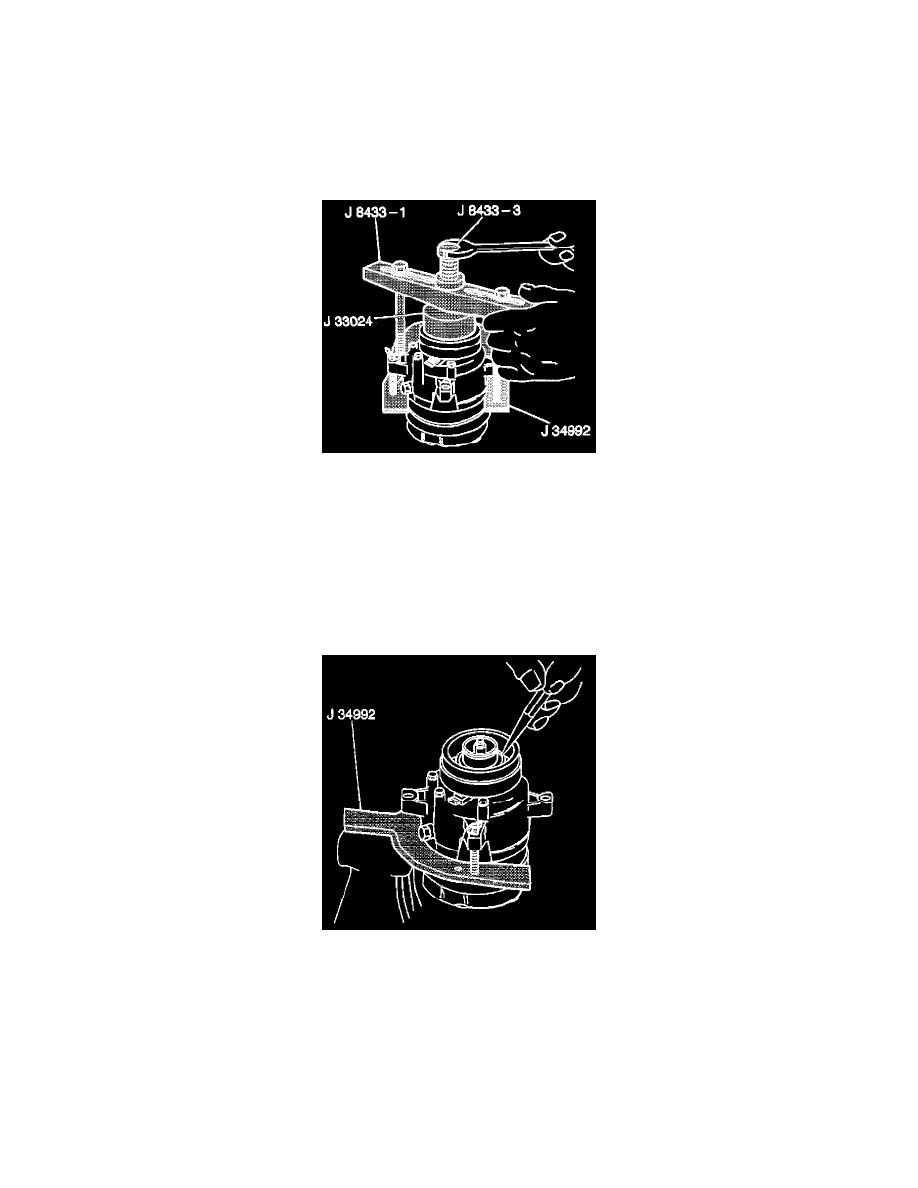
Compressor Clutch Coil Install (V5 - Conventional Mount)
TOOLS REQUIRED
^
J 8433-1 Puller Bar
^
J 8433-3 Forcing Screw
^
J 33024 Clutch Coil Installer
^
J 34992 Compressor Holding Fixture
^
J 33025 Clutch Coil Puller Legs
1. Place the clutch coil assembly on the front head with the terminals positioned at the marked location.
2. Place the J 33024 over the internal opening of the clutch coil housing.
3. Align the J 33024 with the compressor front head.
4. Center the J 8433-1 on the countersunk center hole of the J 33024.
5. Install the through bolts and the washers of the J 34992 through the slots in the J 8433-1.
6. Thread the through bolts into the J 33025 in order to achieve full fixture thickness.
IMPORTANT: Ensure that the clutch coil and the J 33024 stay in-line during the installation.
7. Turn the J 8433-3 of the J 8433-1 in order to force the clutch coil onto the head.
8. With the compressor still mounted to the J 34992 and the coil seated on the front head, stake the front head using a drift punch with a diameter of
3.175 mm (0.125 in).