
Sunfire L4-2.2L VIN F (2002)
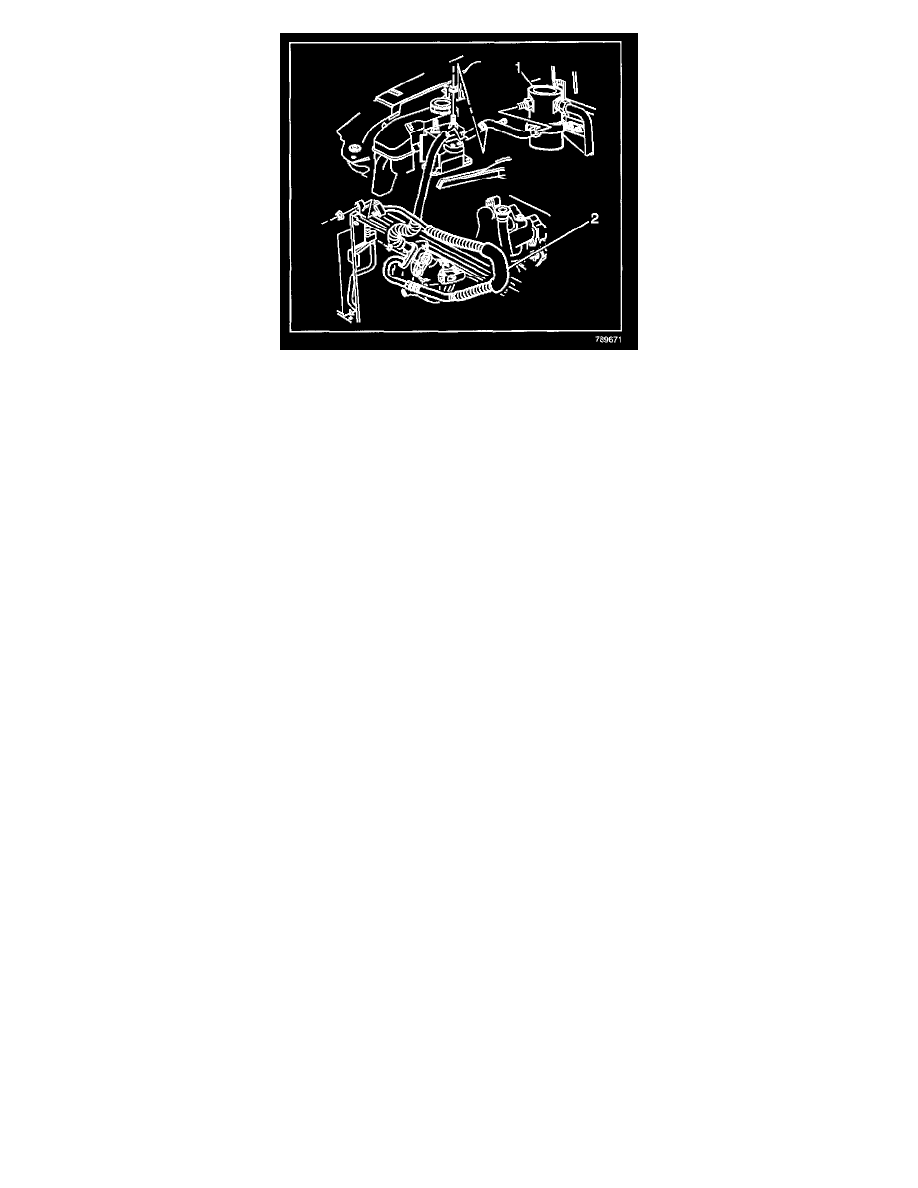
1. Install a NEW O-ring seal to the accumulator end of the compressor hose assembly.
NOTE: Refer to Fastener Notice in Service Precautions.
2. Install the compressor hose assembly and the fitting nut to the accumulator.
Tighten
Tighten the fitting nut to 35 N.m (26 lb ft).
3. Install a NEW O-ring seal to the condenser end of the compressor hose assembly.
4. Install the compressor hose assembly to the condenser.
5. Install the fitting nut for the compressor hose assembly to the condenser.
Tighten
Tighten the nut to 16 N.m (12 lb ft).
6. Raise and support the vehicle.
7. Install NEW sealing washers to the compressor ports.
8. Install the compressor hose assembly to the compressor.
9. Install the nut holding the compressor hose assembly to the compressor.
Tighten
Tighten the nut to 16 N.m (12 lb ft).
10. Lower the vehicle.
11. Connect the refrigerant pressure sensor electrical connector.
12. Position the bracket holding the PCM Module on to the shock tower.
13. Install the bracket nuts holding the PCM Module on to the shock tower.
Tighten
Tighten the nuts to 10 N.m (89 lb in).
14. Install the cruise control module.
15. Install the hood close out filler panel.
16. Evacuate and recharge the A/C system. Refer to Refrigerant Recovery and Recharging.
17. Leak test the fittings of the component using the J 39400-A.