
Sunfire L4-2.2L VIN F (2002)
Center Mounted Brake Lamp: Service and Repair
GT
REMOVAL PROCEDURE
1. Open the rear compartment.
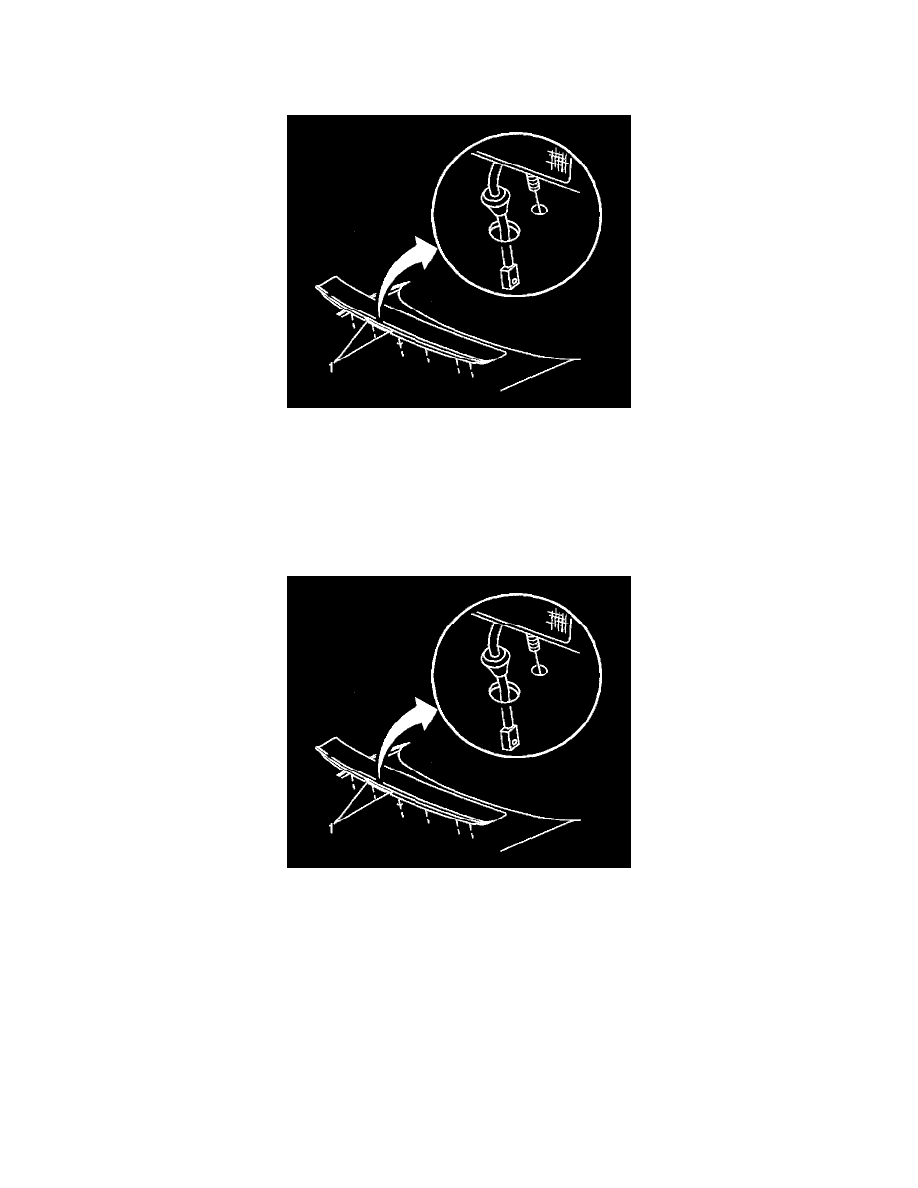
2. Disconnect the electrical connector from the high mounted stop lamp.
3. Remove the screws (1) from the high mounted stop lamp.
4. Remove the high mounted stop lamp from the rear spoiler, pulling the wiring harness from the rear compartment lid.
5. Remove the bulb/socket from the high mounted stop lamp.
6. Remove the bulb from the socket.
INSTALLATION PROCEDURE
1. Install the bulb to the socket.
2. Install the bulb/socket to the high mounted stop lamp.
3. Install the wiring harness to the rear compartment lid.
4. Install the high mounted stop lamp to the rear spoiler.
NOTE: Refer to Fastener Notice in Service Precautions.
5. Install the screws (1) to the high mounted stop lamp.
Tighten
Tighten the high mounted stop lamp screws to 2 N.m (18 lb in).
6. Connect the electrical connector to the high mounted stop lamp.
7. Close the rear compartment.