
Torrent AWD V6-3.4L VIN F (2006)
1.
Starting at the left hinge pillar garnish, pull upward to disengage the attaching clips.
2.
Reach under the instrument panel and pull upwards to disengage the additional clips and remove the molding from the vehicle.
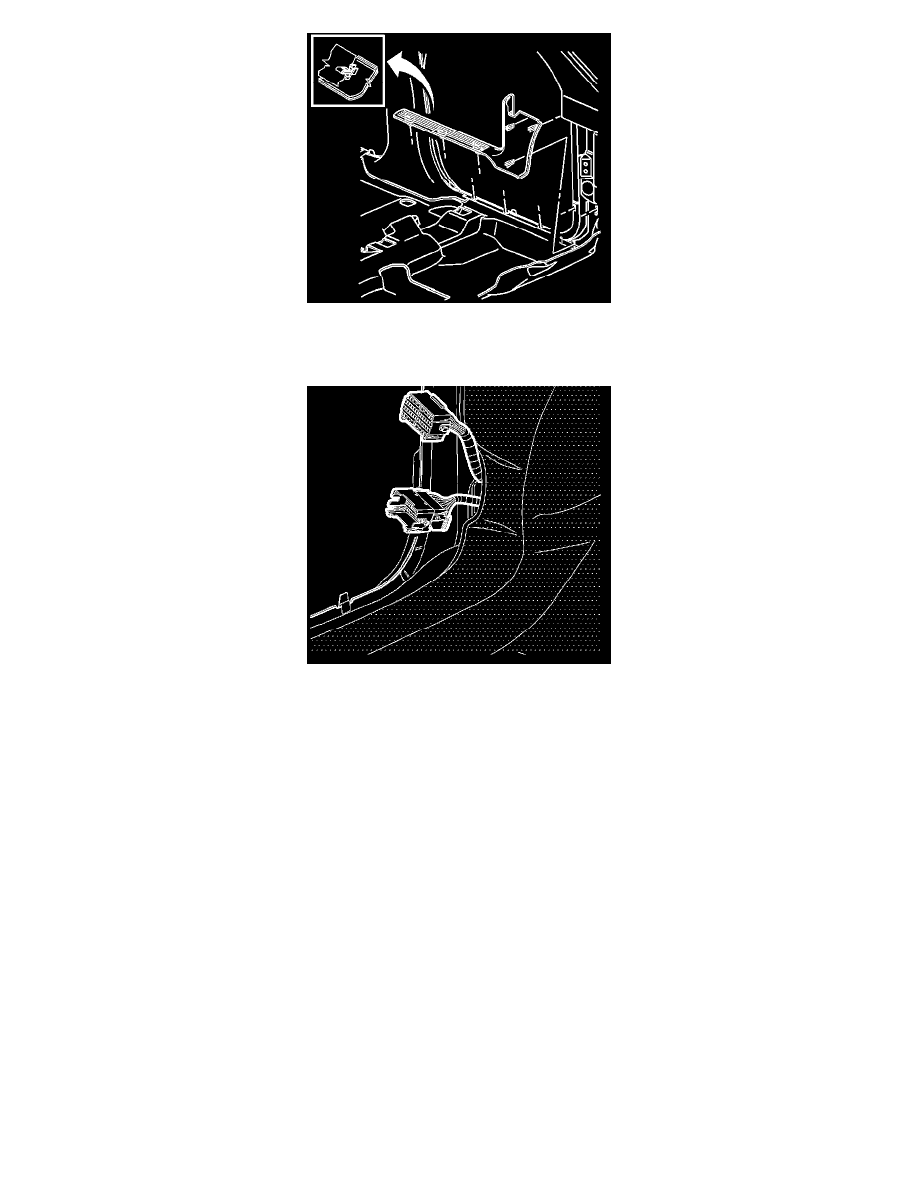
3.
Disconnect the instrument panel/body inline connector (black 40-pin electrical connector).
4.
Inspect the connector for bent or corroded terminals.
Important:
If no corrosion or bent terminals are found, proceed to Step 7 and follow trouble code diagnostics in the service manual or SI.
5.
Remove any bent or corroded pins from the connector.
6.
Install the new terminal cut lead (verify correct size using connector/harness face views and electrical schematics in the appropriate service manual
or SI).
7.
Pack the connector terminals with dielectric grease in order to prevent any further corrosion.
8.
Connect the instrument panel/body inline connector (black 40-pin electrical connector).
9.
Install the molding.