
Torrent AWD V6-3.4L VIN F (2006)
Ball Joint: Service and Repair
Lower Ball Joint Replacement
Removal Procedure
1. Remove the lower control arm.
2. Place the control arm in a vise or suitable holding device.
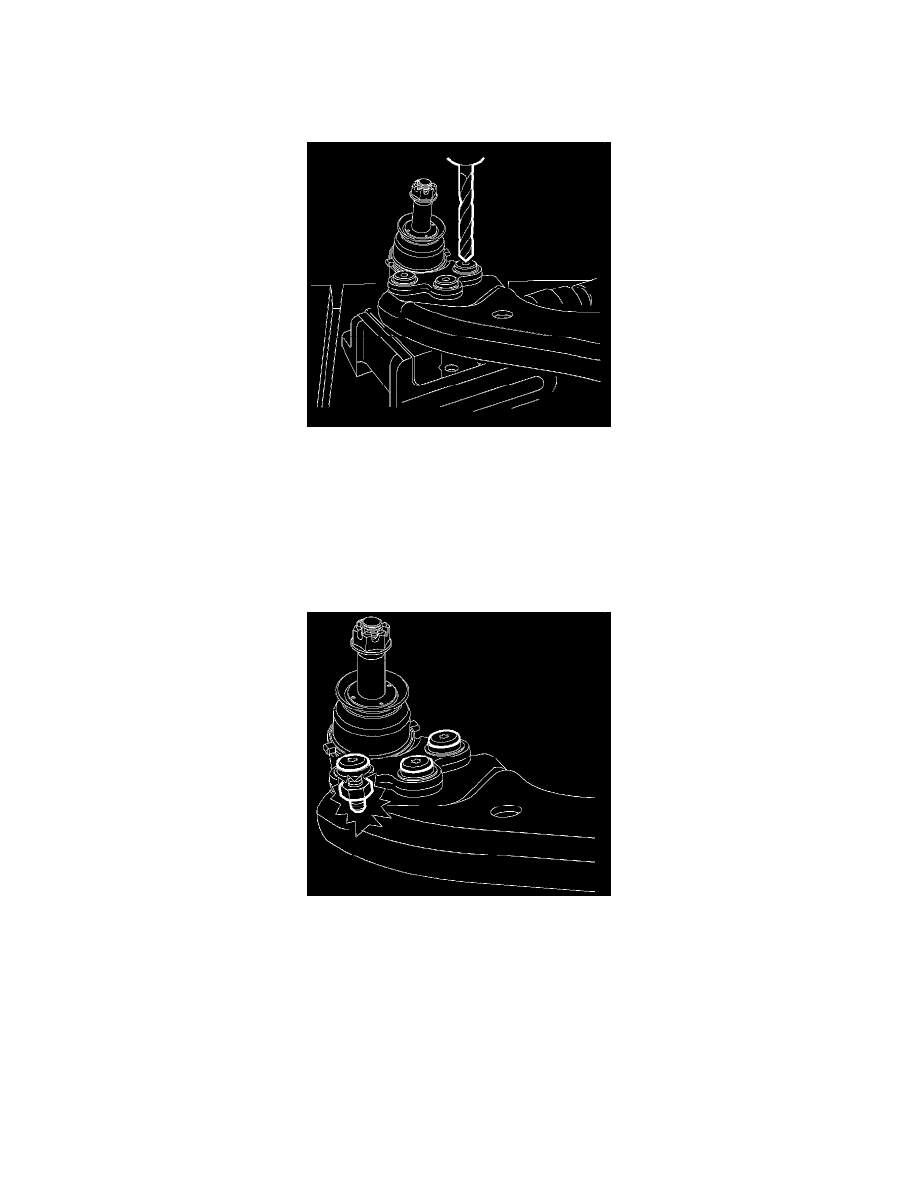
3. Remove the ball joint rivets using the following procedure.
1. Drill through the rivets using a 8 mm (5/16 inch) drill bit.
2. Enlarge the hole using a 12 mm (31/64 inch) drill bit.
3. Remove any remaining burs from the control arm.
4. Remove the ball joint from the control arm. Note the position of the ball joint for reassembly.
Installation Procedure
1. Important: The control arm must be clean and free of debris.
Install the ball joint to the control arm as previously noted.
2. Notice: Refer to Fastener Notice in Service Precautions.
Important:
^
Only use hardware provided with the new ball joint.
^
The bolts must be installed with the bolt head on top of the ball joint.
Install the ball joint to control arm bolts.
^
Tighten the bolts and nuts to 68 Nm (50 ft. lbs.).
3. Install the lower control arm.