
Torrent FWD V6-3.4L (2007)
Installation Procedure
1. Install the J 44866 to the support assembly in the following procedure.
1. Place the bolt washer and large portion of the J 44866 against the frame.
2. Position the bushing against the support assembly. Align the bushing with the slots in the rubber portion straight up and down.
3. Position the small part of the J 44866 against the bushing flange area.
4. Lube the threads of the J 44866 with EP lube.
5. Install the bearing, washer and nut.
Important: The bushing must be fully seated.
6. Tighten the J 44866 in order to install the bushing into the support assembly.
Notice: Refer to Fastener Notice.
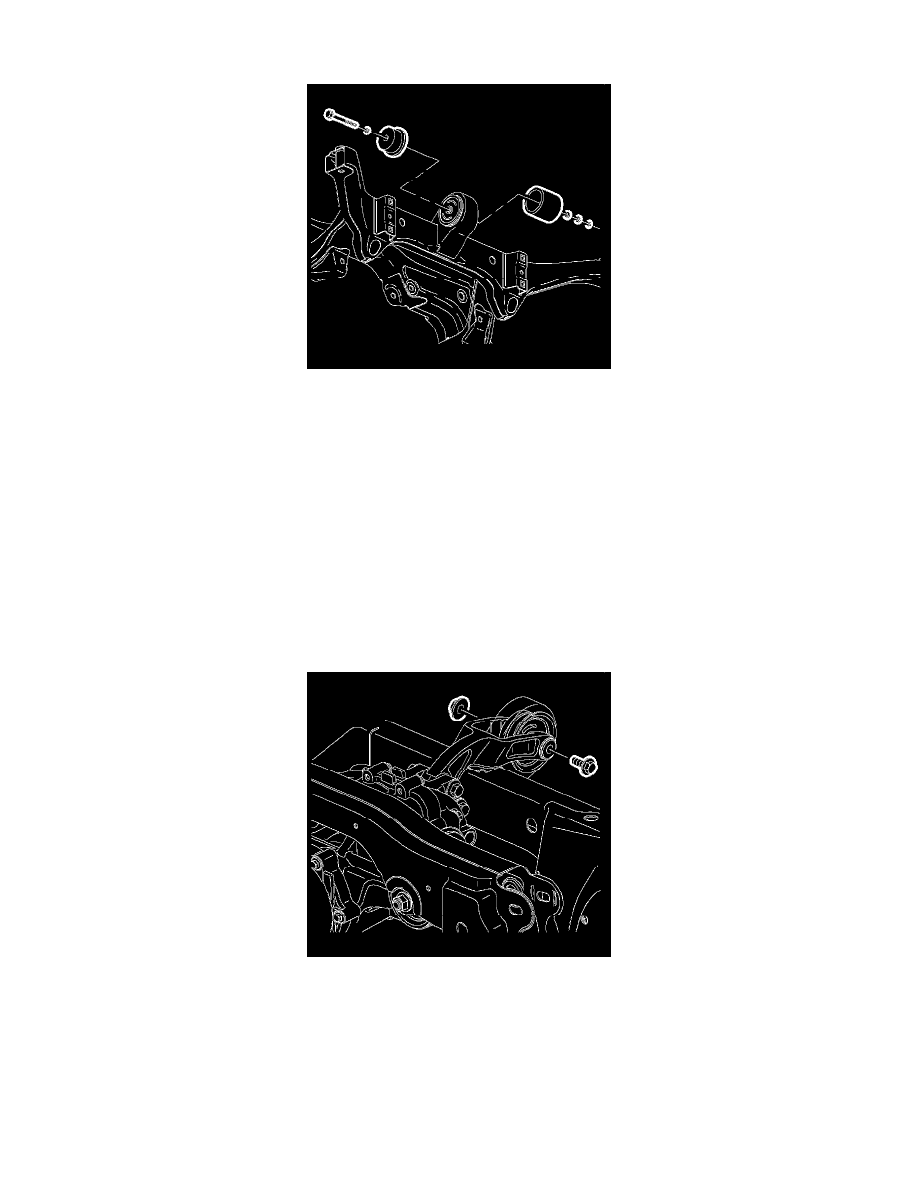
2. Install the rear drive module bracket to the rear drive module, using new nuts.
Tighten the drive module bracket to drive module bolts and nuts to 125 N.m (92 lb ft).
3. Install the rear bracket to support bolt, using a new nut.
Tighten the drive module bracket to support assembly bolt and nut to 125 N.m (92 lb ft).
4. Install the rear stabilizer shaft.
5. Install the production muffler and resonator as an assembly.
6. Lower the vehicle.