
Vibe L4-1.8L (2008)
Once the vehicle, component, or harness has been sufficiently cooled, manipulate the harness or components in an effort to duplicate the concern.
Measuring Frequency
Measuring Frequency
Notice: Refer to Test Probe Notice .
The following procedure determines the frequency of a signal.
Important: Connecting the DMM to the circuit before pressing the Hz button will allow the DMM to autorange to an appropriate range.
1. Apply power to the circuit.
2. Set the rotary dial of the DMM to the V (AC) position.
3. Connect the positive lead of the DMM to the circuit to be tested.
4. Connect the negative lead of the DMM to a good ground.
5. Press the Hz button on the DMM.
6. The DMM will display the frequency measured.
Measuring Voltage
Measuring Voltage
Notice: Refer to Test Probe Notice .
The following procedure tests for a short to voltage in a circuit.
1. Set the rotary dial of the DMM to the V (DC) position.
2. Connect the positive lead of the DMM to one end of the circuit to be tested.
3. Connect the negative lead of the DMM to a good ground.
4. Turn ON the ignition and operate all accessories.
5. If the voltage measured is greater than 1 volt, there is a short to voltage in the circuit.
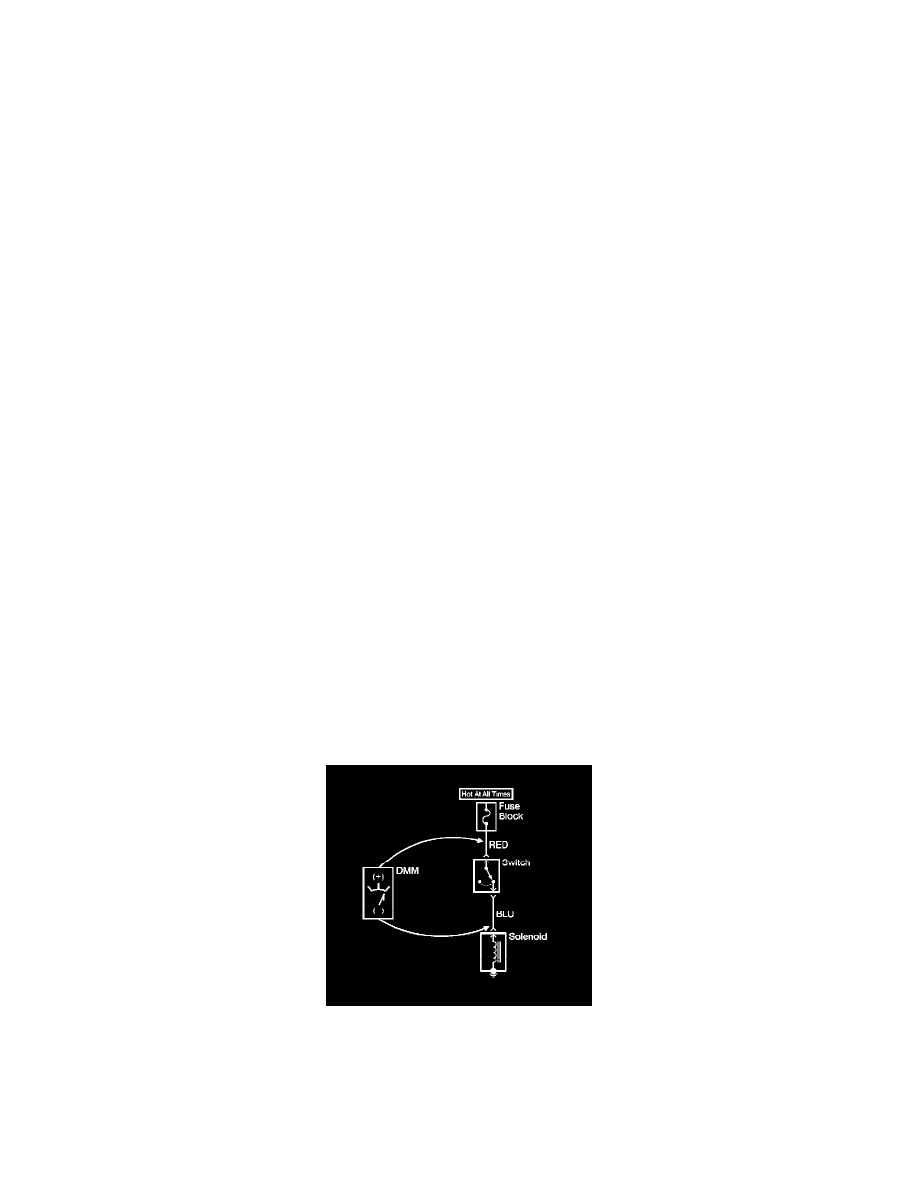
Measuring Voltage Drop
Measuring Voltage Drop
Notice: Refer to Test Probe Notice .
The following procedure determines the difference in voltage potential between 2 points.
1. Set the rotary dial of the DMM to the V (DC) position.
2. Connect the positive lead of the DMM to one point of the circuit to be tested.
3. Connect the negative lead of the DMM to the other point of the circuit.
4. Operate the circuit.
5. The DMM displays the difference in voltage between the 2 points.
Passenger Car Zoning