
Vibe L4-1.8L VIN L (2003)
Body Emblem: Service and Repair
Molding/Nameplate Replacement - Exterior Trim
Molding/Nameplate Replacement - Exterior Trim
Tools Required
J 41409 Body Molding Removal Tool
Removal Procedure
1. The following components are attached to the body panels with adhesive tape:
*
The moldings
*
The rear compartment lid emblem
*
The name plates
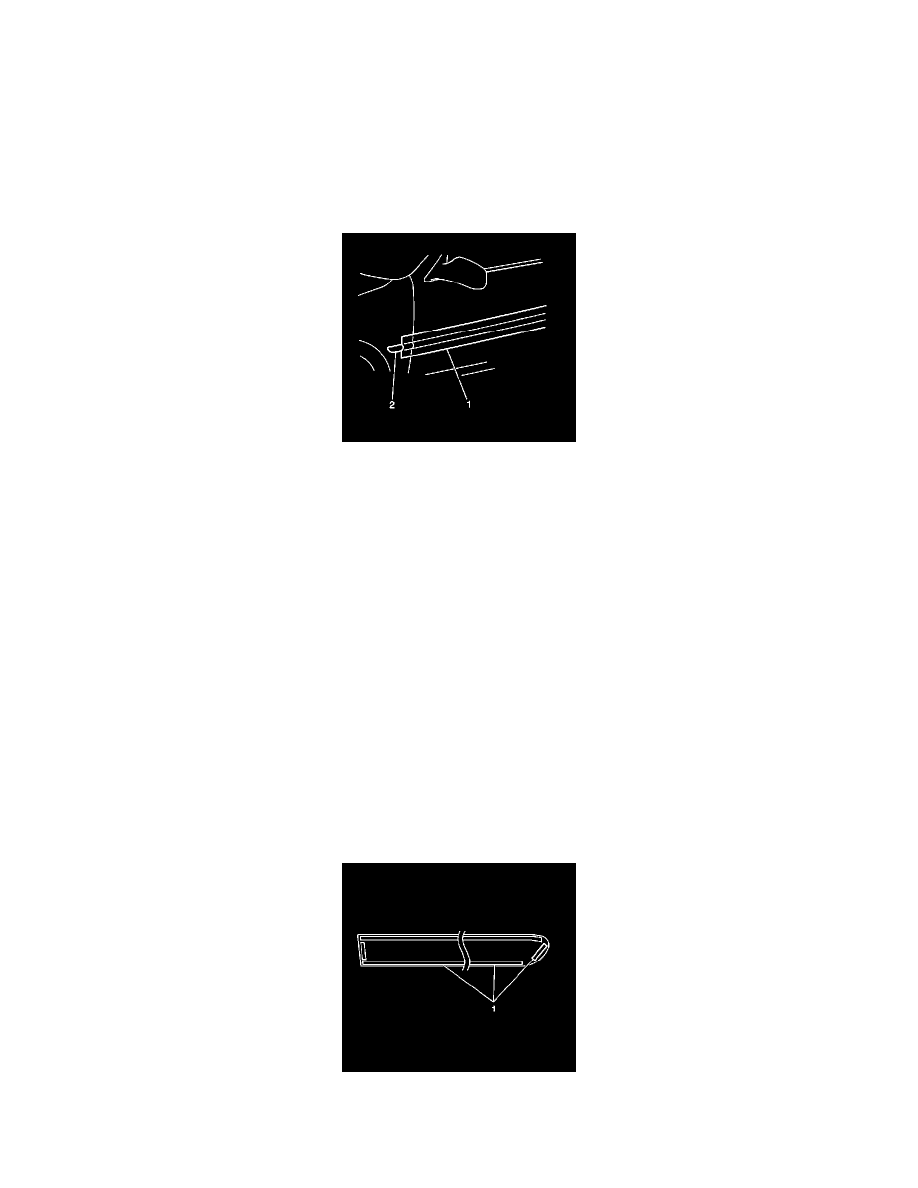
2. Apply masking tape (1) to the body side border of the emblem, the nameplate or the molding to protect the body from scratches. The tape will also
aid in aligning the moldings during installation.
Important: Do not overheat the component.
3. Using an auxiliary heat source, heat the molding, the emblem or the nameplate to between 40-60°C (104-140°F).
4. Use J 41409 or the equivalent in order to cut through the adhesive material.
5. Remove the molding (2), the emblem or the nameplate from the vehicle.
Installation Procedure
Important: Apply the adhesive tape in an environment free of dust or dirt so that it does not come in contact with the sticky backing and
prevent proper adhesion.
1. Clean the area where the molding, the emblem or the nameplate is to be mounted.
2. Use a suitable solvent, such as a mixture of 50 percent isopropyl alcohol and 50 percent water, or equivalent.
3. Dry the area thoroughly.
4. Install adhesive tape (1) to the outside edges of the molding, the emblem or the nameplate.
5. Ensure that the body area is at a temperature range of 20-30°C (68-86°F). Heat the area, if necessary.