
Vibe L4-1.8L VIN L (2003)
2. Remove the front side door sill trim plate. Refer to Door Sill Plate Replacement (See: Scuff Plate/Service and Repair/Door Sill Plate Replacement
) .
3. Remove the rear door sill trim plate. Refer to Door Sill Plate Replacement (See: Scuff Plate/Service and Repair/Door Sill Plate Replacement) .
4. Remove the center pillar lower trim panel. Refer to Trim Panel Replacement - Lower Center Pillar (See: Trim Panel Replacement - Lower Center
Pillar) .
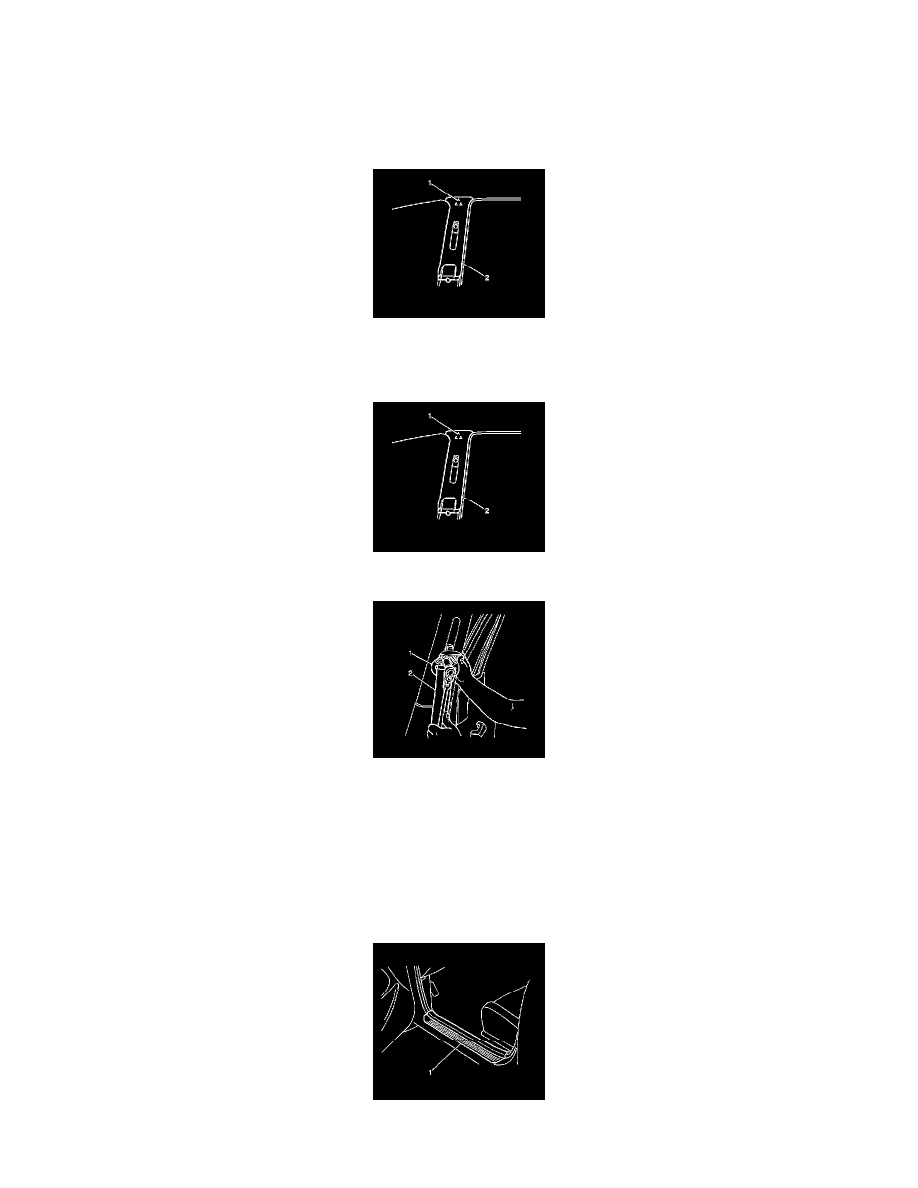
5. Remove the seat shoulder belt guide adjuster (1) trim cover and the bolt.
6. Position the belt (2) on the floor.
7. Remove the center pillar upper trim panel (2) by gently pulling loose.
Installation Procedure
1. Install the center pillar upper trim panel (2), by pushing in until tab (1) fastens.
Notice: Refer to Fastener Notice in Cautions and Notices.
2. Install the seat shoulder belt guide adjuster (1) bolt.
Tighten the adjuster bolt to 42 N.m (31 lb ft).
3. Install the seat shoulder belt guide trim cover.
4. Install the center pillar lower trim panel. Refer to Trim Panel Replacement - Lower Center Pillar (See: Trim Panel Replacement - Lower Center
Pillar) .
5. Install the front side door sill trim plate (1) to the vehicle. Refer to Door Sill Plate Replacement (See: Scuff Plate/Service and Repair/Door Sill
Plate Replacement) .