
Vibe L4-1.8L VIN L (2003)
Ball Joint: Service and Repair
Lower Ball Joint Replacement
Removal Procedure
Important: Remove the weight of the vehicle from the tires and the lower control arms.
1. Raise and support the vehicle. Refer to Vehicle Lifting.
2. Use a jack in order to support the front suspension crossmember.
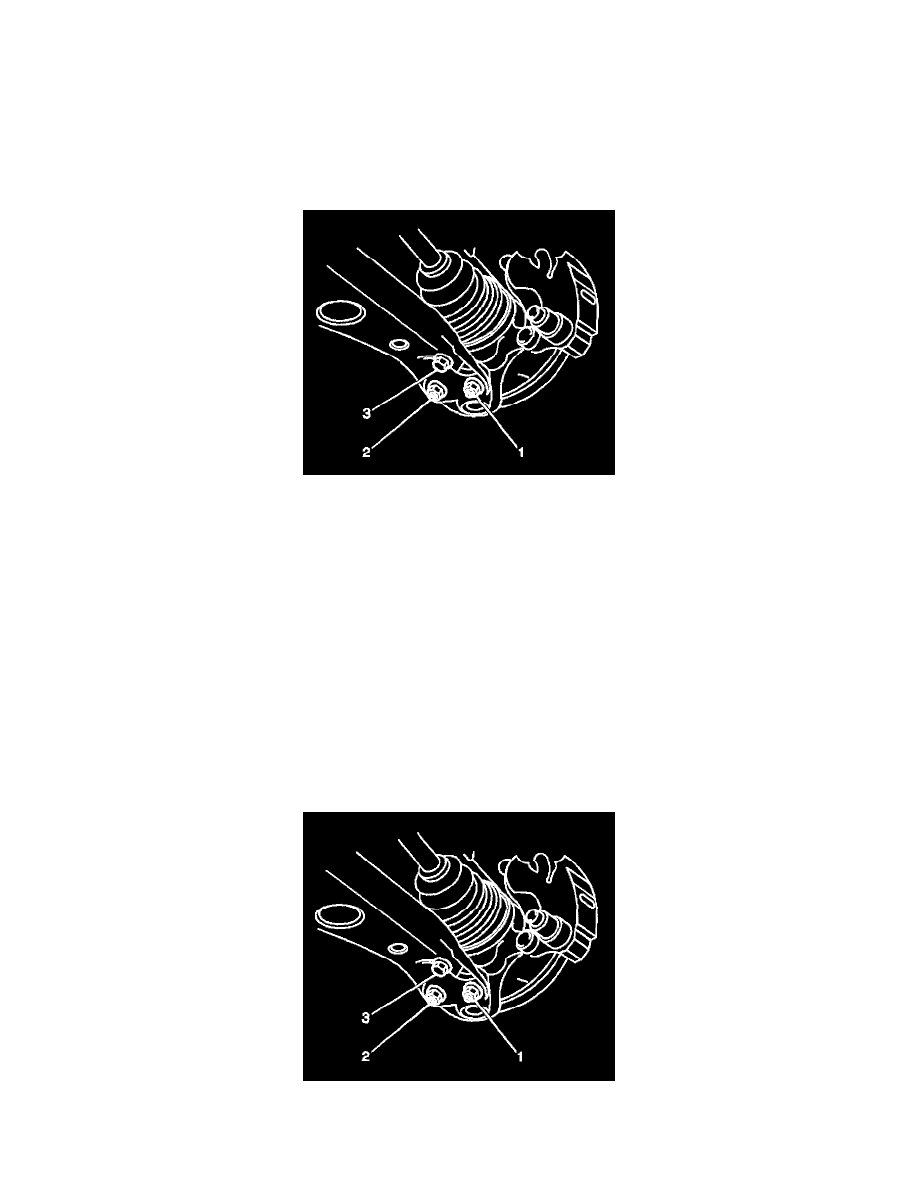
3. Remove the 2 nuts (1, 2) and the bolt (3).
4. Remove the lower control arm from the ball joint.
5. Remove the cotter pin from the ball joint stud.
6. Remove the nut from the ball joint stud.
7. Use the appropriate ball joint remover in order to remove the ball joint from the knuckle.
Installation Procedure
Notice:
Refer to Fastener Notice in Service Precautions.
See: Service Precautions/Vehicle Damage Warnings/Fastener Notice
Important: Do not loosen the nut in order to insert the cotter pin.
1. Install the lower ball joint and the nut to the knuckle.
Tighten the nut to 103 Nm (76.0 ft. lbs.), Tighten the nut up to 1/6 additional turn in order to insert the cotter pin.
2. Install a NEW cotter pin to the ball joint stud. Bend the cotter pin ends in order to retain the nut.
3. Install the lower control arm to the ball joint.
4. Install the bolt (3) and the 2 nuts (1, 2).
Tighten the nuts and the bolt to 89 Nm (65.6 ft. lbs.).