
Vibe L4-1.8L VIN L (2003)
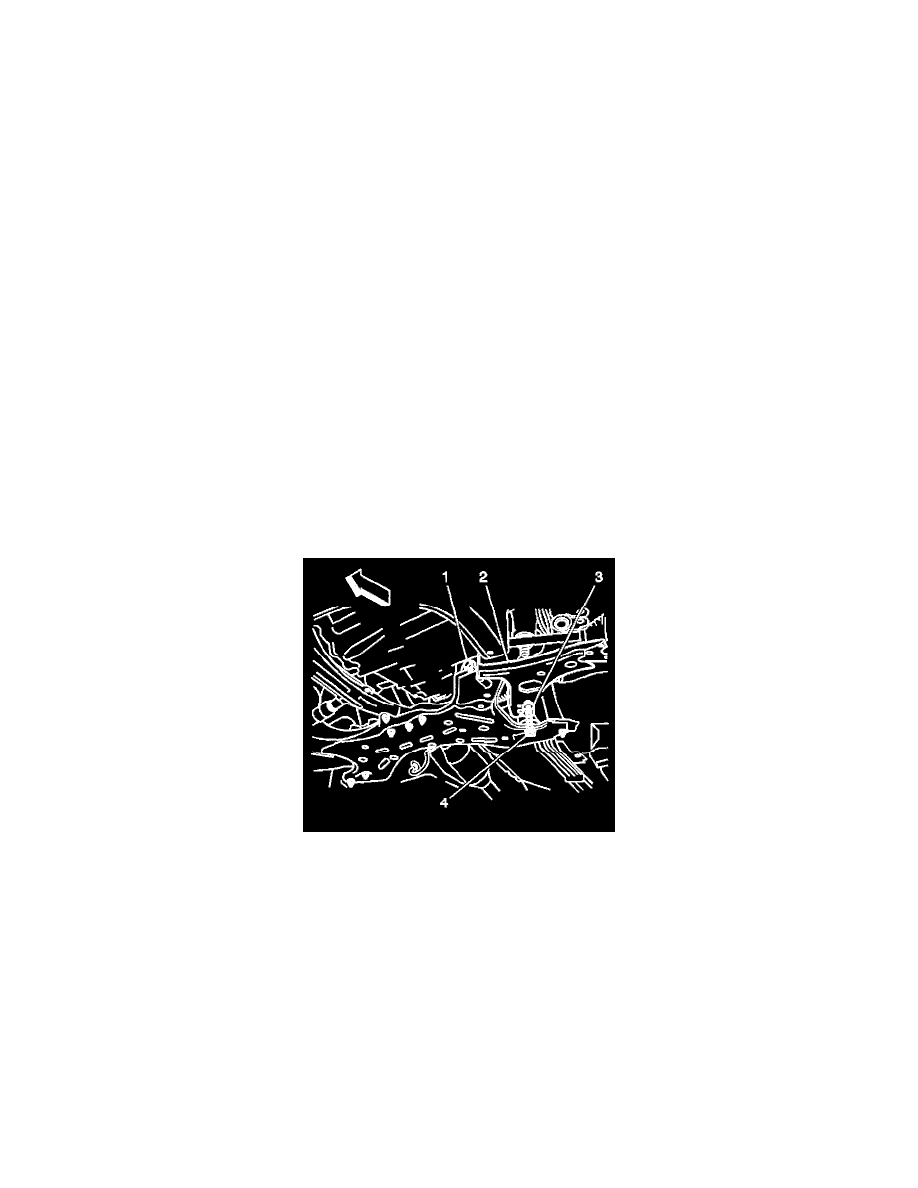
14. Support the crossmember with a jack.
15. Remove the 4 bolts (6, 8, 13, 15).
16. Use the jack in order to lower the crossmember.
Important: If you are replacing the components on the crossmember, continue with this procedure.
17. Remove the 2 bolts and the trans support from the crossmember.
18. Remove the 2 control arms.
19. Remove the following components from the crossmember.
-
The 2 stabilizer shaft link nuts
-
The 2 stabilizer shaft links
-
The 4 stabilizer clamp bolts
-
The 2 stabilizer clamps
-
The 2 stabilizer shaft insulators
-
The stabilizer shaft
20. If you removed the crossmember WITH the steering gear, remove the steering gear from the crossmember.
Installation Procedure
1. If you are installing the crossmember WITH the steering gear, install the steering gear to the crossmember.
2. Install the following components to the crossmember.
-
The 2 stabilizer shaft link nuts
-
The 2 stabilizer shaft links
-
The 4 stabilizer clamp bolts
-
The 2 stabilizer clamps
-
The 2 stabilizer shaft insulators
-
The stabilizer shaft
Important: DO NOT tighten the nut and bolts completely. The weight of the vehicle must be on the tire and wheel assemblies before tightening the nut
and the bolts.
3. Install the following components to the crossmember:
-
The left lower control arm (2)
-
The 2 bolts (1, 4)
-
The nut (3)
Important: DO NOT tighten the nut and bolts completely. The weight of the vehicle must be on the tire and wheel assemblies before tightening the nut
and the bolts.
4. Install the following components to the crossmember:
-
The right lower control arm
-
The 2 bolts
-
The nut
Notice:
Refer to Fastener Notice in Service Precautions.
See: Service Precautions/Vehicle Damage Warnings/Fastener Notice
5. Install the trans support and the 2 bolts to the crossmember.