
Vibe L4-1.8L VIN L (2003)
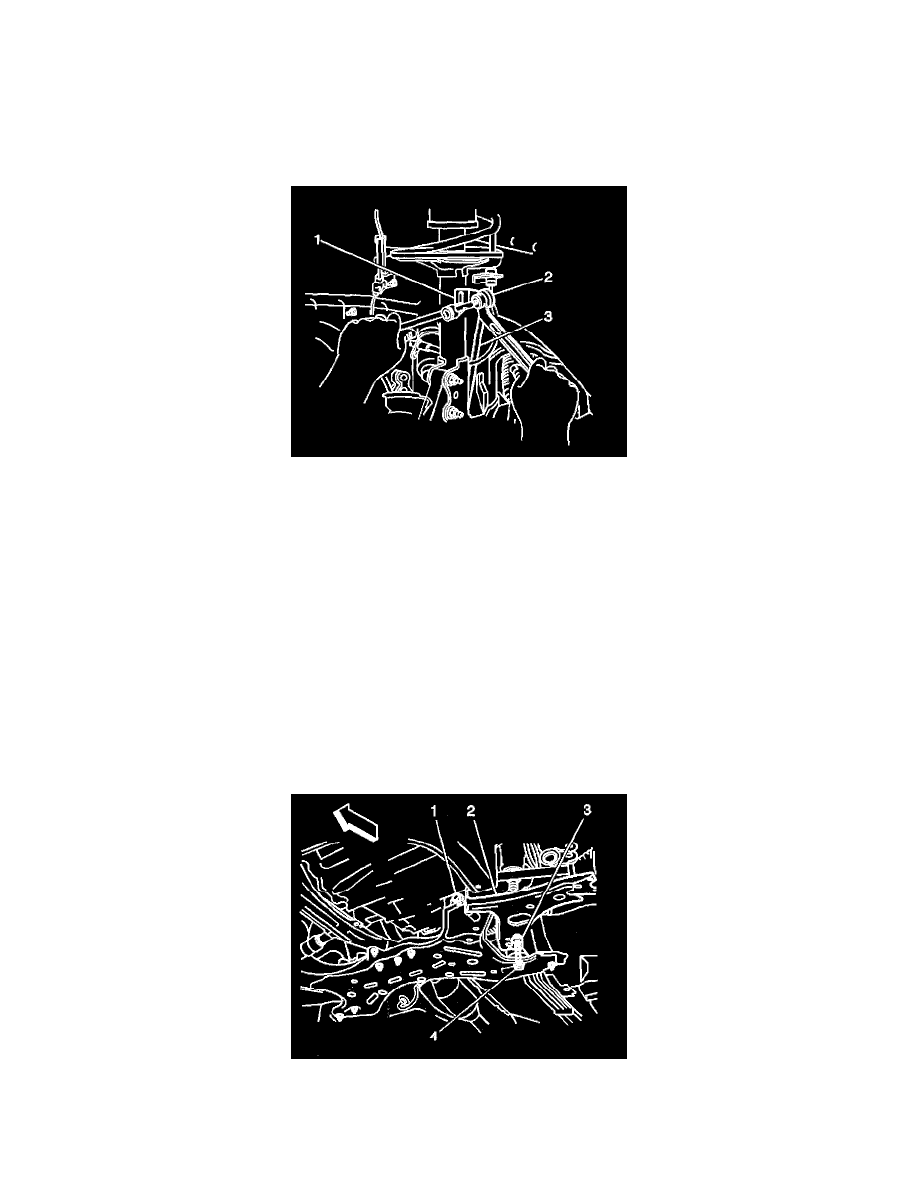
26. Install the following to the right front control arm:
-
The 2 nuts
-
The bolt
Tighten the 2 nuts and the bolt to 89 Nm (65.6 ft. lbs.).
27. Install the left engine splash shield.
28. Install the right engine splash shield.
29. Use a 6 mm wrench in order to hold the left front stabilizer shaft link stud. Install the nut and the stud to the strut bracket.
Tighten the nut to 74 Nm (54.6 ft. lbs.).
30. Use a 6 mm wrench in order to hold the right front stabilizer shaft link stud. Install the nut and the stud to the strut bracket.
Tighten the nut to 74 Nm (54.6 ft. lbs.).
31. Install the front tire and wheel assemblies to the vehicle.
32. Lower the vehicle.
33. Remove the Engine Support Fixture.
34. If you are installing the crossmember WITH the steering gear, install the following components.
-
The lower steering shaft coupling bolt
-
The steering column hole cover
-
The 2 outer tie rod ends
-
The pressure and return pipes
-
The pipe bracket
35. With the weight of the vehicle on the tire and wheel assemblies, push down on the front bumper 3 times in order to bounce the vehicle and
stabilize the suspension.
36. Tighten the nut (3) and the 2 bolts (1, 4) on the left lower control arm.
Tighten the nut and the 2 bolts to 137 Nm (101.0 ft. lbs.).
37. Tighten the nut and the 2 bolts on the right lower control arm.