
Vibe L4-1.8L VIN L (2003)
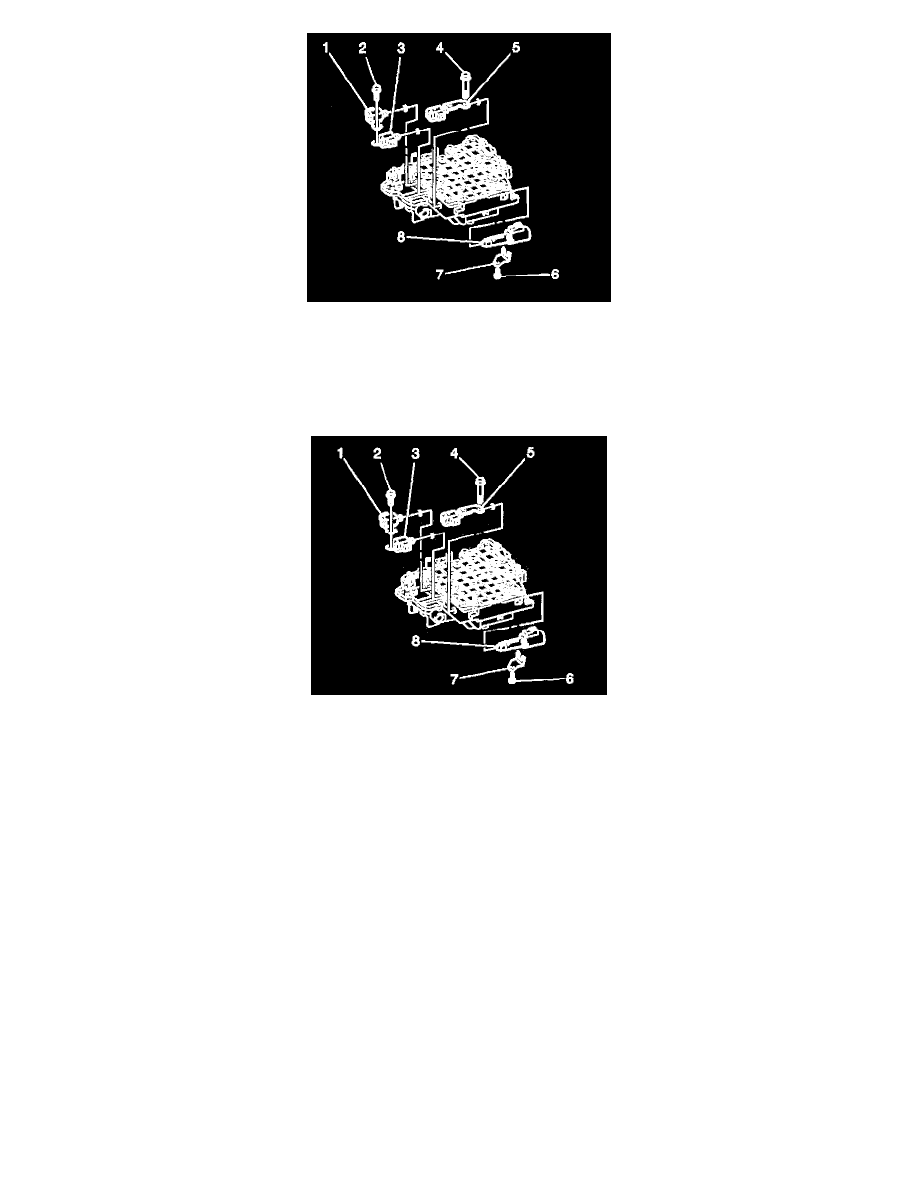
12. Remove the solenoid bolt (2), then remove the 2 -3 shift solenoid (1) from the valve body.
13. Remove the 1 - 2 shift solenoid (3) from the valve body.
14. Remove the Torque Converter Clutch solenoid bolt (4), then remove the TCC solenoid (5).
15. Remove the Pressure Control Solenoid retaining bolt and bracket (7), then remove the Pressure Control Solenoid (8) from the valve body.
Installation Procedure
1. Coat 3 new O-rings with AC Delco T-IV automatic Transmission fluid.
2. Install the new O-rings on the solenoids.
Notice: Refer to Fastener Notice in Service Precautions.
3. Install the Pressure Control Solenoid (8) from the valve body, then the Pressure Control Solenoid bracket (7).
^
Tighten the bolt to 7 Nm (58 inch lbs.).
4. Install the TCC solenoid (5), then the Torque Converter Clutch solenoid bolt (4).
^
Tighten the bolt to 11 Nm (97 inch lbs.).
5. Install the 1 - 2 shift solenoid (3) in the valve body.
6. Install the 2 - 3 shift solenoid (1) in the valve body, then install the retaining bolt.
^
Tighten the bolt to 11 Nm (97 inch lbs.).