
Vibe L4-1.8L VIN L (2003)
Important: On AWD models, the transfer case and transaxle must be drained before removing the right hand drive shaft. If the right hand drive shaft
is removed without draining the fluids, the fluids will mix and contaminate both components.
12. Drain the transaxle and transfer case.
13. Using J 46009 and J2619-01 remove the right side axle shaft from the transaxle.
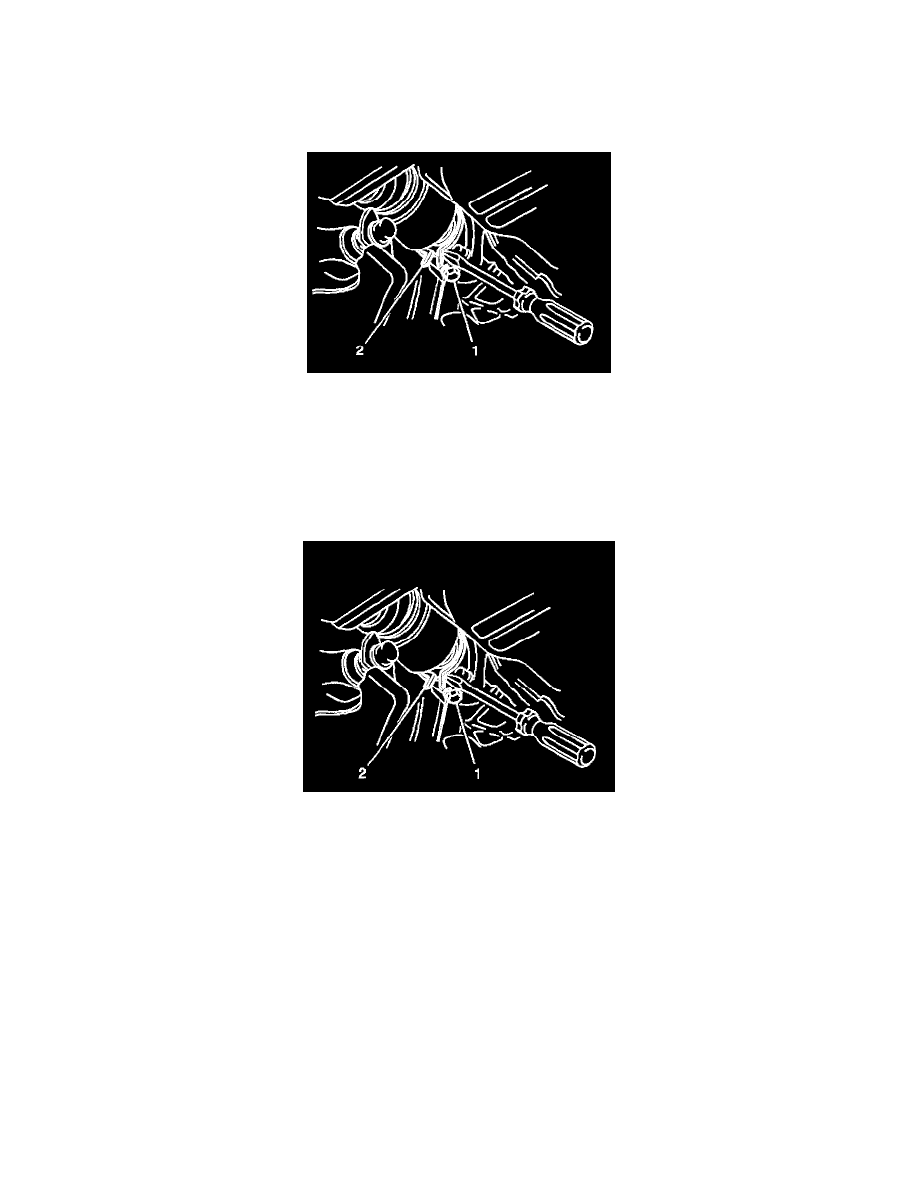
14. On AWD models, remove the bearing lock bolt (1).
15. Using pliers in order to remove the snap ring (2) and drive shaft from the vehicle.
16. Remove the right hand wheel drive shaft from the vehicle.
17. Remove and discard the wheel drive shaft retaining ring.
Installation Procedure
Important: Prevent the boots (seals) from contacting the other components in order to prevent damage to the boots (seals).
1. Install a new wheel drive shaft retaining ring.
2. On AWD models, set the snap ring (2) on the right hand drive shaft with the opening facing downward.
3. Install the wheel drive shaft to the transaxle.
4. Push the wheel drive shaft into transaxle until the retaining ring is fully seated.
5. Verify that the wheel drive shaft retaining ring is properly seated.
5.1.
Grasp the inner (tripod) housing.
5.2.
Pull the inner (tripod) housing outboard. Do not pull on the wheel drive shaft bar.
The wheel drive shaft will remain in place when the retaining ring is properly seated.
Notice: Refer to Fastener Notice in Service Precautions.
6. On AWD models, install the bearing lock bolt (1).
^
Tighten the bearing lock bolt to 32 Nm (24 ft. lbs.).
7. Install the wheel drive shaft to the wheel hub and bearing.
8. Connect the ball joint to the steering knuckle.
9. Connect the outer tie rod end assembly to the steering knuckle.