
Vibe L4-1.8L VIN L (2003)
Axle Shaft: Service and Repair
Wheel Drive Shaft Replacement- Rear
Wheel Drive Shaft Replacement- Rear
^
Tools Required
-
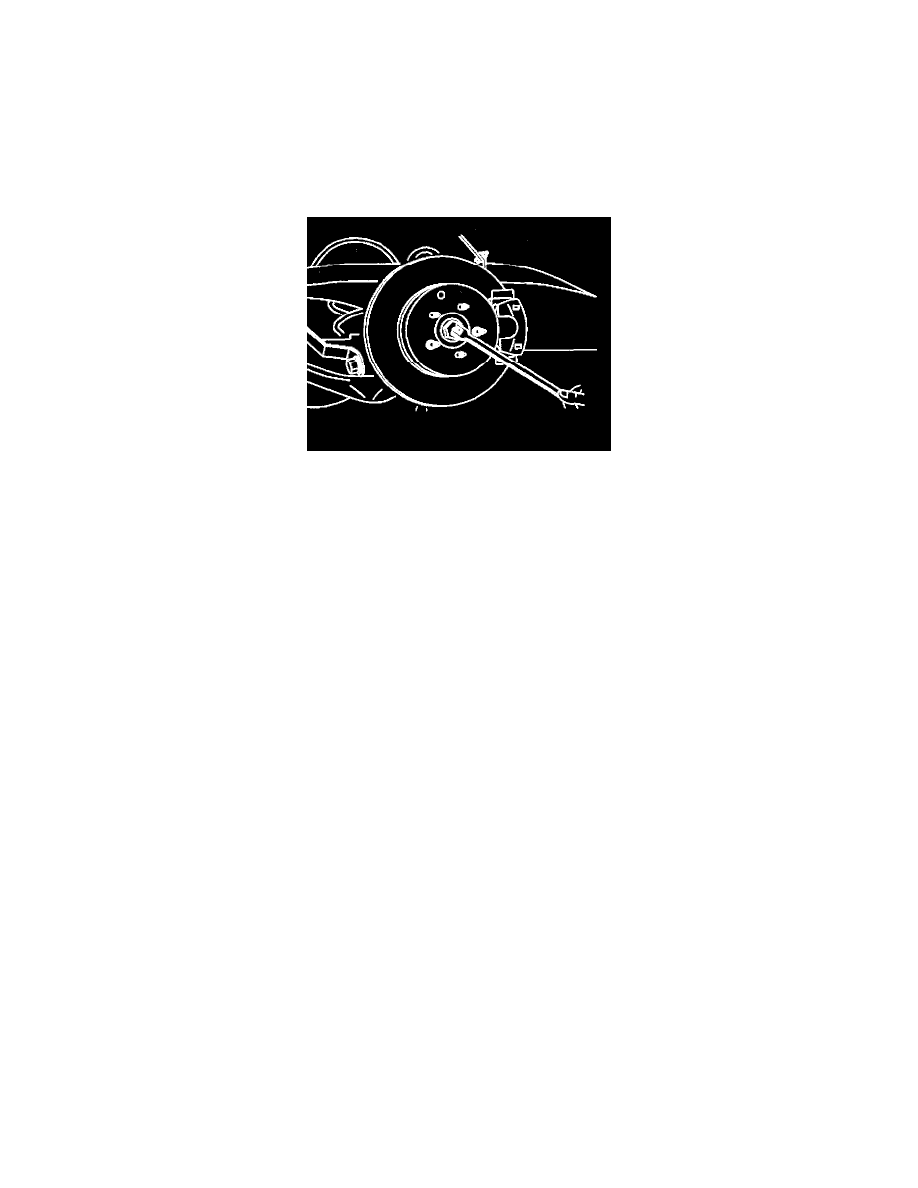
J 2619-01 Slide Hammer
-
J 45341 Axle Shaft Remover
Removal Procedure
1. Apply the parking brake.
2. Raise and support the vehicle. Refer to Vehicle Lifting.
3. Remove the tire and wheel assembly.
Important: The wheel drive shaft nut must not be reused. Replace the wheel drive shaft nut with new nut whenever it is removed.
4. Remove the cotter pin and lock cap.
5. Remove and discard the wheel drive shaft nut.
6. Release the parking brake.
7. Remove the suspension knuckle.
8. Using J2619-01 and J45341 remove the rear wheel drive shaft from the vehicle.
Installation Procedure
Important: Support the wheel drive shaft until it is completely installed.
1. Position the wheel drive shaft to the differential output shaft.
Important: Do not damage the differential output shaft oil seal.
2. Carefully align and guide the wheel drive shaft onto the differential output shaft.
3. Install the wheel drive shaft fully onto the differential output shaft using light force.
4. Verify that the wheel drive shaft is fully seated on the differential output shaft retaining ring by grasping the inner tripot housing and pulling
outward. Do not pull on the wheel drive shaft bar.
The wheel drive shaft will remain firmly in place when properly engaged.
5. Install the suspension knuckle.