
Vibe FWD L4-1.8L VIN 8 (2004)
Rear Door Panel: Service and Repair
Panel Replacement
Trim Panel Replacement - Side Rear Door
Removal Procedure
1. Remove the rear side door inside handle. Refer to Door Handle Replacement - Rear Inside (See: Rear Door Handle/Rear Door Interior
Handle/Service and Repair) .
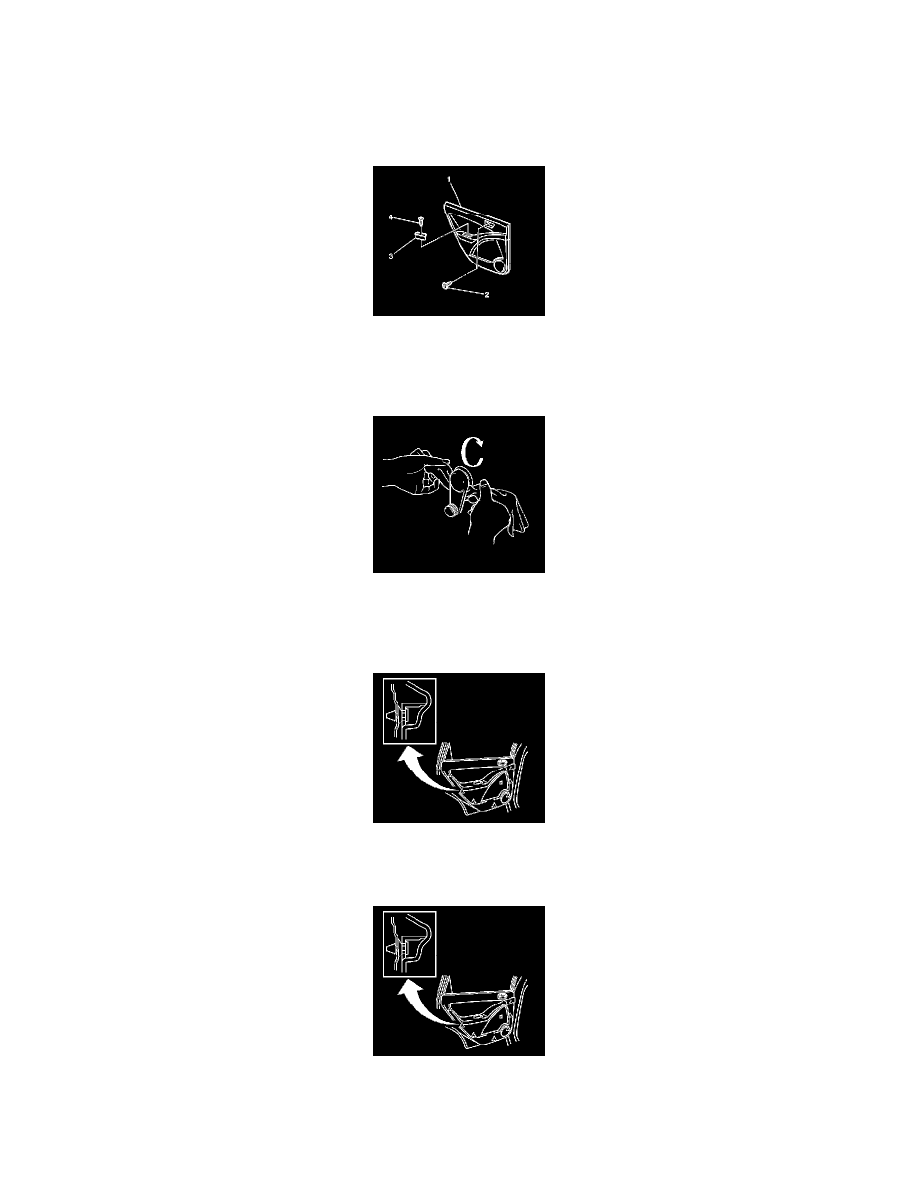
2. Remove the screw (4) and trim cover (3) from the rear side door trim panel (1).
3. Remove the screw (2) that retains the door trim panel (1).
4. Remove the rear side door window regulator handle by using a cloth to pull off the snap ring, if equipped.
5. Using a taped flat bladed tool, gently pry the rear side door window switch bezel from the rear side door trim, if equipped.
6. Disconnect the rear side door window switch electrical connector, if equipped.
7. Remove the rear side door window switch bezel from the vehicle, if equipped.
8. Unclip and remove the rear side door trim from the door by disengaging the 7 plastic retainers.
Installation Procedure
1. Position and install the rear side door trim to the door and press the 7 plastic retainers into place. Ensure that the plastic retainers are completely
engaged.
2. Connect the rear side door window switch electrical connector, if equipped.
3. Install the rear side door window switch bezel to the rear side door trim, if equipped.