
Vibe FWD L4-1.8L VIN 8 (2004)
Engine Mount: Service and Repair
Engine Mount Replacement
Engine Mount Replacement
Removal Procedure
Caution: Refer to Battery Disconnect Caution in Service Precautions.
1. Disconnect the negative battery cable.
2. Raise and properly support the engine.
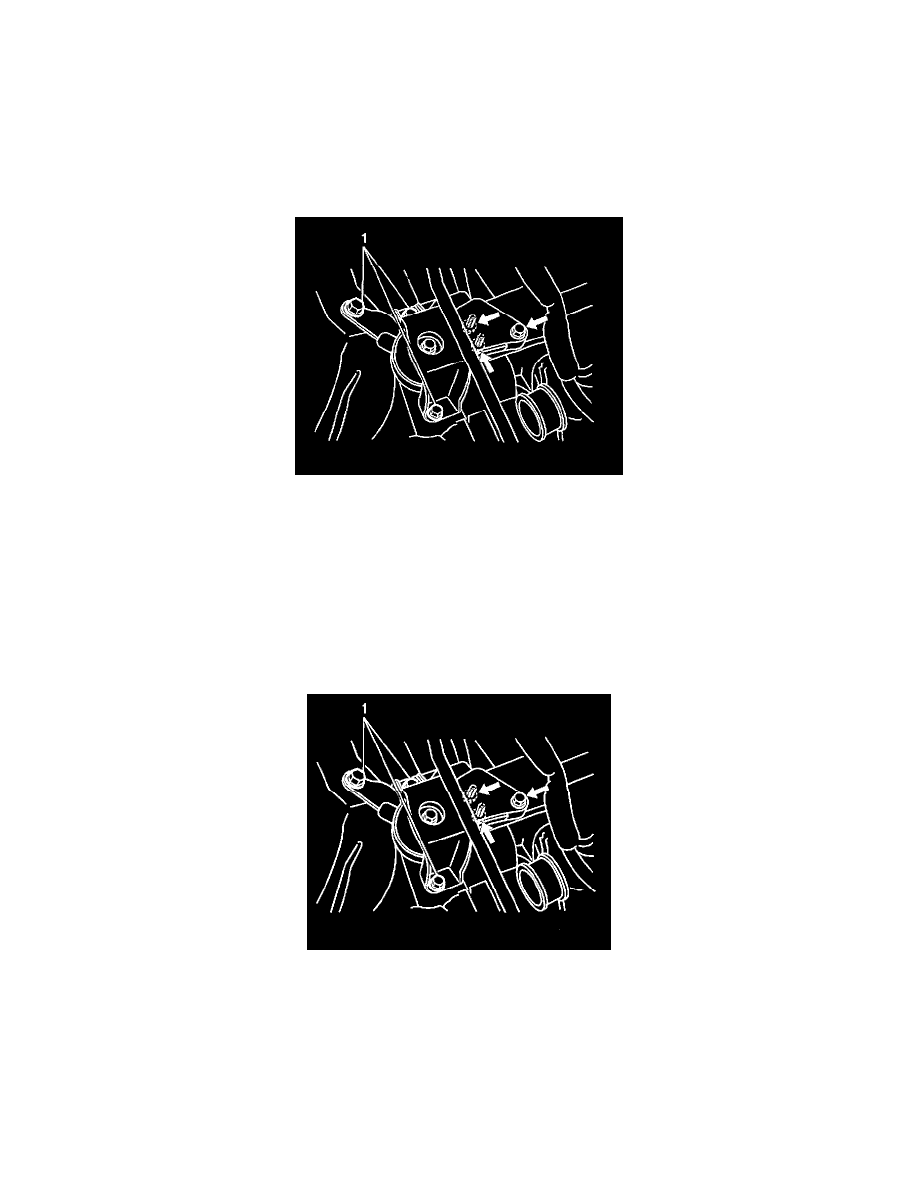
3. Remove the right side engine mount-to-engine bracket bolts and nuts (1).
4. Remove the 3 right side engine mount-to-frame bolts.
5. Raise the engine slightly in order to provide clearance for the engine mount assembly removal.
6. Remove the right side engine mount from the vehicle.
7. Remove the right side engine mount-to-frame bracket from the engine mount.
8. Remove the right side engine mount-to-engine bracket from the engine mount.
Installation Procedure
1. Install the right side engine mount-to-engine bracket to the engine mount.
2. Install the right side engine mount-to-frame bracket to the engine mount.
3. Install the right side engine mount to the engine.
4. Install the 3 right side engine mount-to-frame bolts. Do not fully tighten the bolts.
Notice: Refer to Fastener Notice in Service Precautions.
5. Install the three right side engine mount-to-engine bracket bolt and nuts.
^
Tighten the right side engine mount-to-frame bolts (1) to 54 Nm (40 ft. lbs.).
^
Tighten the right side engine mount-to-engine bracket bolt and nuts (3) to 54 Nm (40 ft. lbs.).
6. Remove the engine support fixture.
7. Connect the negative battery cable.
^
Tighten the battery cable bolt to 15 Nm (11 ft. lbs.).