
Vibe FWD L4-1.8L VIN 8 (2004)
Using a new nut and plate washer, press the bearing into position by tighten the nut as follows:
1. Tighten the nut to 181 Nm (134 ft. lbs.).
2. Loosen the nut.
3. Retighten the nut to 69 Nm (51 ft. lbs.).
4. Using a hammer and chisel, stake the retaining nut.
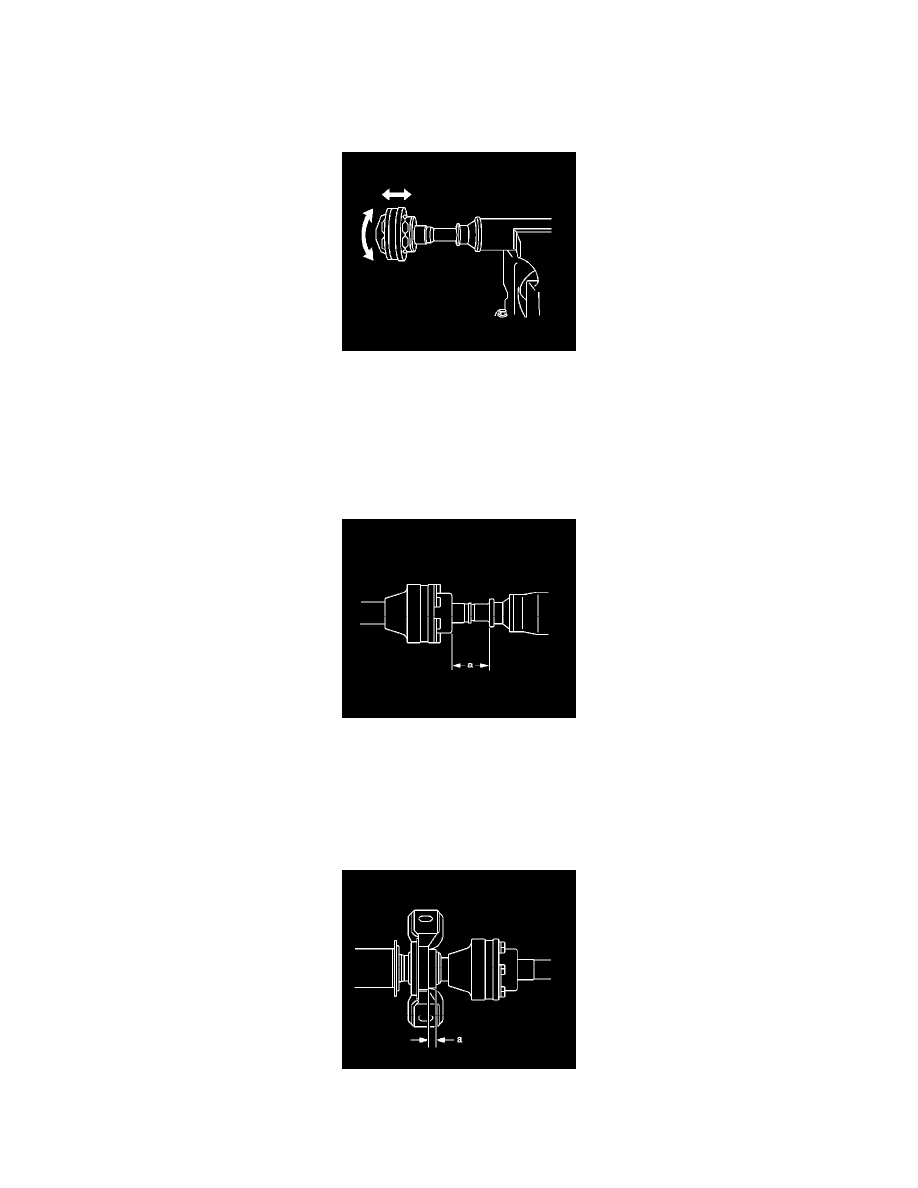
5. Inspect the cross groove joint. The joint should move smoothly in all directions shown. Check for damage or grease leakage from the boot. If a
problem is found, replace the rear propeller shaft.
6. Align the alignment marks on the intermediate shaft and rear propeller shaft, then install the two washers and 6 bolts temporarily.
7. Important: Do not tighten the center support bearing retaining bolts during installation.
Install the propeller shaft. Refer to Propeller Shaft Replacement - Two Piece.
Tighten the cross groove joint bolts to 27 Nm (20 ft. lbs.).
8. Important: The vehicle should be unloaded for the following steps.
Adjust the dimension (a) between rear side of cover and the shaft to 57.5 - 58.5 mm (2.264 - 2.303 inch). Select one of the following spacers:
^
3.6 mm (0.142 inch)
^
4.5 mm (0.177 inch)
^
6.5 mm (0.256 inch)
^
9.0 mm (0.354 inch)
9. Adjust the center bearing dimension (a) to 11.5 -13.5 mm (0.453 - 0.531 inch).
10. Tighten the center bearing retaining bolts.
Tighten the center bearing bolts to 37 Nm (27 ft. lbs.).