
Vibe FWD L4-1.8L VIN L (2005)
Front Door Hinge: Service and Repair
Hinge Replacement - Front Door
Removal Procedure
1. Remove the left fender, if necessary. Refer to Fender Replacement - Front - Left (See: Fender/Front Fender/Service and Repair/Fender
Replacement - Front - Left) in Body Front End.
2. Remove the right fender, if necessary. Refer to Fender Replacement - Front - Right (See: Fender/Front Fender/Service and Repair/Fender
Replacement - Front - Right) in Body Front End.
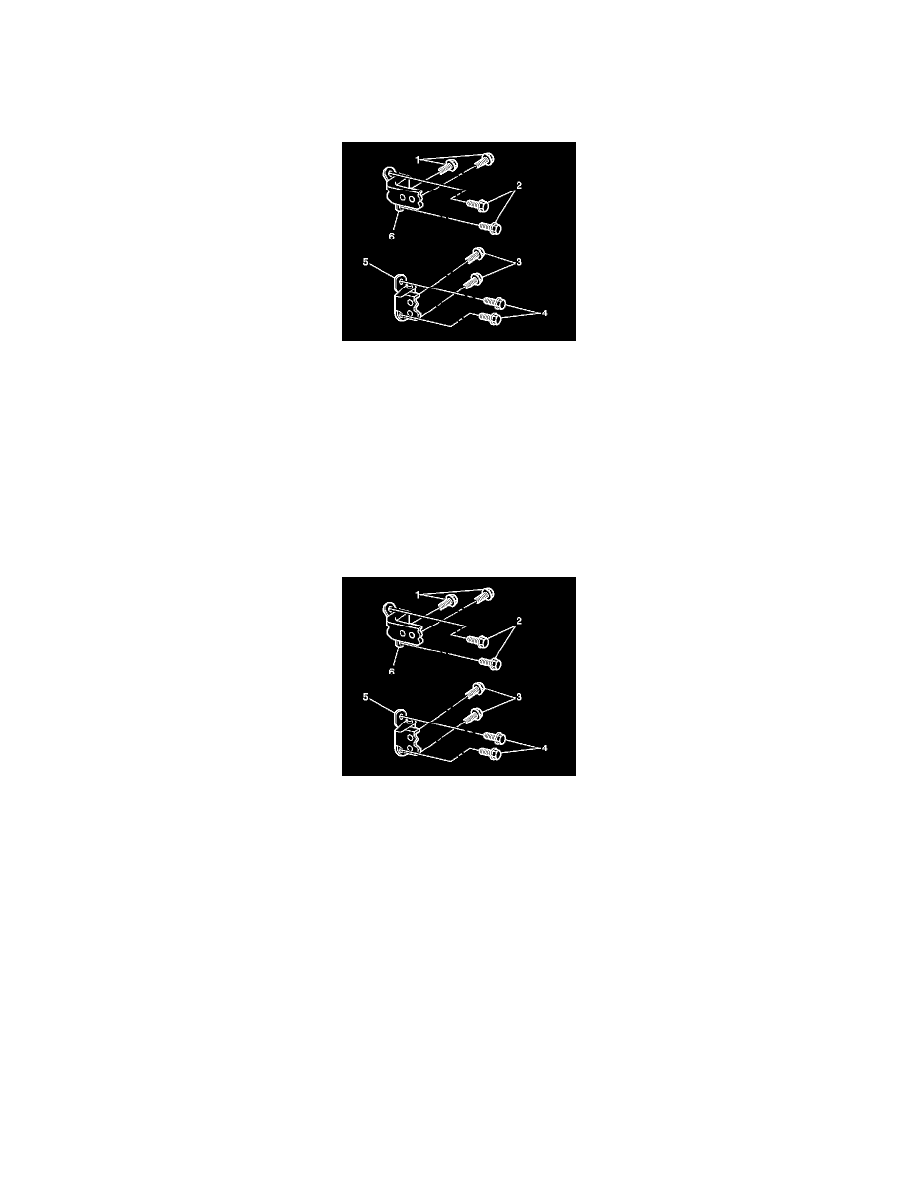
Important: Remove only one hinge at a time in order to keep the door properly aligned.
3. Remove the 2 door to hinge bolts (2 or 4).
4. Remove the 2 hinge to door jamb bolts (1 or 3).
5. Remove the upper or lower hinge (6 or 5)) from the vehicle.
Installation Procedure
1. Install the upper or lower hinge (2 or 4) to the door jamb. Secure the hinge with 2 bolts (1 or 3). Do not fully tighten the bolts at this time.
Notice: Refer to Fastener Notice in Cautions and Notices.
2. Install the 2 door to hinge bolts (2 or 4).
Tighten all hinge bolts to 26 N.m (19 lb ft).
3. Repeat the removal and installation steps for the opposite hinge, if necessary.
4. Install the left fender, if removed. Refer to Fender Replacement - Front - Left (See: Fender/Front Fender/Service and Repair/Fender Replacement
- Front - Left) in Body Front End.
5. Install the right fender, if removed. Refer to Fender Replacement - Front - Right (See: Fender/Front Fender/Service and Repair/Fender
Replacement - Front - Right) in Body Front End.