
Vibe FWD L4-1.8L VIN L (2005)
1. Install the yellow 2-way connector to the PSM (1).
2. Connect the connector and lock the connector with the connector lock lever.
3. Connect the battery negative cable.
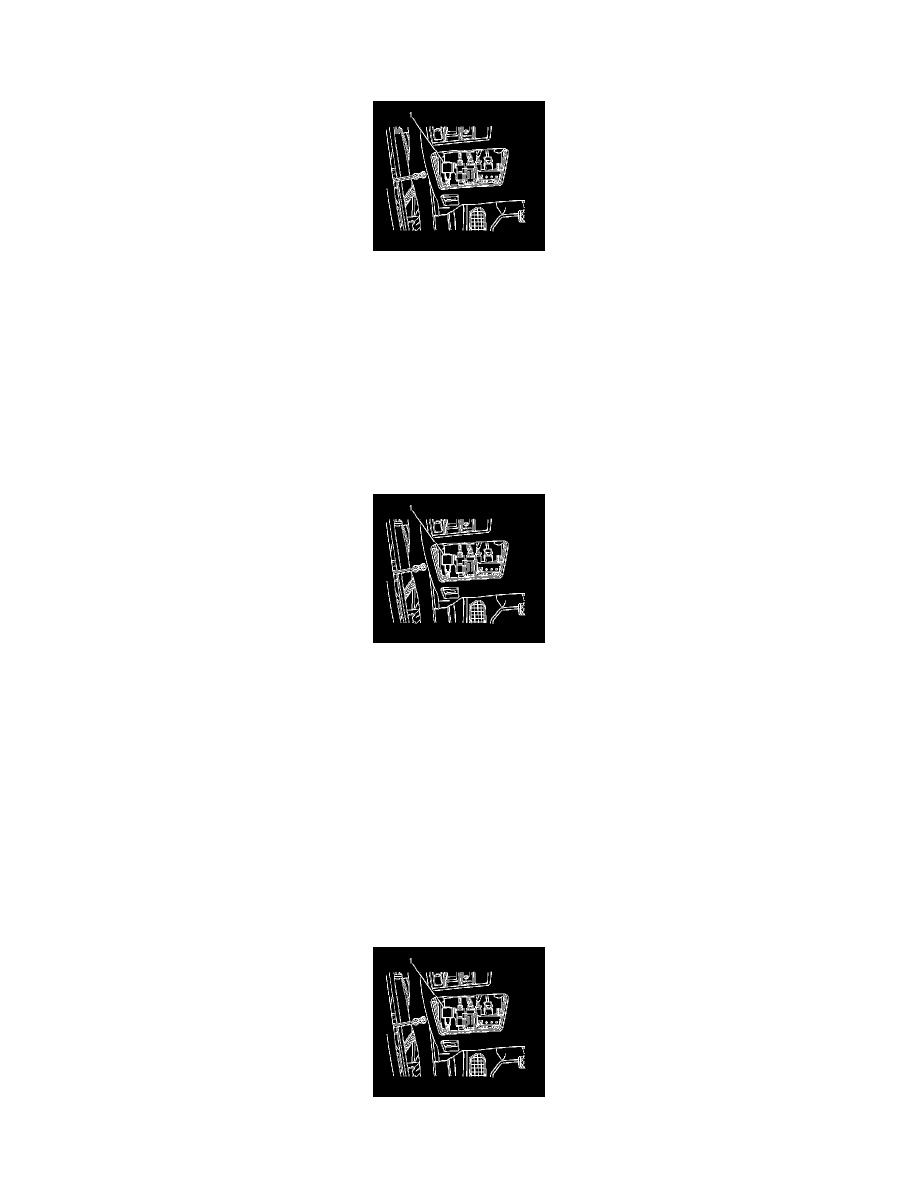
4. Install the AM2 fuse into the junction block (1).
5. Use caution while reaching in and turn the ignition switch to the ON position.
6. The AIR BAG indicator will flash then turn OFF.
7. Perform the Diagnostic System Check - Vehicle if the AIR BAG warning indicator does not operate as described. Refer to Diagnostic System
Check - Vehicle in Vehicle DTC Information.
SIR Disabling and Enabling Zone 10
SIR DISABLING AND ENABLING ZONE 10
DISABLING ZONE 10
1. Turn the steering wheel so that the vehicle wheels are pointing straight ahead.
2. Turn the ignition switch to the OFF position.
3. Locate and remove the AM2 fuse from the junction block (1), which is located near the base of the steering column.
IMPORTANT: With the SIR fuse removed and the ignition switch in the ON position, the AIR BAG warning indicator illuminates. This is normal
operation, and does not indicate an SIR system malfunction.
4. Disconnect the battery negative cable.
5. Remove the rear door sill plate.
6. Remove the rear seat garnish molding.
7. Disconnect the side impact sensor (SIS) electrical connector.
ENABLING ZONE 10
1. When enabling the SIS or seat belt pretensioner go to step 2, if the left roof rail module needs enabling go to step 7.
2. Connect the SIS electrical connector.
3. Install the rear seat garnish molding.
4. Install the rear door sill plate.
5. Connect the battery negative cable.
6. Install the AM2 fuse into the junction block (1).
7. Use caution while reaching in and turn the ignition switch to the ON position.